Don’t let your garden shears go dull! A sharp blade makes quick work of trimming plants and flowers. In this article, we will teach you how to sharpen garden shears like a pro. We’ll provide tips for keeping your blades sharp all season long, as well as step-by-step instructions for sharpening them with a whetstone. So, whether your shears are brand new or have seen better days, read on for the ultimate guide to getting them razor-sharp!
Why Do You Need to Sharpen Your Garden Shears Regularly?
Garden shears are versatile tools that can be used for a variety of tasks, such as trimming hedges, bushes, and lawns. However, like all tools, they require regular maintenance to keep them in good condition.
Garden shears go dull over time for a variety of reasons. The most common reason is simply wearing and tear from frequent use. If you use your garden shears on a daily basis, they will naturally start to lose their sharpness after a while. Another common reason why garden shears can go dull is if they are not properly cared for. If you do not clean and oil your garden shears regularly, they will also start to lose their sharpness.
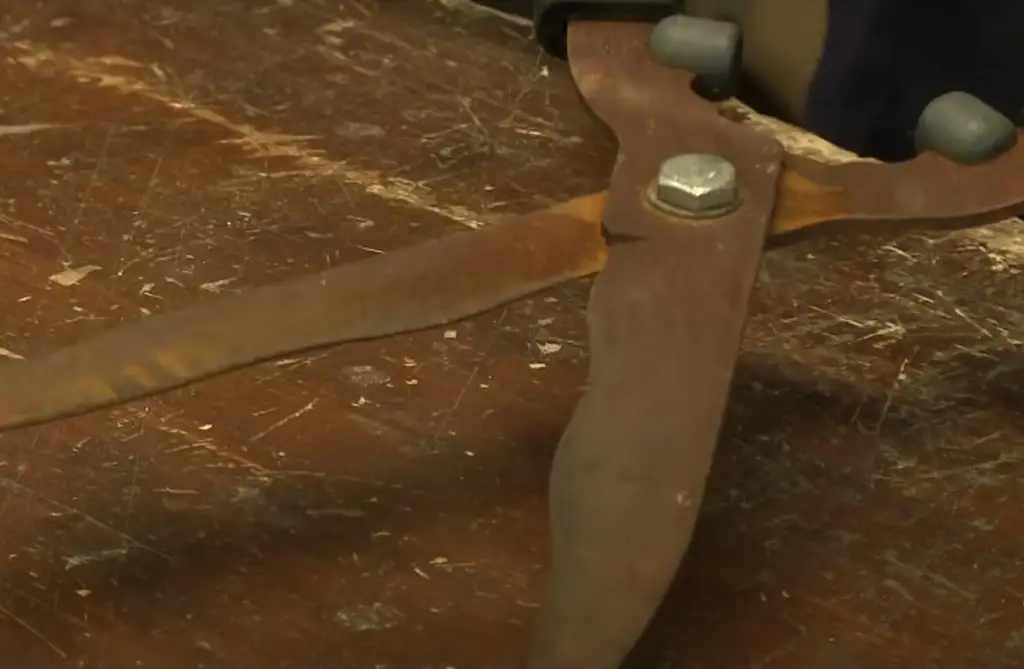
There are a few other less common reasons why garden shears can go dull as well. For example, if you store your garden shears in an area that is too humid or too dry, this can cause the metal to corrode or the blade to warp. Additionally, if you drop your garden shears or subject them to too much force, this can also cause them to go dull.
Dull blades won’t only make your gardening tasks more difficult, but they can also be dangerous. If you’re struggling to cut through a plant with dull shears, you may be tempted to apply more force than necessary. This could cause the blades to slip and potentially injure you or someone else.
Safety Considerations When Sharpening Garden Shears
There are a few safety considerations to keep in mind when sharpening garden shears. First of all, always make sure that the blades are completely dry before you start sharpening them. If the blades are wet, they could slip and cause you to cut yourself.
Another important safety consideration is to avoid over-sharpening the blades. If you sharpen the blades too much, they will become brittle and more likely to break or chip. It’s best to err on the side of caution and stop sharpening the blades as soon as they become razor-sharp.
Handle the sharpening process with care, and always use a sharpening stone that is specifically designed for use with garden shears. Do not try to sharpen your shears with a regular kitchen knife sharpener, as this could damage the blades.
Finally, always be careful when handling sharp garden shears. Keep them away from children and pets, and never use them for anything other than their intended purpose. With these safety considerations in mind, let’s move on to the sharpening process. [1] [3]
How to Clean and Sharpen Hand Pruners
Now that we know why garden shears go dull, let’s move on to how we can sharpen them. As long as the blades are not too damaged, it’s relatively easy to sharpen garden shears at home.
Types of sharpeners
There are two main ways to sharpen garden shears: with a sharpening stone or with a sharpening file. Each method has its own set of benefits and drawbacks, so it’s important to choose the right sharpener for your needs.
Sharpening stone
A sharpening stone is a piece of abrasive material that is used to sharpen the blades of tools and knives. The most common type of sharpening stone is made from silicon carbide, which is a very hard and durable material. Sharpening stones can be either flat or curved, and they come in a variety of grits, or levels of abrasiveness.
Sharpening stones are also known by a few other names, including whetstones, Waterstones, oilstones, and Arkansas stones. No matter what you call them, though, their purpose is the same: to keep your tools sharp and in good working condition.
Sharpening stones are incredibly versatile and can be used to sharpen a wide variety of tools, including garden shears. In fact, sharpening garden shears is one of the most common uses for a sharpening stone.
Sharpening file
A sharpening file is a handheld tool that helps to grind away metal from your garden shears. It has a coarse surface, which allows it to quickly remove metal. As you work the file back and forth across the blades of your shears, it will create a new edge.
There are two main types of files: flat and half-round. Flat files are best for general use, while half-round files are better for more specific tasks. If you’re not sure which type of file to get, ask someone at your local hardware store for advice.
Sharpening files aren’t as versatile as other sharpening tools, but they’re still a good option if you need to sharpen your shears quickly.
Disassemble the parts of your garden shears.
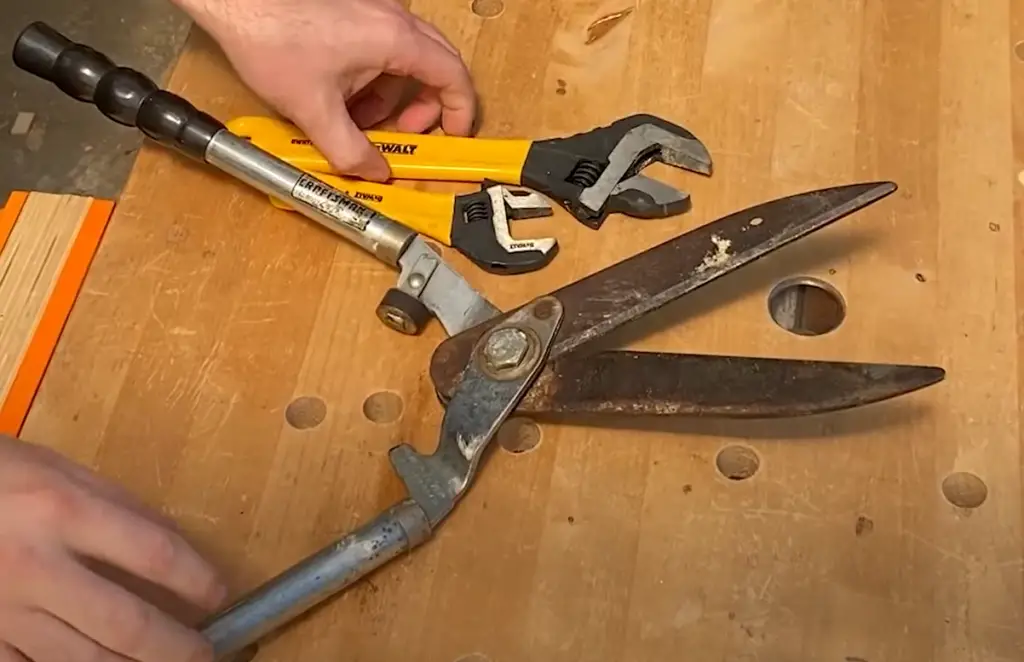
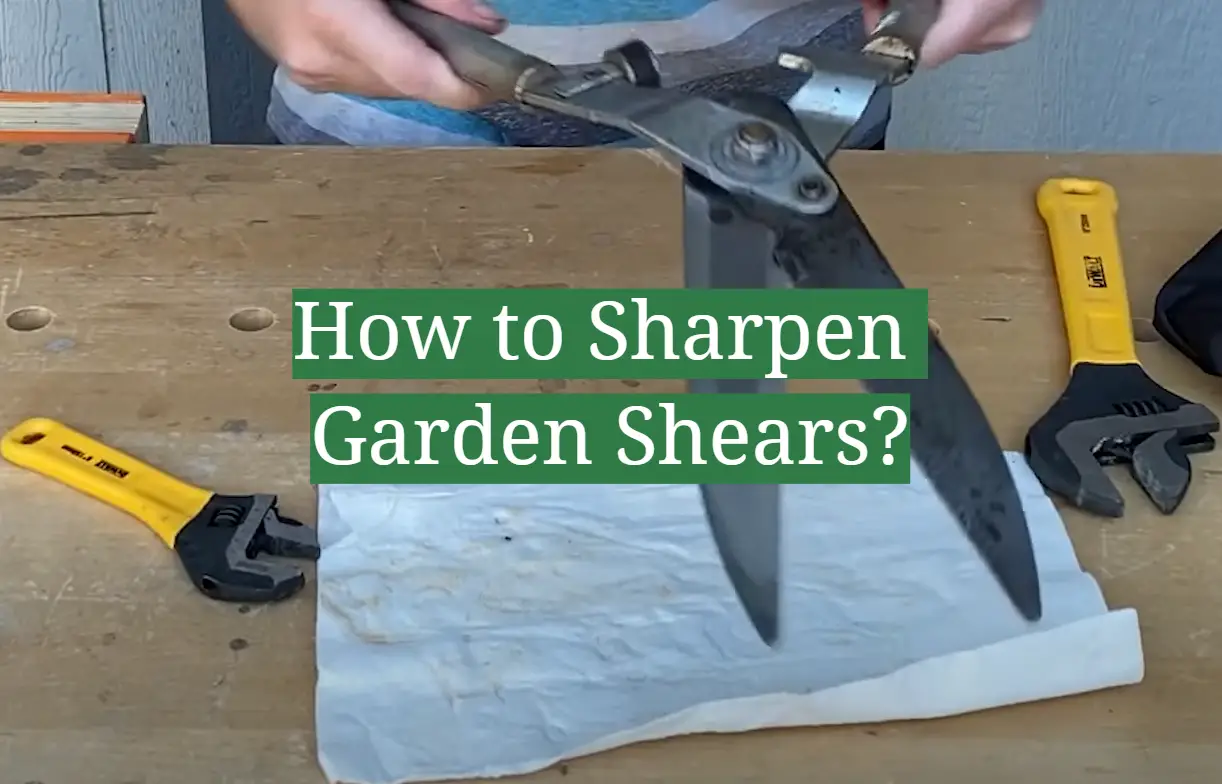
The first step is to disassemble the garden shears so that you can access the blades. Most garden shears have two main parts: the blades and the handles. To disassemble the shears, start by unscrewing the handles from the blade assembly. Disassembling isn’t a must but it can make the sharpening process much easier. Once the handles are removed, you should be able to see the pivot point where the two blades are attached. In some cases, there may also be a small spring between the handle and the blade assembly. If this is present, gently remove it and set it aside in a safe place.
With the spring removed (if present), you should now be able to separate the two halves of the blade assembly. Be careful when handling the blades, as they are extremely sharp.
Inspect the pieces for dirt and damage
Now that the shears are disassembled, take a close look at all of the pieces. Check the blades for any nicks, chips, or other damage. If there is significant damage, such as a large chip or crack in the blade, it’s best to replace the blade rather than try to sharpen it.
Inspect the handles for any cracks or breaks. If you notice any damage, it’s best to replace the handles rather than try to repair them.
Scrub away any dirt or debris
Once you’ve inspected the blades and handles for damage, it’s time to clean them. First, use a soft brush to remove any dirt or debris from the surface of the blades. If there is stubborn dirt that won’t come off with a brush, you can try scrubbing it with a mild cleaner and a soft cloth.
Next, use a damp cloth to wipe down the handles. Be sure to remove any dirt or grime from the inside of the handle as well as the outside. Once you’re finished cleaning, dry all of the parts with a clean towel.
Buff any rust off of the blades
If there is any rust on the blades, you’ll need to remove it before sharpening. Rust can cause your shears to become dull more quickly, so it’s important to get rid of them as soon as possible.
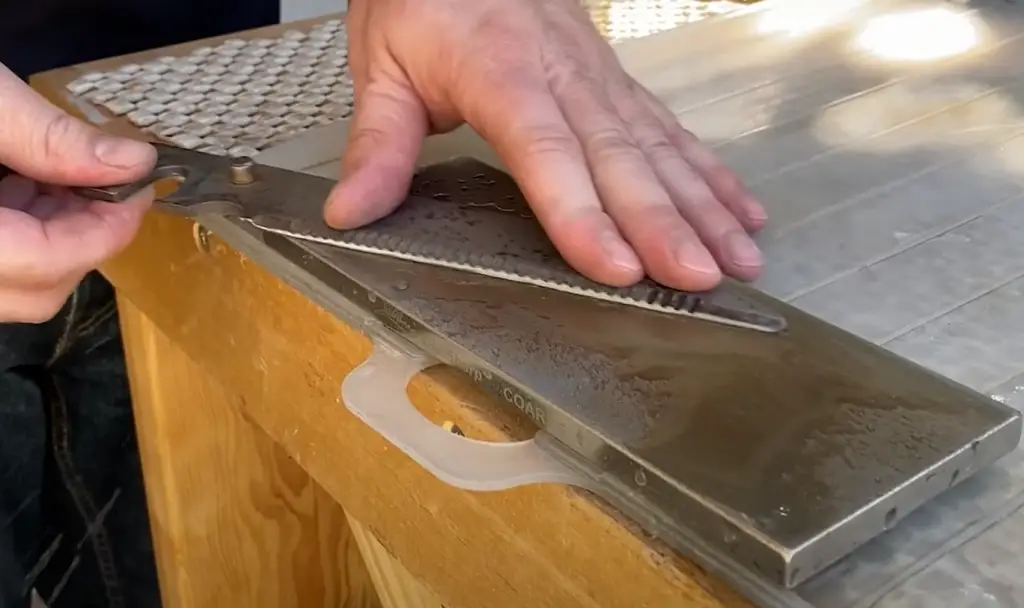
To remove rust, start by using a wire brush to scrub away any loose rust particles. If there is stubborn rust that won’t come off with a brush, you can try soaking the blade in a solution of vinegar and water. Let the blade soak for at least 30 minutes, then use a wire brush or abrasive pad to remove the remaining rust.
Once all of the rust has been removed, dry the blade with a clean towel and apply a thin layer of oil to help protect it from further rusting.
Remove build-up from the blades
If you use your garden shears frequently, there’s a good chance that they’ve developed a bit of build-up on the blades. This build-up can make it more difficult to sharpen the shears, so it’s important to remove them before you start.
There are a few different ways to remove build-up from the blades of your shears. You can use a metal polish, white vinegar, or even just plain old soap and water. Whichever method you choose, be sure to scrub gently so as not to damage the blades.
Once you’ve removed the build-up, rinse the blades off with clean water and dry them with a towel.
Sharpen the cutting edge
Now that the blades are clean and free of rust, you’re ready to start sharpening them. The next step is to choose the right sharpening tool for the job. There are a variety of sharpeners available, but not all of them are ideal for garden shears.
Before you start sharpening, it’s important to make sure that your shears are securely held in place. You don’t want them to move around while you’re working, as this could damage the blades.
If your shears have a handle guard, you can use it to help hold the shears in place. If not, you can try clamping the shears down or holding them in a vise. Once your shears are secure, you’re ready to begin sharpening.
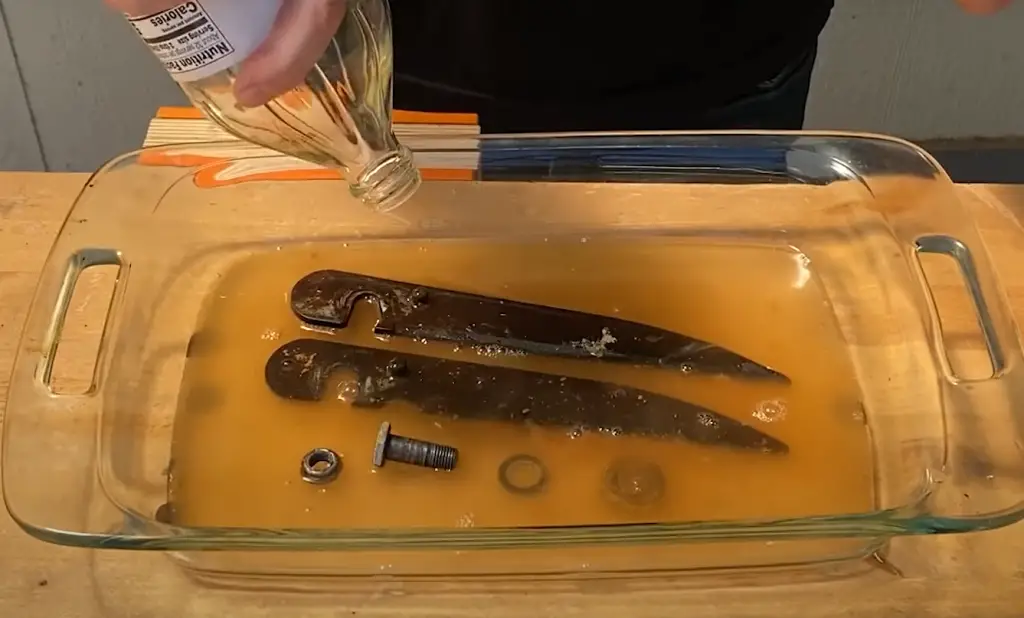
When sharpening garden shears, it’s important to use the right angle. The blade of most garden shears is slightly angled, so you’ll need to match this angle when sharpening. Carefully draw the file along the blade at the correct angle, using light pressure.
Work slowly and evenly, making sure to sharpen both sides of the blade equally. Once you’ve finished sharpening, use a clean cloth to wipe away any metal shavings from the blades.
Never file towards yourself, as this could result in serious injury. If you’re not comfortable sharpening the blades yourself, you can always take them to a professional.
Reassemble the tool
If you’ve taken your shears apart to sharpen them, the next step is to reassemble them. Start by attaching the blade to the handle, making sure that it’s securely in place. Next, put the guard back on if your shears have one. Once the guard is in place, you can add any other attachments that were included with your shears. Finally, tighten all of the screws and bolts until the shears are secure.
Lubricate the shears
Once your shears are sharp and reassembled, the last step is to lubricate them. This will help protect the blades and keep them working smoothly. Apply a light layer of linseed oil to all of the moving parts, including the hinge and any pivot points. [1] [2] [3]
FAQ
What is the best way to sharpen garden shears?
The best way to sharpen garden shears is with a sharpening stone.
First, you will want to find a sharpening stone that is the right size and shape for your garden shears.
Second, you will want to wet the stone before you begin sharpening your shears.
Third, you will want to hold the blade of your shears at a 20-degree angle against the stone and sharpen the blade in long strokes.
Fourth, you will want to test the sharpness of your shears on a piece of paper before using them again.
Finally, you will want to clean your shears after each use and oil them regularly to keep them in good condition.
How do you sharpen garden tools by hand?
The most basic and essential gardening tool is the garden shear. Garden shears come in all shapes and sizes, but they all have one thing in common: they eventually get dull.
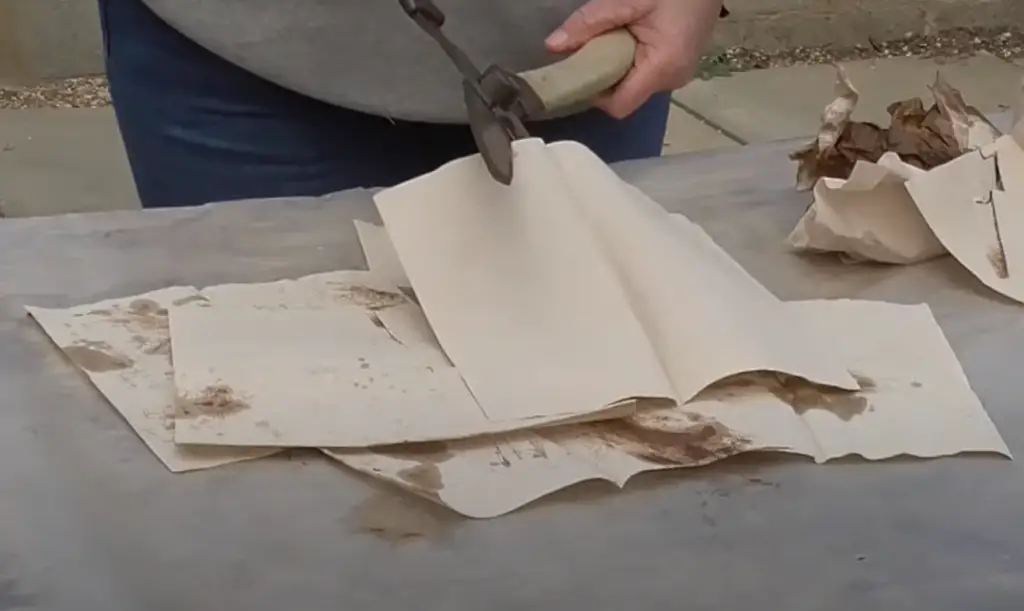
Fortunately, there are a few different ways that you can sharpen your garden shears by hand. The most common way is to use a sharpening stone. Sharpening stones come in a variety of materials, including diamond, ceramic, and Waterstones.
How do you sharpen pruning shears at home?
Then, holding the handle of your pruning shear in one hand and the stone in the other, use a back-and-forth motion to sharpen the blade. Start at the base of the blade and work your way up to the tip. Be sure to pay extra attention to any nicks or dull spots.
How do you sharpen garden shears with a file?
In general, you’ll want to use a round file for sharpening garden shears. The most important thing is to maintain the bevel (or angle) of the blade as you sharpen it.
Start by holding the file parallel to the ground and perpendicular to the blade. For best results, use a guide or jig to keep the file at the correct angle. Use light pressure and long strokes to avoid damaging the metal. Work on both sides of the blade until it’s nice and sharp!
Useful Video: Sharpening Garden Shears
Conclusion
Keeping your garden shears sharp is important for many reasons. Not only does it help your plants look their best, but it can also save you time and energy in the long run. With a little bit of care and attention, you can keep your garden shears in top condition for years to come.
In this article, we have covered the process of sharpening garden shears step by step. We also looked at some of the safety concerns that you should be aware of.
We hope that you have found this guide useful and that it has helped you to understand the process of sharpening garden shears. Thanks for reading!
References:
- https://www.thespruce.com/how-to-clean-and-sharpen-your-garden-hand-pruners-4070283
- https://www.gardeningetc.com/advice/how-to-sharpen-garden-shears
- https://www.wikihow.com/Sharpen-Pruning-Shears




Leave a Reply
View Comments