
When it comes to gardening, there are a lot of different ways to go about it. If you want to get the most out of your plants, you may want to consider building a raised garden bed. This can be a great way to ensure that your plants have plenty of room to grow, and it can also help protect them from pests and other threats. In this article, we will discuss how to build a raised garden bed with legs. We will provide you with a comprehensive guide that will answer all of your questions and help you get started!
What Are Raised Garden Beds
Raised garden beds are simply garden beds that are built higher than ground level. They can be made from a variety of materials, including wood, stone, or even concrete. Building a raised garden bed with legs is a great way to add extra height and dimension to your garden without taking up too much space.
There are many benefits to adding raised garden beds to your home landscape. For one, they can help you save space by growing vegetables vertically. Additionally, raised garden beds offer better drainage and aeration for roots, which results in healthier plants. Bugs and pests are also a less issue with raised garden beds, as they are typically built with a screen or mesh bottom that prevents critters from getting in.
And lastly, raised garden beds make it easier to control the soil quality and composition, since you’re not dealing with the native soil conditions. [1]
Advantages of Raised Garden Beds With Legs
There are a lot of reasons why you might want to build a raised garden bed with. Maybe your yard is too small, or maybe you just want to avoid all the kneeling and bending that comes with gardening at ground level. Whatever your reasons, building a raised garden bed is a great way to get all the benefits of gardening without all the back pain!
And while there are a lot of different ways to build a raised garden bed, we think the best way is to build one with legs. This type of a raised garden bed looks like a table, and offers a few key advantages over other types.
For one, raised garden beds are less likely to rot or collapse over time, since they’re not in constant contact with the damp ground. With raised garden beds with legs, you can easily access your plants from all sides, and you don’t have to worry about bending over too far (which can be tough on your back). Plus, adding legs to your raised garden bed also makes it easier to move around if you need to. Trust us, you’ll be glad you have that option when it comes time to mow the lawn! And lastly, raised garden beds with legs offer better drainage and aeration for roots, which results in healthier plants. [1],[2]
General Tips for Building a Raised Garden Bed With Legs
Now that we’ve gone over some of the benefits of raised garden beds with legs, let’s talk about how to actually build one. While there are a lot of different ways to do it, we think the simplest way is to build a frame out of wood and then fill it with soil.
You can purchase a pre-cut wood kit
If you’re not the DIY type, or if you’re short on time, you can purchase a pre-cut wood kit from your local home improvement store.
All you have to do is put it together according to the instructions!While purchasing a pre-cut wood kit is definitely the easiest way to go, it’s also the most expensive. If you’re looking for a more budget-friendly option, you can always cut the lumber yourself.
Place a mat underneath to catch a drainage
Another important tip to keep in mind is to place a mat underneath your raised garden bed. This will help catch any drainage and prevent it from damaging your deck or patio.
We recommend using a weed barrier mat, which you can purchase from your local home improvement store.
Multiple smaller beds are better than a single long one
It may seem like a good idea to build one giant raised garden bed, but we actually recommend building multiple smaller beds instead. Smaller beds are easier to fill and tend, and they also offer more growing space per square foot than one large bed. Trust us, your plants will thank you! It’s also way easier to organize and tend for a variety of plants with multiple smaller beds. And of course, smaller beds are easier to move and relocate, especially when compared to the bulky long garden beds. [2]
Equipment and Materials You’ll Need
Once you’ve decided how many raised garden beds you want to build, it’s time to start gathering your supplies. For the lumber, we recommend using cedar or redwood, as these types of wood are naturally rot-resistant. You’ll also need some screws (we recommend deck screws), a drill, and a saw. If you don’t have a saw, most home improvement stores will cut the lumber for you.
Don’t forget about the safety equipment either! Whenever you’re working with power tools, it’s important to wear safety glasses and a dust mask. Gloves will also come in handy to protect your hands from splinters.
You will also need a landscape cloth to line the bottom of your raised garden bed. This will help keep out critters, like gophers and moles. And last but not least, you’ll need some soil! Of course, you should prepare some good quality soil for your new raised garden bed. You can either use potting mix or garden soil for this. If you want to be extra prepared, you can also add some compost or manure to the mix. This will help give your plants a nutrient-rich environment to grow in. [2],[3]
Building Process
Once you have all your supplies, it’s time to start building! We won’t go into too much detail here, since there are a lot of different ways to build a raised garden bed. But essentially, you just want to screw the lumber together to form a rectangle (or square, depending on the shape of your bed).
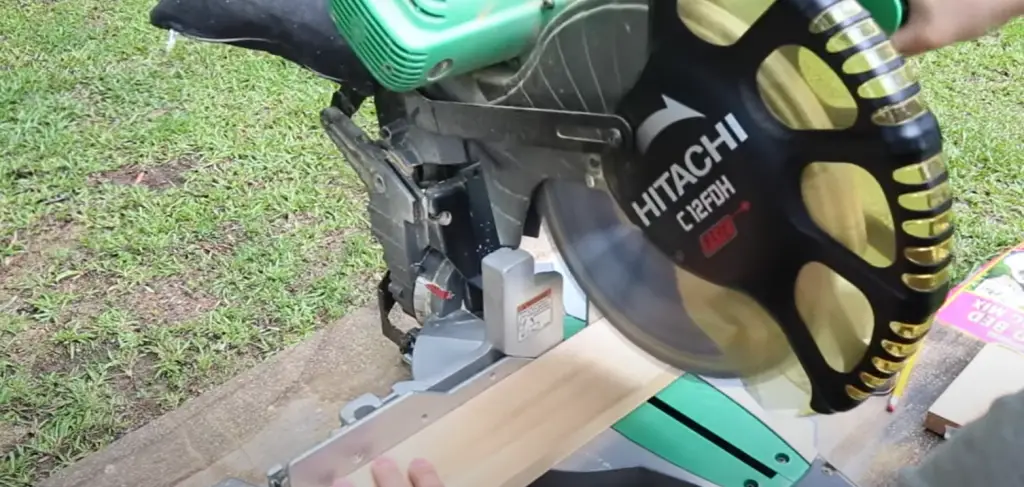
Cut the wood for the frame
We shall start by cutting the wood for the frame. You will need fourteen pieces of wood.
If you want to adjust the measurements, make sure that you keep the frame four feet wide so that it will be easy to reach from both sides. The width of the boards is not important, but they should be at least a few inches wide. Pick the size according to how big you want your garden bed to be.Use a saw to cut the lumber into equal lengths. If you don’t have a saw, you can ask someone at your local hardware store to make the cuts for you.
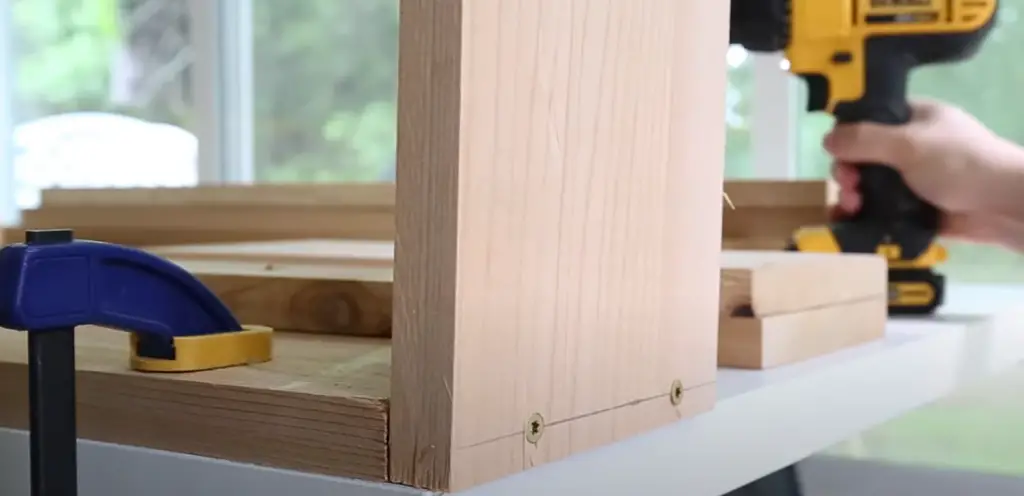
Assemble the frame
Now it’s time to assemble the frame. You will need to lay four 1×6 boards, two long and two short on the ground. Place the boards in a way that a rectangle shape is formed. Then, screw the carcass you got into 4×4 30 inch boards. Place the 30 inch long boards on top of the end of each 36-inch longboard, flush with the ends and edges. The two short sides should also be flush with the ends and edges of the two 24-inch long boards.
Use secure screws to attach all four corners together, making sure that everything is square. If you want extra support, you can add some diagonal braces made out of scrap wood. Just screw them into place so that they are firmly attached to both sides of the frame.
Cut four 1×6 boards for legs
Now that you have the frame cut, it’s time to add the legs. Get your 1×6 30 inch pieces and screw them to the 4×4 board faces. If you want, you can also use a drill to make pilot holes before screwing in the screws. This will help to prevent the wood from splitting. Make sure that the legs are evenly spaced and that they are screwed in securely.
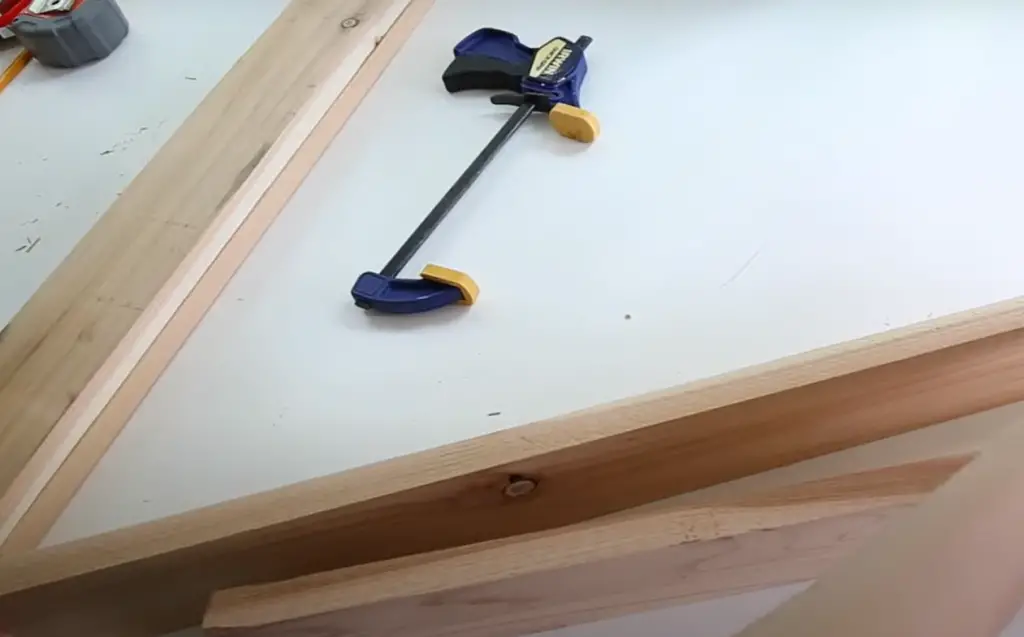
If you want, you can use a different type of wood for the legs. This is entirely up to you and what you think looks best. Just make sure that the legs are sturdy enough to support the weight of the soil and plants.
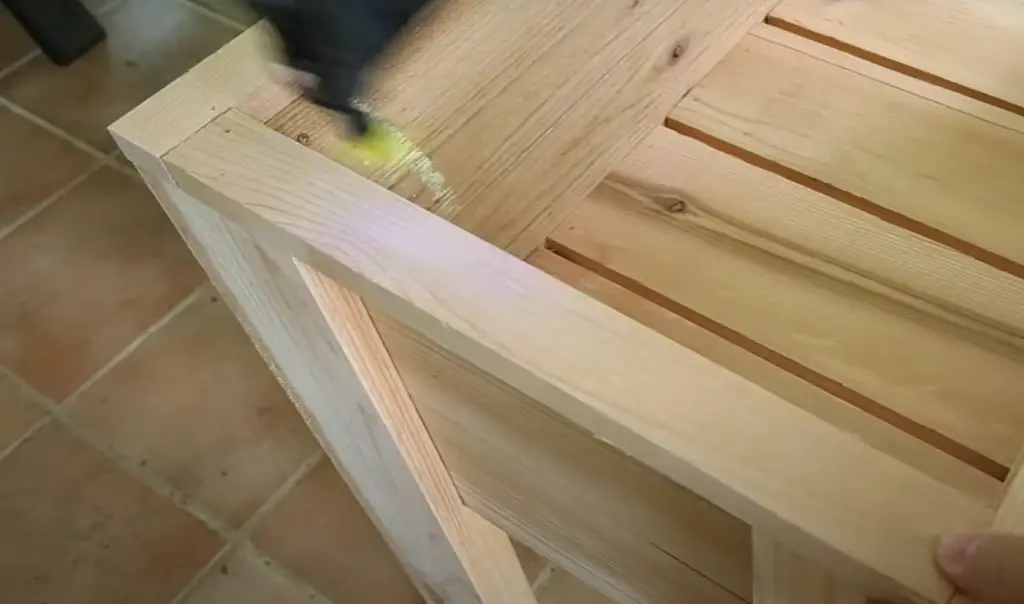
Attach the other parts of the raised garden bed
Now it’s time to attach the other parts of the raised garden bed. Get the extra planks and build another rectangle, like you did for the frame. Place a longboard on top of a on top of a lower longboard and screw it against 4×4 legs. Do the same for the other side. Then, attach two more boards on top of the lower short boards and screw them into place.
If you want, you can also add a border around the raised garden bed. This is again, entirely up to you and is not necessary for the functionality of the bed.
Get a hardware cloth and measure it
The next step is to get a hardware cloth and measure it. The hardware cloth will be used to keep the soil in place and prevent the roots of the plants from spreading.
You should leave an extra few inches on each side so that you can secure it in place.Add bottom slats
Now it’s time to add the bottom slats. Get your six 1×4 boards and screw them into place along the bottom of the bed. You will need at least two screws per board, but you can add more if you want. Just make sure that they are evenly spaced and that they are screwed in securely. Slats should securely rest near the bottom edges of the side panels.
Add the hardware cloth
Now it’s time to add the hardware cloth. Place it on the bottom of the tray and secure it in place with staples. Make sure that the hardware cloth is evenly distributed and that there are no gaps. You can trim the excess hardware cloth with a pair of scissors if necessary.
Roll out and cut the landscape fabric
The next step is to roll out and cut the landscape fabric. Cut the cloth so that it is about two inches wider and longer than the raised garden bed.
Use wire cutters to cut the hardware cloth so that it fits snugly around the raised garden bed tray. Make sure that there are no gaps or holes where the soil can escape.
Secure the landscape fabric and trim it
Now it’s time to secure the landscape fabric and trim it. You can use rocks, bricks, or even heavy-duty staples to secure the fabric in place. Just make sure that it is firmly attached so that the soil doesn’t escape. Once you have secured the fabric in place, you can trim off any excess with a utility knife.
Add soil and plants
Now it’s time to add soil and plants. Fill the raised garden bed with a good quality potting mix or garden soil. You can also add compost or other organic matter to the mix. Once you have added the soil, you can plant your seeds or seedlings. Water them well and keep an eye on them so that they don’t dry out.
Add soil slowly and evenly, tamping it down as you go so that there are no air pockets. Once the raised garden bed is filled, you can level off the top with a rake. Spread each layer of the soil mixture evenly before adding the next one.
You can use organic fertilizer or chemical fertilizer, depending on what you prefer.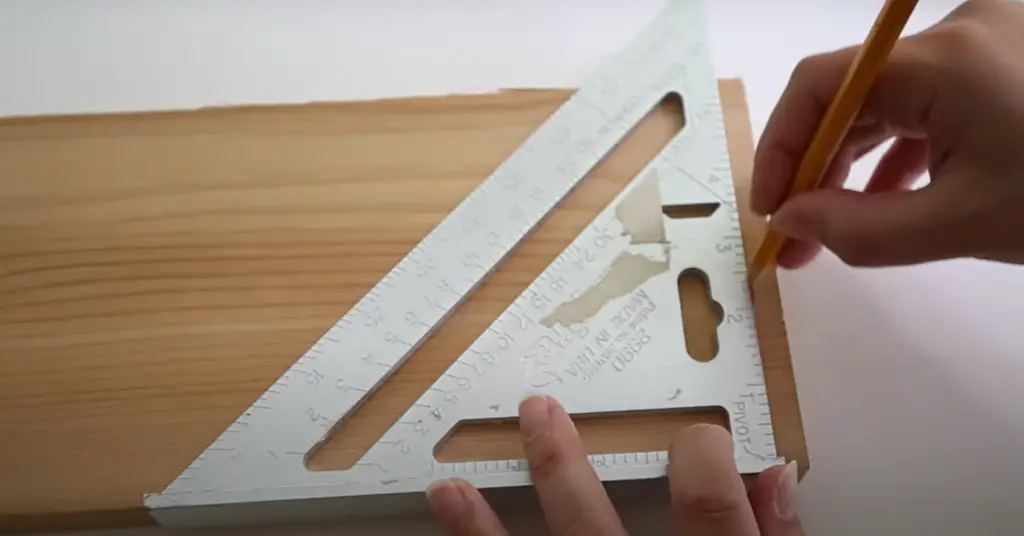
You now have a beautiful and functional raised garden bed! With a little bit of care, it will provide you with fresh fruits, vegetables, and herbs for years to come! [2],[3]
FAQ
What do you put on the bottom of a raised garden bed with legs?
You can put landscape fabric, old newspapers, or cardboard on the bottom of your raised garden bed with legs. This will help to prevent weeds from growing up through the bottom of your garden bed.
It is also a good idea to add a layer of mulch to the top of your soil. This will help to keep the soil moist and will also help to prevent weeds from growing.
If you are using raised garden beds with legs that are made out of wood, you may want to add a layer of pressure-treated lumber on the bottom of the bed. This will help to protect the wood from rot and insects.
How deep should a raised garden bed on legs be?
Most gardeners agree that 18 to 30 inches is ideal for a raised garden bed on legs. This depth allows you to plant most vegetables, as well as some flowers.
If you live in an area with heavy rainfall, you may want to consider increasing the depth of your raised garden bed on legs. This will help to ensure that your plants have enough drainage and don’t become waterlogged.
What do you line the bottom of a raised garden bed with?
There are a few different options for lining the bottom of a raised garden bed. One is to use hardware cloth, which will keep out pests like gophers and moles. Another is to line the bottom with landscape fabric, which will help prevent weeds from growing up through the soil. Finally, you can simply leave the bottom of the bed unlined.
If you choose to leave the bottom of the bed unlined, be sure to add an extra layer of mulch on top of the soil to help discourage weed growth.
What is the best wood to use for raised garden beds?
There are a few different types of wood that can be used for raised garden beds, but cedar is generally considered to be the best option. Cedar is naturally rot-resistant and insect-resistant, so it will last for many years with proper care. Other good choices include redwood and cypress.
If you’re looking for a more budget-friendly option, you can also use treated lumber. Just be sure to choose a type that is rated for ground contact and avoid using any chemicals near your food plants.
Useful Video:How to Build a Raised Garden Bed with Legs | Easy DIY Raised Garden Bed
Conclusion
Raised garden beds are a great way to grow your own vegetables, herbs, and flowers. They can be used to create an attractive landscape feature or to provide extra growing space for plants that need more room. Building a raised garden bed with legs is not difficult, but there are a few things to consider before getting started. The most important thing is to choose the right location for your raised garden bed. It should be in an area that gets plenty of sunlight and has good drainage.
Once you have chosen the perfect spot, you will need to gather some supplies. You will need lumber for the frame of the raised garden bed, screws or nails to hold it together, and something to use for the legs. Legs can be made out of anything that is strong and sturdy enough to support the weight of the raised garden bed. Some people use cinder blocks, bricks, or even old tires.
Once you have all of your supplies, you are ready to start building! Follow the instructions in this guide to build your own raised garden bed with legs. In no time at all, you will have a beautiful and functional garden bed that will provide years of enjoyment. Happy gardening!
References:
- https://learn.eartheasy.com/articles/10-excellent-reasons-to-use-raised-beds-in-your-garden/
- https://www.thespruce.com/diy-raised-garden-bed-with-legs-5115729
- https://angelamariemade.com/how-to-build-a-raised-garden-bed-with-legs/