Do you need to create a safe and secure way to access the inside of your shed? Constructing a shed ramp is an excellent way to make entering and exiting it much easier. Building one isn’t as hard as you think – all you need are the right materials, tools, and instructions! Here, we’ll go over all that’s needed in order to build a sturdy and stable shed ramp- perfect for keeping large or unwieldy items out of reach while safely reaching storage space above ground. Continue reading for a guide with clear, step-by-step instructions on how to easily build a sturdy and secure entryway for your shed.
How to Build a Shed Ramp?
Step 1: Shed Ramp Tools and Materials
To construct a shed ramp, you must have the following tools:
– Circular saw
– Chisel
– Level
– Hammer
– Nails
– Screws
– Pressure treated lumber (2x4s)
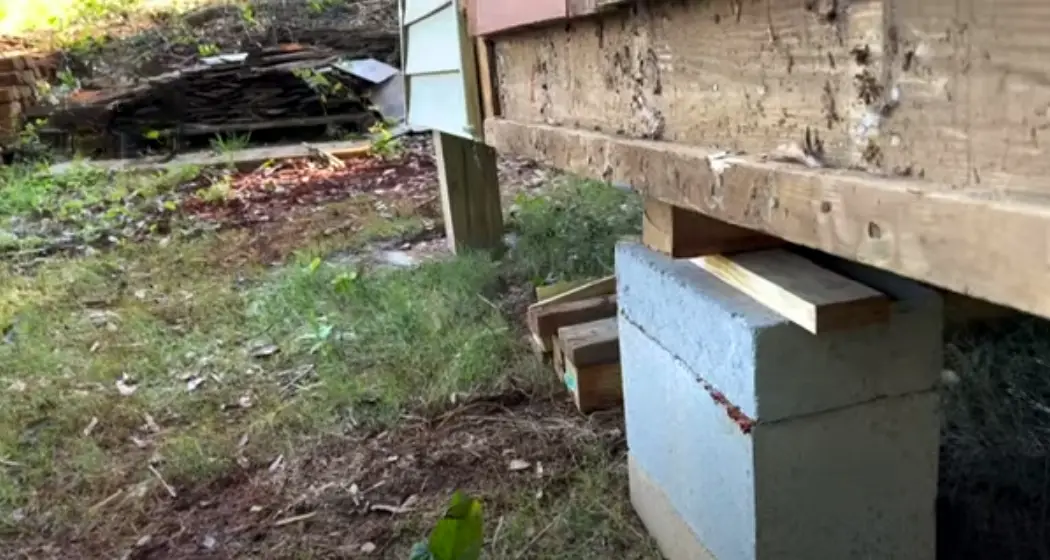
Step 2: Purpose & Planning
To build a shed ramp, you should first decide the purpose of your project and make a plan accordingly. First, decide what type of materials you will use for the base of your ramp. The most common material used for a ramp base is pressure-treated lumber. You should also decide on the size of your ramp and where it will be placed in relation to your shed.
Generally speaking, ramps should have no more than an 8° angle (1:12 slope ratio) so that they are comfortable to walk up and down. If the angle is too steep, it can be difficult to traverse and can also be unsafe if it gets wet or icy in winter.
Step 3: Cut Your Pieces
When you have figured out the dimensions and angle of your ramp, you can start cutting the components that will be used to construct it. First, measure out the dimensions for each piece and mark them on your pressure-treated lumber. Before beginning to cut, double check that all measurements are correct. Using a circular saw or jigsaw, carefully cut along your marked lines until all of your pieces are ready. If possible, use safety equipment such as protective eyewear and gloves when making cuts. [1]
Step 4: Determine the Slope
Now that you have cut all of your pieces, it’s time to begin assembling them. To determine the slope of your ramp, use a level or carpenter’s square to measure the angle between the two sides of your structure. Make sure that the angle is no more than 8° (1:12 slope ratio) before proceeding with assembly.
Step 5: Excavate and Level the Base
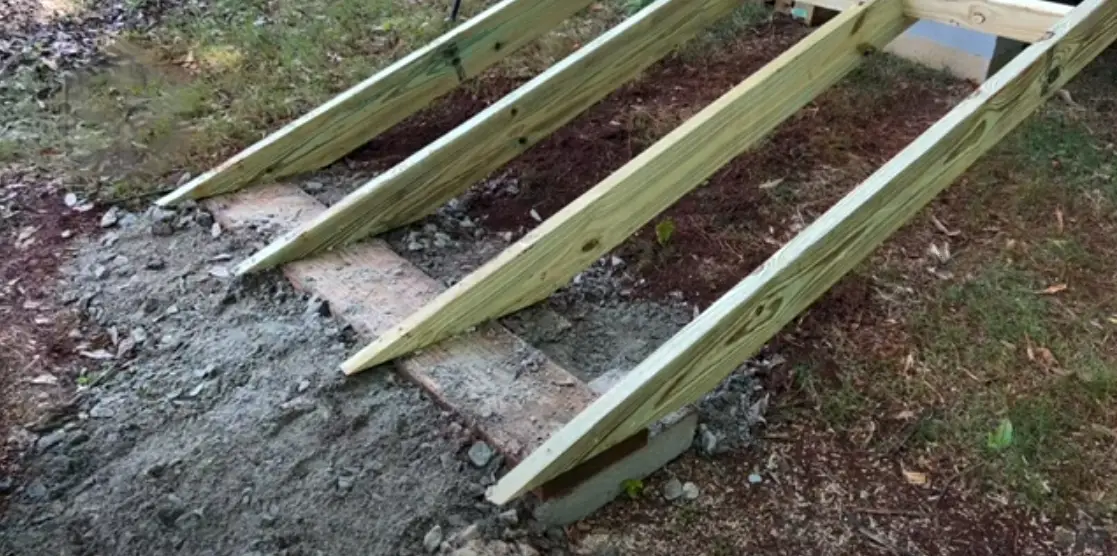
Once you have determined the slope, it’s time to begin excavating and leveling the area where your ramp will be placed. This is an important step as it ensures that the surface of your ramp will be even and secure. Using a shovel or other digging tool, carefully remove any grass, roots, and rocks from the desired area. Then use a level to make sure that the ground is flat before proceeding with assembly.
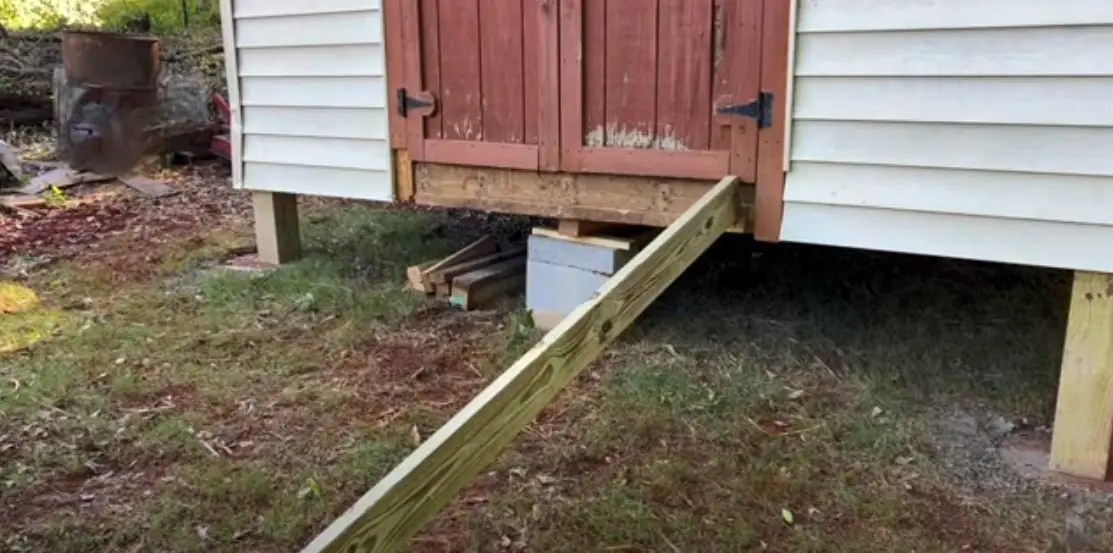
Step 6: Attach All Pieces Together
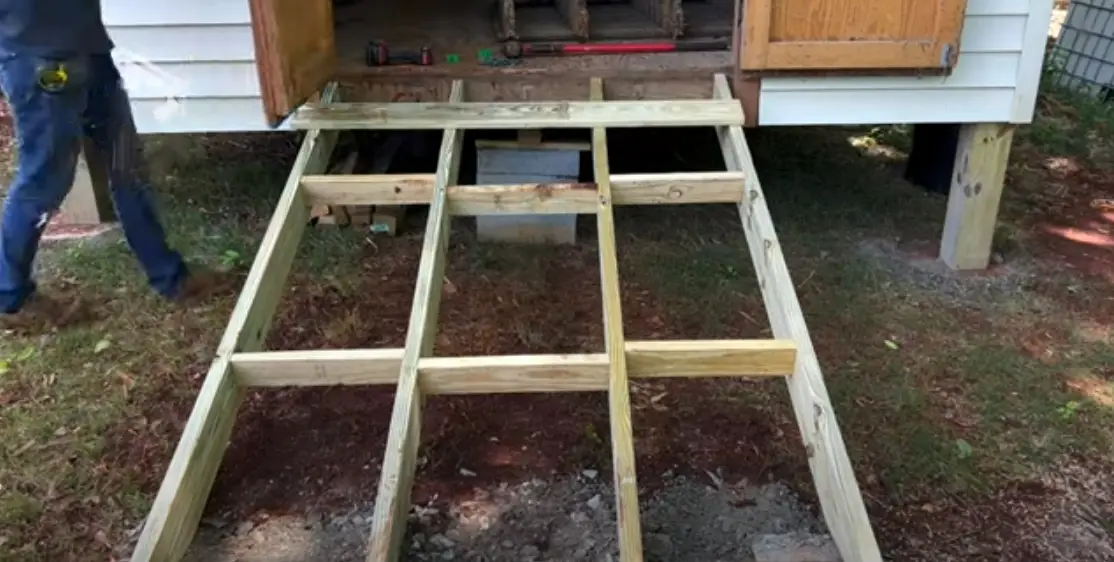
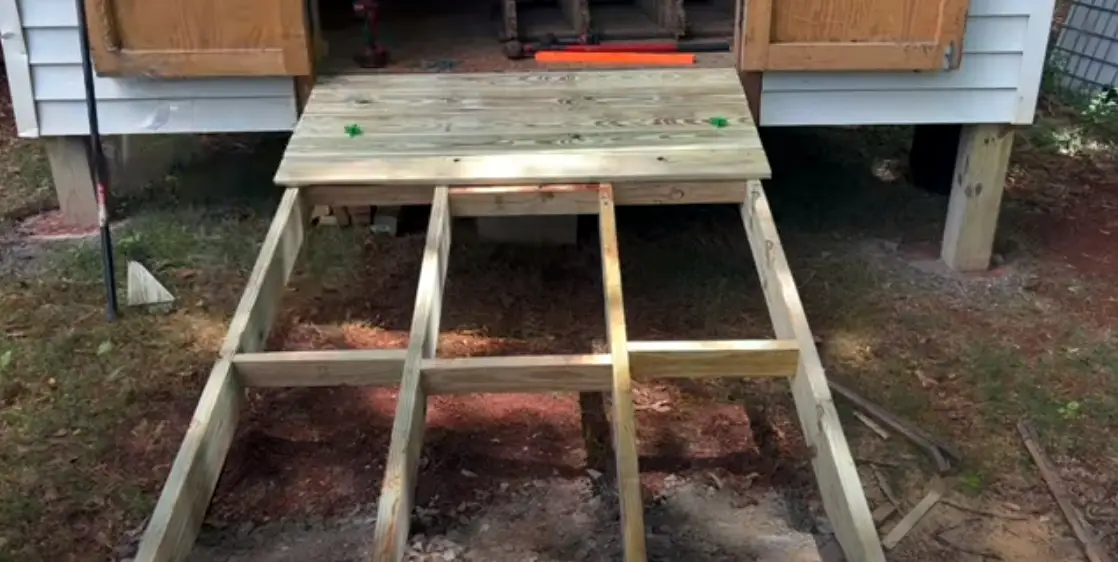
After you have excavated and leveled the base of your ramp, it’s time to begin attaching all the pieces together. Start by laying your pressure-treated lumber in place and securing them with screws or nails. Make sure that each piece is level and stable before moving on to the next step. Finally, cover any exposed screws or nails with caulk or wood putty for a more finished look. Once everything is secured in place, use a brush or roller to apply a waterproof sealant or stain to prevent rot and decay over time.
Step 7: Attach Ledger Board To The Shed
Once the ramp is fully assembled, it’s time to attach it to your shed. To do this, you will need to use a ledger board. Start by measuring out the correct length for your board and securing it in place using screws or nails. Once the board is secure, you can begin attaching the ramp to it and the side of the shed with screws or lag bolts. Make sure that everything is level and stable before moving on to the next step. [2]
Step 8: Check The Level & Secure the Ramp
The last step in building your shed ramp is to check that it is level and secure. Use a level or carpenter’s square to make sure that all pieces are even and stable before using the ramp. If necessary, you can use additional screws or lag bolts to further secure the structure.
Step 9: Backfill & Fill In the Cracks
Now that everything is secure, you can begin backfilling around your ramp with soil or gravel. This will help to keep moisture away and provide additional support for your structure. Finally, fill in any cracks or gaps with caulk or wood putty and enjoy your new shed ramp!
Step 10: Add Decking Board + Slats
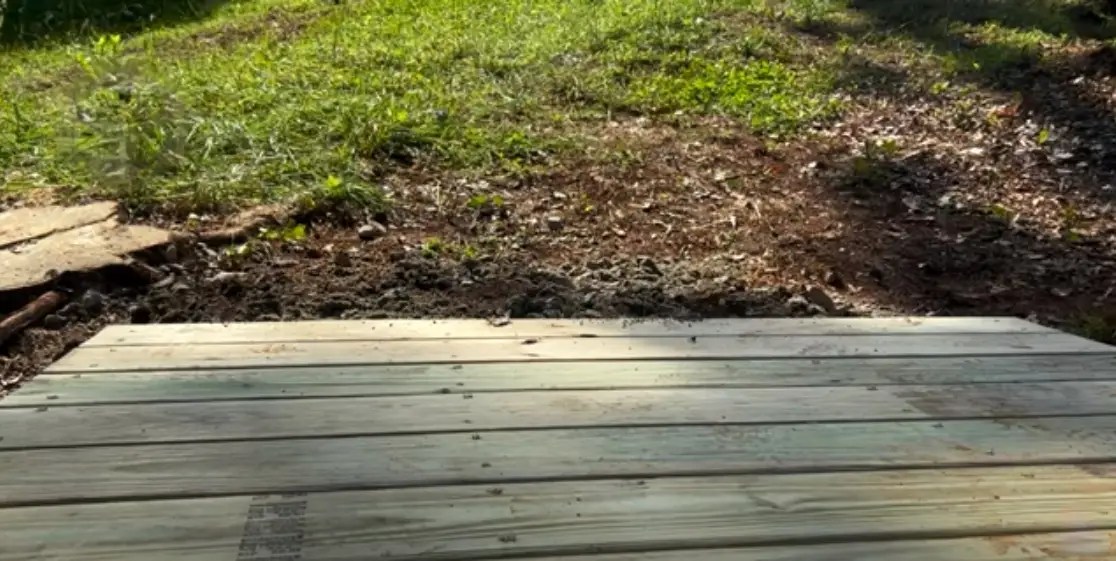
For a more finished look, you can also add decking boards or slats to the top of your ramp. This will not only provide a safer surface but can also help to protect the structure from water damage. If you choose to do this, make sure that all pieces are securely fastened before using the ramp.
Step 11: Finished Shed Ramp
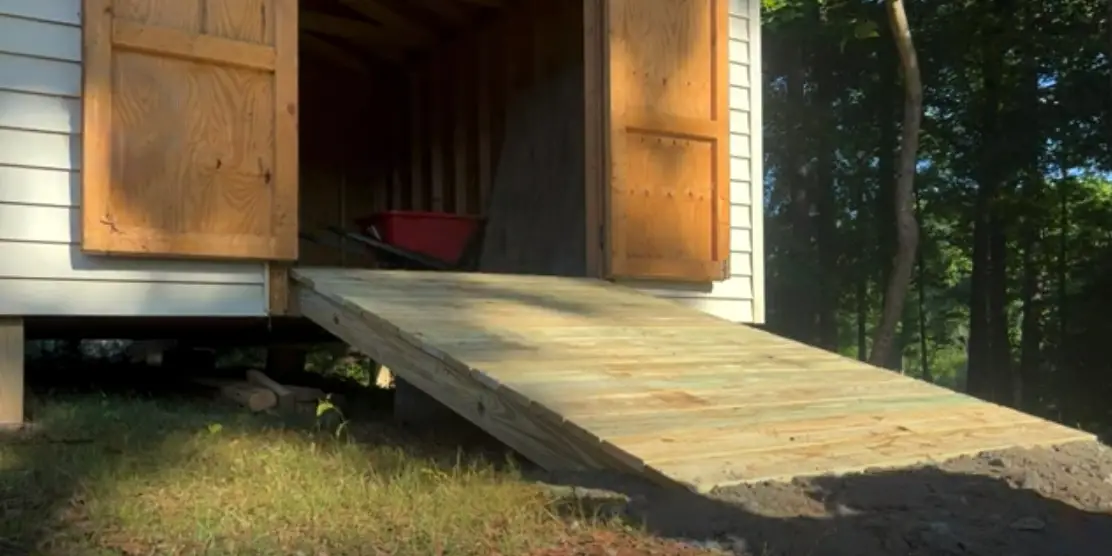
Congratulations! You have now successfully built a shed ramp. With the right tools and materials, it is a relatively easy project that can be completed in just a few hours. Enjoy your new ramp and make sure to check its stability periodically to ensure it remains safe and secure. [3]
Can I Buy A Shed Ramp Instead Of Making One?
Yes, it is possible to purchase a shed ramp instead of building one. Shed ramps are available in a variety of materials including wood, metal and plastic. Most prefabricated ramps come with all necessary hardware for installation, making them easy to set up. When purchasing a shed ramp, be sure to measure the height of your shed for proper sizing as well as consider the total weight capacity needed for your equipment or items you plan to transport on the ramp.
Lastly, ensure the shed ramp has slip-resistant treads or grooves so that items won’t slide off during transport.
By keeping these considerations in mind, you can make a well-informed decision and select the right shed ramp for your needs. [4]
What Types Of Shed Ramps Are There?
Concrete Shed Ramp
The most common type of shed ramp is the concrete shed ramp. It is durable, relatively easy to build, and perfect for larger sheds that require more support. The downside of a concrete ramp is the time it takes to construct and the cost associated with hiring someone to pour it.
Wooden Shed Ramp
A wooden shed ramp can be built quickly and on a budget. This type of ramp usually consists of two parts: a frame made from 2x4s or other structural lumber, and decking boards nailed onto the top. Wooden ramps are ideal for smaller sheds where weight isn’t an issue but they can be susceptible to rotting over time if not treated or maintained properly.
Metal Shed Ramp
If you’re looking for a durable, lightweight ramp option, then the metal shed ramp may be the one for you. These ramps are usually constructed with galvanized steel and can hold up to heavy loads without any issues. The downside is that they can be difficult to construct and require more welding than other materials.
No-Dig Shed Ramp
If you don’t have access to tools or want an easier way to build a shed ramp, then consider the no-dig option. This type of ramp involves using a combination of bags filled with gravel and wood planks laid out alongside each other to create a level surface. While it doesn’t provide as much support as either concrete or wooden ramps, it is still a viable option for smaller sheds and can be constructed quickly.
Aluminum Shed Ramp
Aluminum shed ramps are another popular option as they are lightweight, durable, and easy to construct. They usually consist of aluminum planks that lock together in order to create a ramp surface. This type of ramp is great for larger sheds where extra support is necessary and can easily be assembled or disassembled for storage. Regardless of what type of shed ramp you choose, make sure that it is securely fastened to the ground before use. [5]
Rubber Shed Ramp
Finally, rubber shed ramps are the most versatile type of ramp. These ramps can be placed over any surface and provide a non-slip grip for safety. Rubber ramps are also usually lightweight and easy to move around if needed. They offer excellent support for heavier objects, making them perfect for larger sheds or larger pieces of equipment.
No matter which type of shed ramp you choose, make sure that it meets your needs and is securely fastened before use! Also, be sure to research any local building codes or regulations that may apply in your area when constructing your shed ramp.
Benefits of Having a Shed Ramp
Having a shed ramp provides many important benefits. It helps make loading and unloading items much easier, as it eliminates the need for carrying heavy items up or down steps. A ramp also allows you to access your shed with a powered mobility device, such as a wheelchair or scooter. Additionally, building a ramp helps protect your shed from wear-and-tear that would be caused by repeatedly carrying heavy loads in and out of it.
Finally, adding a shed ramp can increase the overall value of your property since having one increases accessibility for all users.
Overall, having a shed ramp is an extremely useful addition to any home and provides many advantages over leaving it without one. Building one is not too difficult when you have the right tools and materials, so it is definitely worth considering if you are looking to make your shed more accessible. [6]
How Can You Make Ramps Safer?
Once you have built your shed ramp, there are a few things you can do to make it safer.
- Make sure the ramp is level with the ground: This will help prevent tripping hazards and ensure stability when using the ramp.
- Install guardrails along each side of the ramp: Guardrails help keep people safe by providing an extra layer of protection in case someone slips or trips while going up or down the ramp.
- Choose non-slip materials for the surface: A slippery ramp can be dangerous, so it’s important to choose materials that won’t easily become slick due to weather conditions or water accumulation from rain or snow. You may need to use a special non-slip finish on the ramp surface.
- Add lighting: Adding a few lights along the shed ramp can help ensure that it remains safe to use at night. This also makes it easier for people to find their way up and down the ramp in low light conditions.
- Trim back vegetation near the ramp: Cutting away any overhanging branches or weeds near the shed will help keep users safe by giving them more space to maneuver when entering and exiting your property via your shed ramp.
Following these simple steps can help make sure that your shed ramp is as safe as possible for everyone who uses it! [7]
How Much Does It Cost To Build A Ramp For A Shed?
The cost of building a shed ramp will depend on the size, materials and complexity of the project. The estimated cost for basic materials and labor will range from $20 to $200. The most common materials used are treated lumber, galvanized metal decking, pressure-treated plywood and outdoor carpet. For a more complex ramp structure, you may need additional supplies such as concrete mix and pavers. You may also choose to hire a professional contractor to build your shed ramp if you are not comfortable with DIY projects. A professional contractor can give you an accurate estimate of what it will cost to build your shed ramp.
Additionally, they can help ensure that the job is done correctly so that it meets safety standards and lasts for years to come. If you choose to hire a professional contractor, be sure to get several quotes beforehand so that you can compare prices and services before making your final decision. All in all, the cost of building a shed ramp should not be too exorbitant if planned properly. With careful budgeting and quality materials, you can create the perfect shed ramp for your needs without going over budget.
Safety Tips
When building a shed ramp, safety should always be your top priority. To ensure that your ramp is as safe and secure as possible:
- Make sure that you wear protective clothing such as gloves, sturdy shoes, and eye protection when constructing the ramp.
- Inspect the area for any potential hazards before beginning construction. Remove or cover any sharp edges or loose debris.
- Follow all local building codes and regulations to ensure that your ramp meets all necessary requirements for safety and stability.
- Always use pressure treated lumber to construct the frame of the ramp in order to avoid rot from moisture accumulation.
- Secure each plank of wood with appropriate fasteners (screws or nails) to provide additional strength and support.
- Keep the ramp free of snow and ice in order to prevent slipping or falling accidents.
- Make sure that the ramp is properly lit at night for added visibility and safety when using the ramp.
- Consider installing a handrail on one side of the ramp for extra stability when entering or exiting the shed.
- Regularly check your ramp for signs of wear and tear, such as loose boards, splintering wood, etc., and repair any damage promptly to ensure continued safety.
Follow these tips for building a safe, secure shed ramp so you can enjoy it for years to come! [8]
FAQ
How do you build a simple ramp for a shed?
Building a simple ramp for a shed is relatively straightforward. You need to make sure that the ground is level and then start by constructing two frames—one at the top of the steps leading to your shed, and one at the base. Once these are in place, you can attach boards or planks across them, making sure they’re secured firmly into place using screws or nails. If you’re going to be using pre-made materials such as deck stairs, these should be installed into your frame before adding additional planks or boards. Finally, use screws or nails to secure skirting around your frame for added stability and support.
What materials do I need for building a ramp for my shed?
You will need wood for constructing the frame, boards or planks for the ramp itself and screws or nails to secure everything together. Depending on the materials you are using, you may also need additional items such as deck stairs, skirting materials, paint or sealant. It’s important to make sure that all screws and nails used are rust-free and suitable for exterior use.
What is the best way to ensure my shed ramp is stable?
The best way to ensure your shed ramp is stable is to build a sturdy frame that can support the weight of whatever will be going up or down it. Make sure that you use quality hardwood when making your frame and that it is securely bolted into place at both ends. Additionally, consider adding skirting around your frame for added stability and to help keep out moisture and pests. Finally, use screws or nails to secure the boards or planks that make up the ramp itself into place. This will give you a safe and ramp for your shed.
What safety precautions should I take when building a shed ramp?
When building a shed ramp it is important to take safety precautions such as wearing protective gear like goggles, gloves and steel-toe boots to protect yourself from potential injuries. Make sure that all tools used are in good working condition and that they are designed for outdoor use. Additionally, check the ground where your shed will be installed is level and free of any debris or obstacles that could interfere with its construction process.
What is the proper slope for a shed ramp?
The ideal slope for a shed ramp is about 1:12, which means that for every 12 inches of vertical rise there should be one inch of horizontal run. This ensures that the ramp is not too steep or too shallow and provides safe access to your shed. Additionally, make sure that the boards or planks you use have a non-slip surface so they don’t become slippery when wet.
What other features are important when building a shed ramp?
When building a shed ramp it is important to include features such as handrails and lighting to aid with visibility in low light conditions. If you’re constructing the frame out of wood, consider applying a sealant or paint to protect it from rot and decay. Additionally, it’s important to make sure the ramp is wide enough for the items you plan on using it for and that there are no sharp edges or protrusions. Finally, make sure to check your ramp regularly for any signs of wear and tear or damage so you can take immediate action if needed.
What can I use for a shed ramp?
When building a shed ramp, you can use a variety of materials. Pressure-treated wood is the most common material used for shed ramps as it is durable and relatively inexpensive. However, other materials such as composite decking can also be used. It is important to consider the slope when choosing your material, as steeper slopes are better suited for materials with more grip (such as composite decking) while less steep slopes are okay with pressure-treated wood. If using pressure-treated wood, make sure to choose boards that are rated specifically for outdoor use and have been treated with preservatives to help protect against decay and insects. Additionally, ensure that all components of your shed ramp are securely fastened together using nails or screws to provide additional stability. Lastly, adding a non-slip coating to the finished ramp can help ensure that it is safe for use in all weather conditions.
What is the best material for a shed ramp?
The best material for a shed ramp depends on the slope of the ramp and your budget. Pressure-treated wood is often the most affordable option, however it is not suitable for steep ramps as it can be slippery when wet. Composite decking is another popular option and provides excellent grip even in wet conditions, making it ideal for steeper slopes. If you have a limited budget or want to keep costs down, recycled plastic lumber can provide an inexpensive yet durable alternative to composite decking. No matter what material you choose, make sure to use screws or nails to fasten everything together securely and consider adding a non-slip coating to ensure safety in all weather conditions.
What should I avoid when building a shed ramp?
When building a shed ramp, it is important to avoid using any materials that are not designed for outdoor use or treated with preservatives. Additionally, you should avoid building the ramp too steep as this could increase the risk of slipping and falling. Lastly, always make sure that all components of your shed ramp are securely fastened together and consider adding a non-slip coating to provide extra safety.
Can you use plywood for a shed ramp?
Plywood is not a suitable material for a shed ramp as it is not designed for outdoor use and can rot when exposed to moisture. Additionally, plywood is slippery when wet and therefore not safe for steeper slopes. Pressure-treated wood, composite decking, or recycled plastic lumber are better alternatives that provide better grip and more durability in outdoor conditions.
Can I paint my shed ramp?
Yes, you can paint your shed ramp if desired. However, make sure to use an exterior paint specifically designed for outdoor use and always follow the manufacturer’s instructions carefully. Additionally, adding a non-slip coating on top of the painted surface will help ensure safety in all weather conditions.
Useful Video: DIY Shed Ramp
Conclusion
Once you have built your shed ramp and securely attached it to the shed, make sure to test it. You may want to use a few sandbags or other heavy objects when testing the stability of the ramp. After completing these steps, you will have a secure, safe shed ramp that can be used for many years to come. Making these simple improvements to your shed will help ensure easy access for you and any visitors who need to enter your shed. With a little bit of effort and some common tools, anyone can build an effective shed ramp in no time!
References:
- https://atimprovements.com/shed-ramp-building-guide/
- https://kloterfarms.com/how-to-build-ramp-shed/
- https://shedsunlimited.net/blog/shed-ramps-a-comprehensive-overview/
- https://atimprovements.com/shed-ramp-building-guide/
- https://www.goldstarbuildings.com/prefab-sheds-ideas/how-to-build-a-shed-ramp/
- https://howtospecialist.com/outdoor/shed/how-to-build-a-shed-ramp/
- https://landmarktools.com/blogs/guides/how-to-build-a-ramp-for-your-shed
- https://kloterfarms.com/how-to-build-ramp-shed/




Leave a Reply
View Comments