Every gardener wants their flower beds to bloom with beautiful colors and to have delicious vegetables from their farmland – but how soon can you start sowing seeds right after tilling your garden? Many home gardeners don’t realize that the process of tilling is vital in preparing soil for planting and, if done correctly, you can actually start sowing seeds immediately afterward. Find out more about why tilling your garden is important and when it’s time to get the seeds into the ground.
Why Does Every Garden Need Tillage?
Tillage is an important part of gardening because it helps to prepare the soil for planting. By loosening and aerating the soil, tillage allows water and air to penetrate more deeply so that plants can absorb nutrients more easily. Tillage also helps to control weeds by exposing weed seedlings to light and drying them out. Additionally, tillage reduces compaction in the soil which can cause a buildup of salts that can be toxic to some plants. Finally, tillage helps to reduce erosion by increasing surface roughness so that rainwater doesn’t run off too quickly with the potential of carrying away topsoil from your garden.
Overall, incorporating tillage into your gardening routine is beneficial for many reasons: it can help to improve soil health, reduce weed growth, and decrease erosion. Plus it’s a great way to add some exercise to your gardening routine!
By using the proper tools and techniques for tillage, you can ensure that your garden will be healthy and productive for years to come. Be sure to research which type of tillage is best suited for your garden needs before beginning any work. And remember — tillage should always be done when the soil is dry so that it doesn’t become compacted or clumpy. With these tips in mind, you’ll be ready to start tilling up your garden this season!
Benefits of planting immediately after tilling
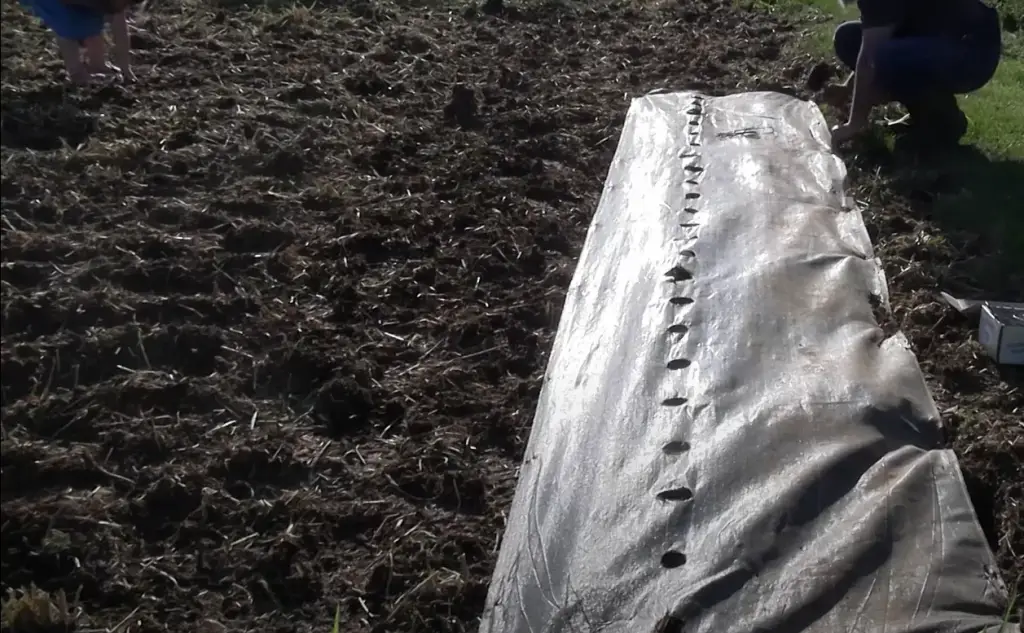
Planting immediately after tilling allows you to plant in moist soil
Moist soil allows for better seed germination and root growth, resulting in healthy, strong plants. This is especially true if you are planting a crop that requires a lot of moisture to thrive such as corn or soybeans. Planting immediately after tilling will also help to reduce weed competition since the freshly-tilled soil will not be full of active weeds. The process of tilling can also create a nice level surface that is ideal for planting.
If you wait too long after tilling before planting your crops, then the soil may become hard and dry which can make it difficult to plant and keep the seeds moist enough for successful germination.
Planting in moist soil is good for seeds and for the microorganisms that live in the soil
The moist soil encourages microorganisms to thrive, which in turn can help to break down organic matter and make it available for plants as nutrients. This is important for maintaining soil fertility over time, especially if you are planting the same crop year after year. Planting immediately after tilling also helps to maintain Earthworms, which aerates and mixes the soil and allows water to penetrate deeper into the ground.
The physical properties of planting directly reduce crusting
Soil that has just been tilled can easily be too compacted for seeds to germinate.
Planting directly after tilling reduces this risk, as the gentle pressure of planting aids in loosening up the soil and allowing air and water to penetrate further into the ground. This is especially important for heavy clay soils where compaction can be an issue.
Planting immediately after tilling allows for a stronger root structure in plants
Since the soil is moist and well-aerated, the roots of plants can spread out quickly creating a strong foundation for the plant. The strong root structure helps to protect the plant during periods of drought or extreme temperatures.
It’s good for weeds
Tilling helps to break up any weed seeds that may have been laying dormant in the soil, exposing them to sunlight and killing them before they have a chance to germinate. Additionally, by planting immediately after tilling you are “crowding out” any potential weeds, making it harder for them to get established and start competing with your crop plants.
Planting immediately after tilling allows for better moisture retention between rains
When you till the soil, it creates a nice layer of loose soil that can help to retain moisture for longer periods. This is especially helpful if you live in an area with long dry spells between rains. The tilled soil will act like a sponge, soaking up and storing moisture for your plants until the next rain comes.
Planting immediately after tilling helps reduce erosion
Tilling breaks up large clumps of soil and exposes them to the wind and water, making them more susceptible to erosion from wind or water runoff. Planting directly after tilling helps keep the soil in place by providing a cover crop that helps hold it down and prevent further erosion. This is important for maintaining fertility over many years as well as preventing topsoil from being washed away.
It’s good for clay soils
Clay soils are often very compacted which makes it difficult for roots to penetrate and water to drain.
Planting immediately after tilling means you can more easily select healthier crops earlier on
By planting directly after tilling, you are giving your crops the best chances for success. The healthier soil structure and nutrient levels make it easier to select the strongest and most vigorous plants for harvesting, leading to higher yields in the long run.
It’s good for raised beds
Tilling helps to break up the soil in raised beds and makes it easier for roots to penetrate.
Planting directly after tilling also creates a more level surface, giving your plants better exposure to sunlight and helping them thrive. This is especially beneficial for crops that require lots of light to flourish.
It’s good for planting successions
Succession planting is a great way to maximize the use of your garden space and ensure that you have a steady supply of crops throughout the growing season. By planting directly after tilling, you are essentially creating an ideal environment in which to plant successive crops, as the loose soil will allow for better germination and growth of new plants [1].
How to till your garden before planting?
Once you’ve decided what type of garden you’d like to plant in and the general area for your garden, it’s time to start preparing the soil. This process is known as tilling and is a necessary step before planting any kind of vegetable, herb, or flower.
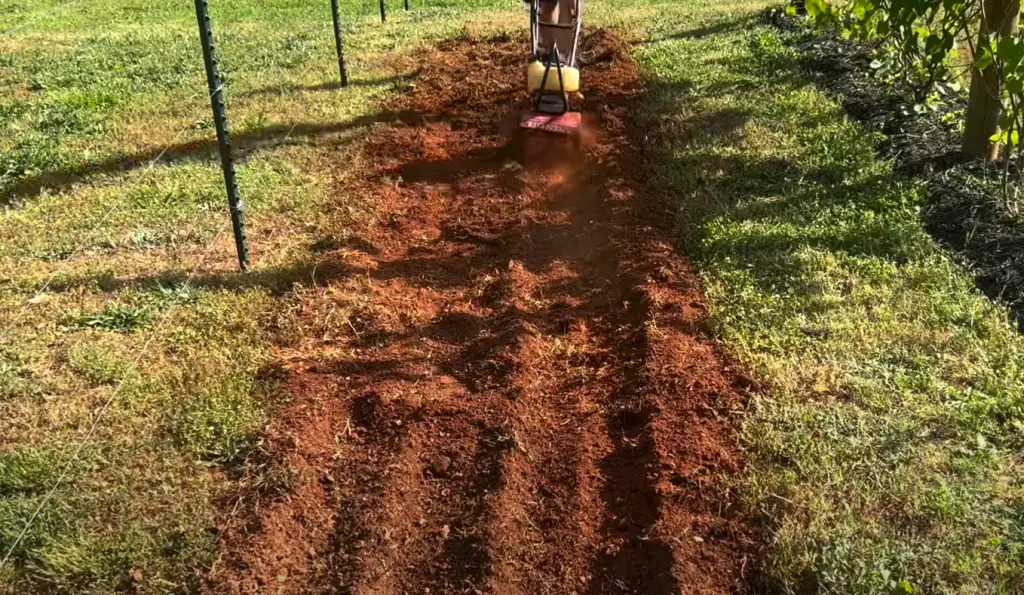
Tilling involves breaking up the soil so that air and water can penetrate more easily. It also helps loosen hard-packed soil which can improve drainage and help plants take root faster once they are planted. When tilling by hand, gardeners will use a hoe or spade to dig down at least six inches into the ground on their chosen spot for their garden.
For larger gardens with more space to cover, a gasoline-powered till may be used. This tool is faster and can go much deeper into the soil than a hand tiller.
If you have heavy clay or rock-hard soil, it’s important to break these up before tilling. A garden fork or pickaxe can help with this task so that your tilling efforts are more effective.
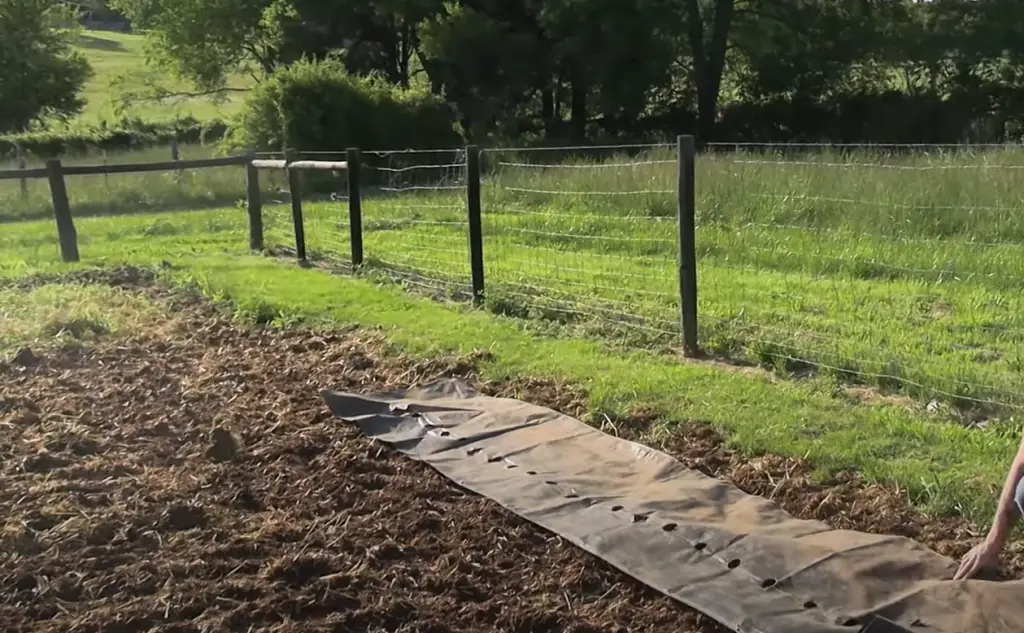
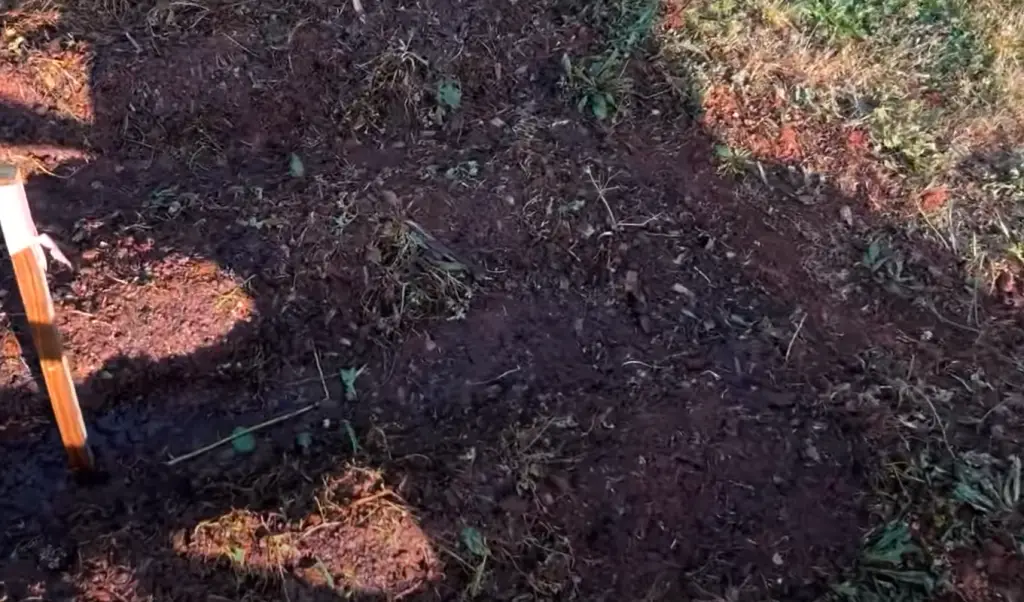
Once the soil has been broken up, it should be raked smooth and level so that plants will be planted evenly throughout the bed. If any large rocks or clumps of dirt remain, they should be removed before planting takes place.
Tilling is an essential step if you want to achieve a successful garden harvest! With diligent effort and knowledge of the process, you’ll be able to create a nutrient-rich environment for your plants [2].
How To Plant Your Garden After Tilling
Consider adding organic matter to your soil
When preparing for a garden, it is important to consider adding organic matter such as compost or manure to your soil.
This will help improve the fertility of the soil and will also create a better environment for plants to grow in. Additionally, tilling can help by breaking up the soil and allowing air and water to penetrate deeper into the ground.
Check your soil and its state
Before planting, make sure to check your soil for its pH level. A pH test will help understand what types of plants are right for the soil and also which type of fertilizer you should use. Additionally, doing a soil texture test will help determine the water-holding capacity and drainage capabilities to create an ideal environment for your plants.
Prepare Your Beds & Rows
Once you have established the best conditions for your garden, it is time to prepare individual beds or rows by tilling up the soil and removing any weeds or rocks that may be obstructing growth. This can easily be done with a basic garden hoe or by hand. Be sure to mix in some compost and fertilizer into this topsoil layer before
Choose what you want to plant
Next, it’s time to choose what type of plants you want to grow in your garden. Consider what type of soil you have available as well as if there are any specific requirements that certain plants may need – such as sunlight or shade – to thrive. Once you have decided on your desired plants, it’s time to start planting.
Plant Your Seeds or Transplants
When you are ready to begin planting, make sure that you’re following the instructions on the seed packet or transplant container. This will help ensure the successful germination and growth of your plants and vegetables. When planting seeds, be sure to place them in a shallow hole with some loose soil around them as this will make it easier for the seeds to expand and sprout.
Water & Fertilize Properly
It is important to continue watering your garden regularly, especially during hot and dry weather. Make sure that you are providing your plants with enough water to ensure their healthy growth. Additionally, fertilize your garden regularly as this will help provide nutrients for your plants. Be sure to read the instructions on the fertilizer container to understand how often and how much of it should be used for your plants to thrive.
Weed Regularly & Harvest When Ready
Finally, make sure to weed regularly to prevent any unwanted or invasive weeds from taking over your garden beds. As your plants start growing, keep an eye out for pests or diseases and take appropriate action if needed.
Once they have reached maturity, you can start harvesting them so you can enjoy the fruits of your labor [3]!
FAQ
How deep does soil tilling go?
Soil tilling typically goes between six and eight inches deep. However, the depth of soil tilling can vary depending on the type of tiller and the area being worked on. For example, if you’re working in hard soil, then a deeper level of tilling may be required to ensure effective results.
Ultimately, it is best to consult an expert before choosing a specific setting for your project.What are some benefits of soil tilling?
Soil tilling helps break up compacted soils and create loose particles which can help make them more permeable and easier for roots to penetrate. Additionally, tilling can help reduce weed growth by mixing beneficial plants into the soil. It can also help improve drainage and aeration of the soil, which improves its ability to hold water and nutrients better so your plants are healthier and grow better. Finally, tilling helps increase microbial activity in the soil which further increases nutrient availability for plants.
Are there any negative aspects of soil tilling?
Unfortunately, there are some potential negatives associated with soil tilling. Over-tilling can lead to a decrease in organic matter content and cause erosion due to exposed soils being vulnerable to wind and water movement. Additionally, it may disrupt earthworm populations in soils as they rely on undisturbed layers of organic material for their habitat. Lastly, soil tilling can leave behind hardpan layers that are difficult for roots to penetrate and cause drainage issues. It is important to consider all of these potential consequences before beginning any soil tilling project.
Can I use a tractor for soil tilling?
Yes, you can use a tractor for soil tilling. However, it is important to note that tractors are typically more powerful than regular cultivators or rototillers and can have more destructive effects on soils if not used properly. Additionally, the type of tractor you use will depend on the area being worked on and the size of the job at hand. Ultimately, it’s best to consult an expert to get advice specific to your situation before using a tractor for soil tilling.
What types of tools are used for soil tilling?
The most common tools used for soil tilling include spades, shovels, cultivators, rototillers, and tractors. Spades and shovels are typically used for smaller jobs and allow you to have more control over the depth of the tillage.
Cultivators and rototillers work by rotating blades that dig into the ground and move it around, loosening up the soil so that roots can penetrate it better. Lastly, tractors are powerful machines that allow you to cover large areas quickly but require special attention to ensure they don’t cause too much disruption in soils. Ultimately, it is best to consult an expert to determine which tool is best for your particular situation.
Where can I find more information about soil tilling?
The best place to find more information about soil tilling is by consulting a local expert or doing research online. The internet has a wealth of resources available that provide detailed instructions and advice on how to properly till soils, as well as tips and tricks to maximize results. Additionally, you can reach out to your local Extension office or consult with a professional landscaping service for specialized help in your area. Finally, there are many books and publications available that discuss the topic in depth if you’d like an even deeper understanding of soil tilling.
What’s the difference between tilling and cultivating?
The main difference between tilling and cultivating is the depth at which they work. Tilling operates at a much deeper level than cultivating, typically between six and eight inches below the surface. Additionally, tilling is more disruptive to existing soils and can cause changes in soil structure and organic matter content. On the other hand, cultivating works mainly on top layers of the soil surface and is less disruptive for existing soils while still providing benefits such as improved aeration and drainage. Ultimately, it’s best to consult an expert to determine which process would be most appropriate for your project.
How do you break up dirt clumps after tilling?
The best way to break up dirt clumps after tilling is by using a rake. Raking helps break up large clods of soil and move them around evenly so that the soil can be leveled out. Additionally, you should also keep an eye out for any large stones or rocks that may have been uncovered in the process of tilling and remove them if necessary. Finally, it’s important to remember to water your soil regularly to ensure proper drainage and aeration which will help reduce soil compaction over time.
What kind of maintenance does tilling require?
Tilling requires regular maintenance to ensure effective results. This includes checking for signs of erosion or compaction, as well as making sure all tools are properly maintained. Additionally, it’s important to periodically check the soil for any rocks or debris that may have been uncovered and remove them if necessary. Finally, it’s also important to keep an eye on moisture levels in the soil since too much moisture can cause compaction which can make tilling more difficult. Ultimately, regular maintenance can help ensure your tilling efforts are successful and long-lasting.
What are the steps in preparing the soil for planting?
The steps in preparing the soil for planting include tilling, fertilizing, and amending. Tilling helps break up large clods of soil and makes it easier for roots to penetrate. Fertilizing provides nutrients that will help plants grow healthier and stronger. Amending the soil adds organic material such as compost or manure which improves drainage, aeration, and nutrient availability. It is also important to check the pH levels of your soil before planting to ensure optimal conditions for your plants. Finally, you should always make sure to water your soil regularly so that it stays moist and ready for planting.
How to use a rototiller?
Using a rototiller is relatively easy, but it’s important to understand the basics before beginning any project. First, make sure that your rototiller is properly assembled and in good working condition. You’ll also want to check the depth setting on your tiller to ensure you are only tilling as deep as necessary based on your soil type. Once you have checked these details, you can start up your tiller and begin moving it over the area of soil you need to till. Make sure that you move slowly and evenly so that all areas get worked thoroughly without causing too much disruption in the soil. Finally, once you have finished tilling, use a rake or hoe to break up dirt clods and level out the soil.
How deep should I till my soil?
The depth of your tilling will depend on the type of soil you are working with and the goal of your project. Generally, a depth between 6-8 inches is recommended for most types of soils, but in some cases, it may be necessary to go deeper or shallower depending on your particular situation.
Additionally, it’s important to consider any existing plants that may be present in the area as too much disruption could damage their roots. Ultimately, it’s best to consult an expert for advice specific to your situation before beginning any tilling projects.
How to choose the right tilling tool?
Choosing the right tilling tool depends on a few key factors, such as how much soil you need to cover, the amount of disruption you want to cause in the soil, and your budget. Hand tools such as shovels and hoes are ideal for small areas and provide more control over tillage depth. Cultivators and rototillers can cover larger areas quickly but may be too disruptive in some soils. Lastly, tractors are powerful machines that allow you to cover large areas quickly but require special care to ensure they don’t cause too much disruption in soils. Ultimately, it is best to consult an expert to determine which tool is best for your particular situation.
What to avoid when tilling?
When tilling, it is important to avoid tilling too deep or in areas with drainage issues. Tilling more than 8 inches deep can cause compaction and disrupt existing soil structures. Additionally, you should also avoid using a rototiller on soils that are too wet as this can lead to compaction and make it difficult for plants to establish healthy roots. Finally, you should also take care not to damage any existing plantings or disturb wildlife habitats when tilling. Ultimately, it’s best to consult an expert before beginning any project to ensure the best results.
Useful Video: Tilling the Garden: Tips and Mistakes to Avoid
Conclusion
Tilling is an important part of preparing the soil for planting, and it can be a relatively simple process if done correctly. It’s important to choose the right tool for your project and ensure that you don’t go too deep or in areas with drainage issues. Additionally, it’s also important to avoid damaging existing plants or wildlife habitats when tilling. Finally, it’s essential to follow up tilling with fertilizing, amending, and watering the soil regularly for optimal results. With proper preparation, the rewards of a successful garden are sure to follow!
References:
- https://www.troybilt.com/en_US/knowledge-tb-benefits-of-tilling.html
- https://www.thespruce.com/how-to-till-a-garden-6951650
- https://gardeningmentor.com/can-you-plant-immediately-after-tilling/