Building a garden gate is a great way to improve the look of your yard and increase security. A well-built gate will add value to your home and last for many years. In this guide, we will walk you through the process of building a garden gate from start to finish. We’ll provide tips on choosing the right materials, assembling the gate, and installing it in your yard. Let’s get started!
How Can a Garden Gate Improve Your Garden?
Garden gates can improve the look of your garden and make it more welcoming to guests. They can also keep pets and small children safe from getting lost in the garden.
One of the best ways to improve your garden is by adding a garden gate. Not only does it add privacy and security, but it can also be a great way to make a statement. Whether you want a simple design or something more elaborate, there are plenty of options to choose from. In this guide, we’ll show you how to build a garden gate that will make your neighbors jealous.
Building a garden gate is relatively straightforward and can be done in a weekend with some basic tools. The most important part is choosing the right materials for the job. If you’re not sure where to start, our experts have put together a list of everything you need to get the job done.
How to Build a Garden Gate
Now that you know all about the benefits of garden gates, it’s time to learn how to build one. The first step is to choose the right location for your gate. It’s important to pick a spot that doesn’t obstruct the view of your garden and is easy to access.
The next step is to gather the necessary materials. For this project, you’ll need:
- Treated lumber
- Measuring tape
- Galvanized nails
- Gate hinges
- Latch
- Paint or Stain
Once you have all of your materials, it’s time to start building!
Gate posts
We will begin by installing the posts for your gate. Gate posts are an important part of any garden gate. They provide support for the weight of the gate, and they also help to keep the gate level. Gate posts can be made from a variety of materials, but they are most commonly made from wood.
There are a few things to consider when choosing gate posts for your garden gate. The first is the size of the posts. They should be big enough to support the weight of the gate, but not so big that they become a trip hazard. The second is the material. Wood is a popular choice because it is strong and durable, but it can rot over time if it is not properly treated. Metal or plastic may be a better choice for areas with high moisture levels.[1],[2],[3]
Make proper measurements
Once you have selected the material for your gate posts, you will need to cut them to size. The posts should be long enough to extend a few inches above the height of the gate, and they should be wide enough to fit snugly against the side of the gate. If you are using wood, you will also need to sand and paint or stain the posts before installing them.
Make sure all of your measurements are correct. This is especially important if you are building a double gate. Once you have the measurements, mark the location of the posts on the ground with marking paint or stakes.
Now it’s time to start digging! Gate posts can be installed in a variety of ways, but the most common method is to dig holes for them. The holes should be slightly larger than the diameter of the posts, and they should be deep enough so that one-third of the post is buried underground. Once the posts are in place, concrete can be used to fill in the holes and secure the posts in place. [1],[2],[3]
Make sure the posts are of the same height
Before installing the second post, measure the distance between the two posts and make sure they are the same height. This is important because it will ensure that your gate is level when it is installed. If one of the posts is taller than the other, you can either use a spacer to raise it up or dig a deeper hole for it. [1],[2],[3]
Gate
After the posts have been installed, it’s time to install the gate. The first step is to determine the size of the gate. It should be wide enough to allow people and animals to pass through easily, but not so wide that it becomes a trip hazard.
It’s best to deduct a few inches from the overall width of the gate to allow for clearance. For example, if you want a 36-inch wide gate, you should cut the lumber for the frame to 34 inches wide.
Assemble the frame
Once you have cut the lumber to size, it’s time to assemble the frame. The frame of the garden gate is the most important part. It needs to be strong and sturdy in order to support the weight of the gate itself, as well as withstand any wind or weather that might come its way.
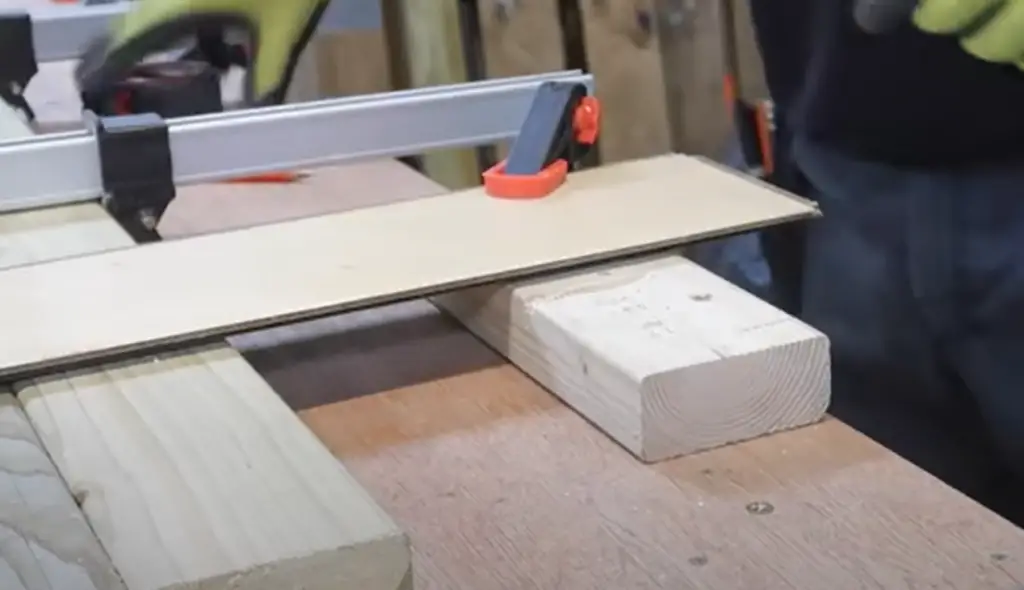
Start by ripping the lumber for the vertical stiles (the up-and-down boards) to the correct width. The width of the stiles should be equal to the finished width of the gate, except for the top one, which we will need to cut 1 inch shorter than the distance between the gate posts. This is to allow for the hinge hardware.
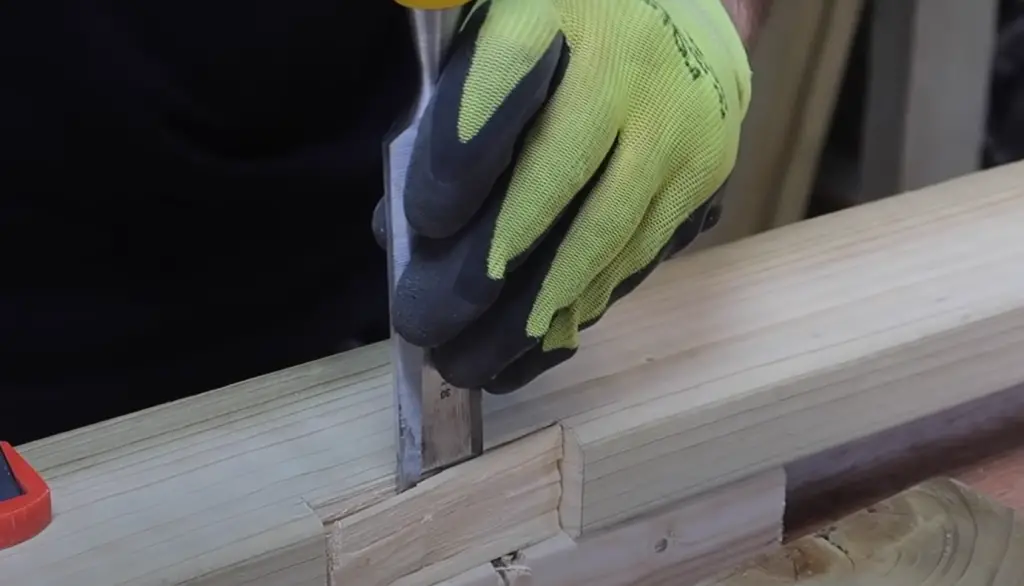
Next, align the stiles beneath the top rail (the horizontal board) and mark where they will need to be notched out in order for the stiles to fit snugly against the rail. Use a saw to cut out these notches, being careful not to cut too deeply.
Once all of the stiles have been notched, it’s time to start assembling the frame. Place the stiles in position on either side of the opening, making sure that they are flush with the top and bottom rails. Then, predrill holes through the stiles and into the rails. Use 3-inch stainless-steel screws to attach the stiles to the rails, being careful not to over tighten them.
Mark the crossboard
Now, you will need a crosspiece (or crossboard) to add stability to the frame. The crosspiece is the horizontal member of the frame that gives stability to the structure and provides a surface for attaching the vertical pickets. It usually runs along or near the top of the gate.
Most gates have a crosspiece that’s made from either two pieces of lumber joined together in the middle with a scarf joint, or a single piece of lumber that’s been notched out in the middle to receive the other piece.
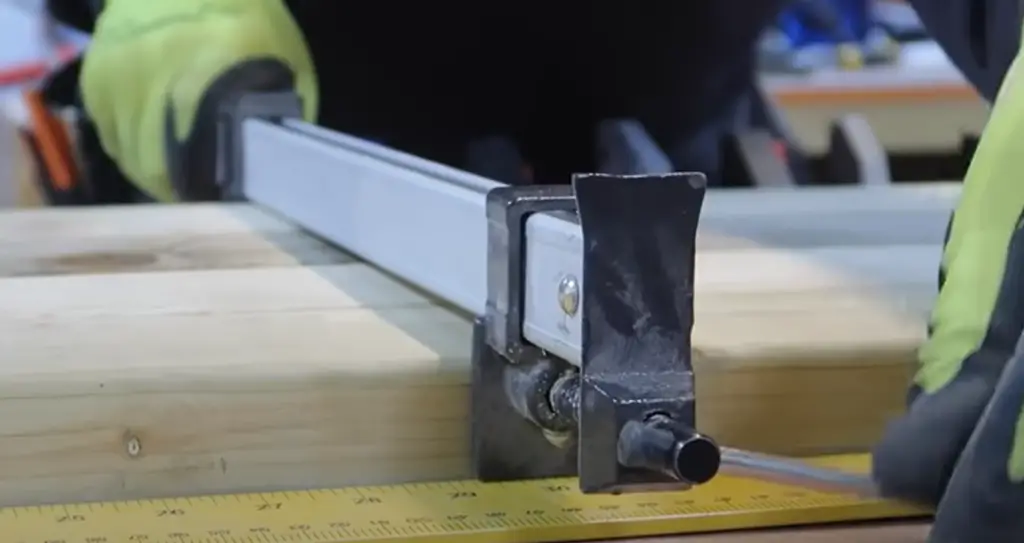
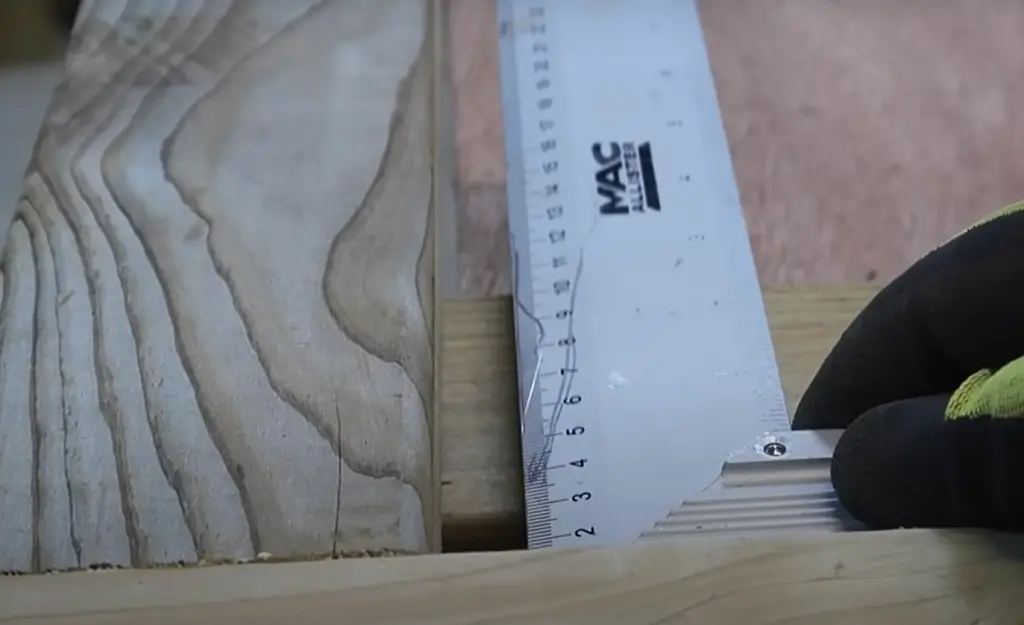
Either way, the crosspiece will need to be notched out in order to fit snugly against the stiles. Start by measuring the distance between the stiles and cutting the lumber for the crosspiece to size.
Then, mark out the centerline of the crosspiece on both sides, all the way from the intended latch point to the end of the crosspiece. This will be your guide for cutting out the notches. Finally, mark the centerlines at all corners of the crosspiece.
Cut the crosspiece
Now, you will need to use a saw to cut along the fresh corner marks you just made.
Once all of the notches have been cut, it’s time to predrill holes and attach the crosspiece to the frame. Again, use stainless-steel screws (pre drilled and countersunk) to attach the crosspiece to the stiles, being careful not to over tighten them.
Bevel the brace
Next we will need to make the trim for the frame. The trim is the decorative board that runs along the top of the gate, and it’s also used to cover up any gaps or imperfections in the frame.
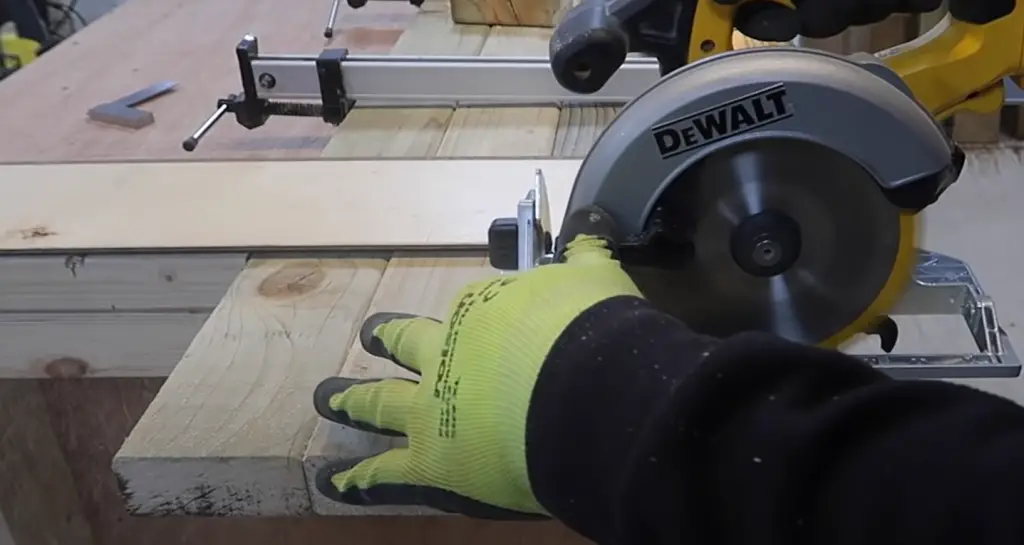
Position your circular saw so that the blade is at a 30-degree angle and make a cut along one edge of the braces. This will give you a nice, clean beveled edge.
Then, use a saw to rip the other edge at the opposing bevel. This will give you two beveled edges that are parallel to each other.
Now, it’s time to prime your brace and attach it to the frame.
It usually runs along or near the top of the gate.Install the apron
The apron is the trim board that runs along the bottom of the gate. It’s used to cover up any gaps or imperfections in the frame and to add a bit of decoration.
To install the apron, first you will need to cut it to the width of the frame. Then, position it so that it’s flush with the bottom of the stiles and pre-drill holes through it. Use stainless-steel screws (pre drilled and countersunk) to attach the apron to the frame, being careful not to over tighten them. [1]
Cut the pales
The next step is to create the pales. For this, you will need to use a saw to make a hash mark on your face bevels that is the width of your desired pale. For example, if you want your finished pale to be 1/6 inches wide, then you would make a hash mark 1/6 inches from each side of your face bevels. Once you have made these hash marks, use a speed square to connect the lines and create a rectangle. This will be the cut line for your pales.
Use a circular saw to cut along the cut line that you just created. Be sure to use a blade that is meant for cutting wood. Cutting through nails will quickly damage any blade, so avoid doing this if possible. If you need to cut through nails, use a hacksaw blade instead. After you have cut out your pales, use a sander to smooth out any rough edges.
Bevel the edges
The next step is to bevel the edges of your pales. To do this, set your saw blade to a 45-degree angle and lay out the pales on a flat surface. Cut along the edges of the pales at a 45-degree angle. Once you have cut all of the edges, use a sander to smooth out any rough edges.
Again, you also may want to prime your pales at this time. If you do, be sure to let the primer and paint dry completely before moving on to the next step.
Install the pales
After the primer has dried, it is time to install the pales. You can go with any design that you want, but we recommend spacing the pales out evenly. For example, if you are using six pales, then you would space them out so that there is an equal amount of space between each pale. The longest pales should go in the middle, with the shorter pales on either side.
To install the pales, start by measuring and marking where you want each pale to go. Once you have done this, use a drill to create pilot holes for your screws. Be sure to use screws that are long enough to go through the thickness of your wood and into the frame. After you have drilled your pilot holes, insert your screws and tighten them until they are snug. Do not over-tighten the screws as this can strip them or break the wood.
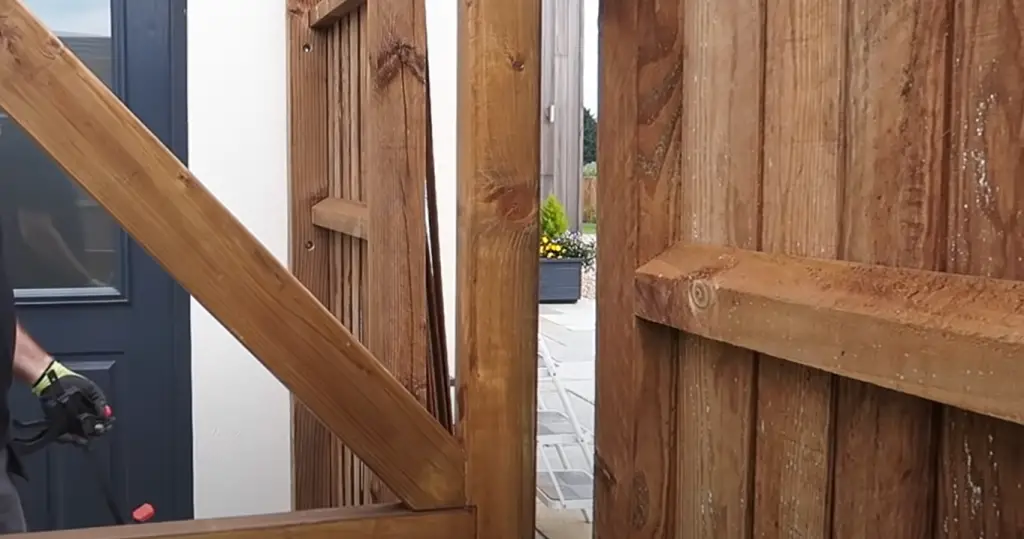
Install the brace
Next, you will need to install the brace. The brace is what will keep your pales from sagging over time. To install the brace, lay it on the ground so that the curve is facing up. Nail the brace to the pales at an angle, making sure that each nail is driven into the pale at least an inch below the top of the pale.
Repeat this process for each of your pales until all of them have a brace installed. Once you have finished, you can paint or stain your gate to match the rest of your fence. [1],[3]
Add post caps
If you want to add a bit of extra flair to your garden gate, you can add post caps. Post caps are decorative pieces that fit on top of the posts. They come in a variety of shapes and sizes, so you can choose one that fits your style. To install them, simply glue or nail them into place.
Make sure to center the post cap on the post so that it is level. Once you have done this, you can paint or stain your gate to match the rest of your fence. And most importantly, secure them in place![1]
Find a position for hinges
Now it is time to find a position for your hinges. You will want to place the hinges so that they are evenly spaced and level. Take your hinges and hold them up to the gate where you want them to be installed. Once you have found a position that you like, use a pencil to mark the screw holes. [1]
Attach hinges to the gate
The next step is to attach hinges to the gate. For this, you will need to use a drill to create pilot holes for your screws. Be sure to use screws that are long enough to go through the thickness of your wood and into the frame. Lay your gate flat on the ground and align the hinges with the marks you’ve made in the last step. Once you have done this, use a drill to create pilot holes for your screws.
After you have drilled your pilot holes, insert your screws and tighten them until they are snug. Do not over-tighten the screws as this can strip them or break the wood.
Once you have finished attaching the hinges, install the pins in the hinges. To do this, simply insert the pin into the hinge and tap it with a hammer until it is flush with the surface of the hinge.
Attach the latch
The last step is to attach the latch. To ensure that your gate is secure, we recommend using a two-way latch. This type of latch has a bolt that goes through the gate and into the post.
Before you install the latch, close the gate and mark the position of the latch on the post. Once you have done this, use a drill to create a pilot hole for your screw. After the pilot hole is drilled, you can then attach the latch using screws.
You may need to adjust the position of the latch after it is installed. To do this, loosen the screws and move the latch until it is in the desired position. Once you are satisfied with the position of the latch, tighten the screws to secure it in place. If your latch comes with extra hardware, be sure to install it according to the manufacturer’s instructions. [1]
Install the gate
You should already have a potential space for your garden gate. If not, you will need to create one by measuring and cutting a hole in your fence. Once you have done this, it is time to install the gate. Place your gate on scrap blocks or other objects so that it is level. This will make it easier to attach the hinges. If your gate isn’t level, you can shim it until it is level.
Your gate is done! What’s left is to admire your work and enjoy the knowledge that you made it yourself. Don’t forget to maintain it and keep it looking good for years to come! [1]
FAQ
Do I need a gate for my garden?
If you have a small garden, you may not need a gate. But if your garden is large or if you have young children or pets, a gat can keep them safe from getting lost or getting into something they shouldn’t.
How much does it cost to build a garden gate?
The cost of building a garden gate varies depending on the size, style, and materials you choose. A simple wooden gate can be made for around $100, while a more complex design can cost several hundred dollars.
Which wood is best for garden gates?
There are a few different types of wood that can be used for garden gates. Cedar is a good option because it is naturally rot and insect resistant. Pressure-treated lumber is also a good choice because it is treated with chemicals that make it resistant to rot and insects.
Keep in mind that no matter would you choose, you will need to weather-proof it to protect it from the elements. Oil-based stains or sealers are a good option for this because they will penetrate the wood and provide long-lasting protection.
How do you make a garden gate?
There’s no one-size-fits-all answer to this question, as the best way to build a garden gate will vary depending on the materials you’re using, the size and layout of your garden, and your personal preferences. However, we’ve compiled a few tips to help you get started:
What is the best wood to use for a garden gate?
There are a few different types of wood that can be used for a garden gate. Cedar is a popular choice because it is naturally rot-resistant and insect-resistant. Pressure-treated lumber is also a good option because it will last longer than regular lumber. If you want your garden gate to be really durable, you can use composite decking material.
Useful Video: How to Make an Easy Garden Gate
Conclusion
You now have a beautiful garden gate that will last for years to come! We hoped that this blog post was informative and helped answer some of the common questions about how to build a garden gate. When it comes to choosing a garden gate, there are many different options available on the market. However, if you want something unique that perfectly matches your home and garden, then you might want to consider building your own garden gate. Building a garden gate is a fun and rewarding project that anyone can do with a little patience and basic carpentry skills. Be sure to enjoy it and show it off to your friends and family! Thank you for reading and we hope this guide was helpful. For more tips on home improvement, be sure to check out our blog. Happy building!
References:
- https://www.thisoldhouse.com/gardening/21016596/how-to-build-a-garden-gate
- https://www.diydoctor.org.uk/projects/building-garden-gates.htm
- https://buckhorncliffs.com/diy-garden-fence-gate/