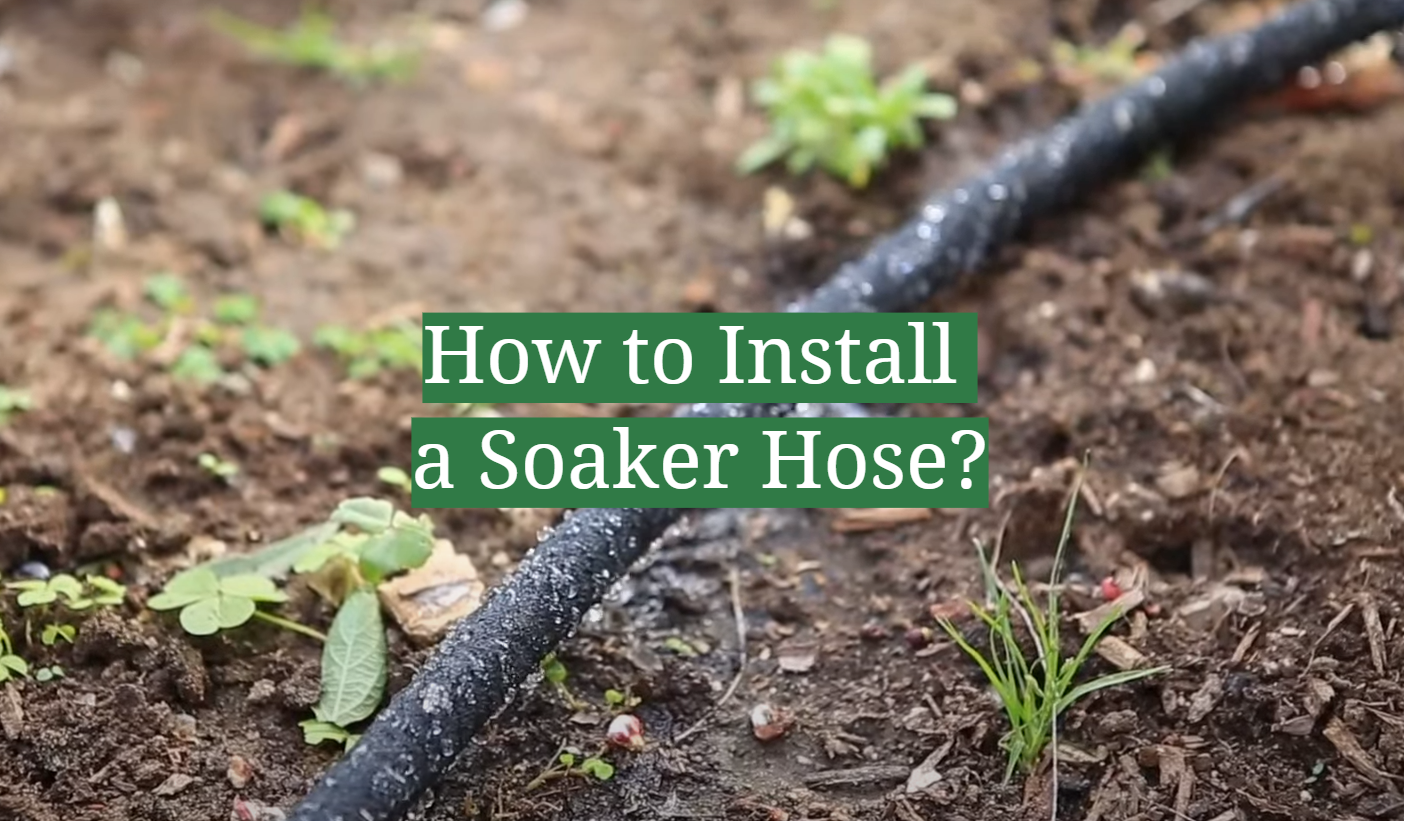
Installing a soaker hose is a great way to water your garden or lawn. It’s efficient, economical, and environmentally friendly. But if you’ve never installed one before, it can seem like a daunting task. Not to worry! We’re here to help. In this article, we’ll answer some of the most frequently asked questions about soaker hose installation, and give you some tips that will make the process go smoothly. Let’s get started!
What Is A Soaker Hose?
[1]Soaker Hose System Supplies
Once you have a plan for where the soaker hoses will be placed, it’s time to shop for the parts and supplies you’ll need. The main items include:
- Soaker hoses;
- Nuts and washers (if using traditional fittings);
- Teflon tape/plumbers’ putty (for threaded connections);
- Hose end timer or faucet timer (optional, but recommended);
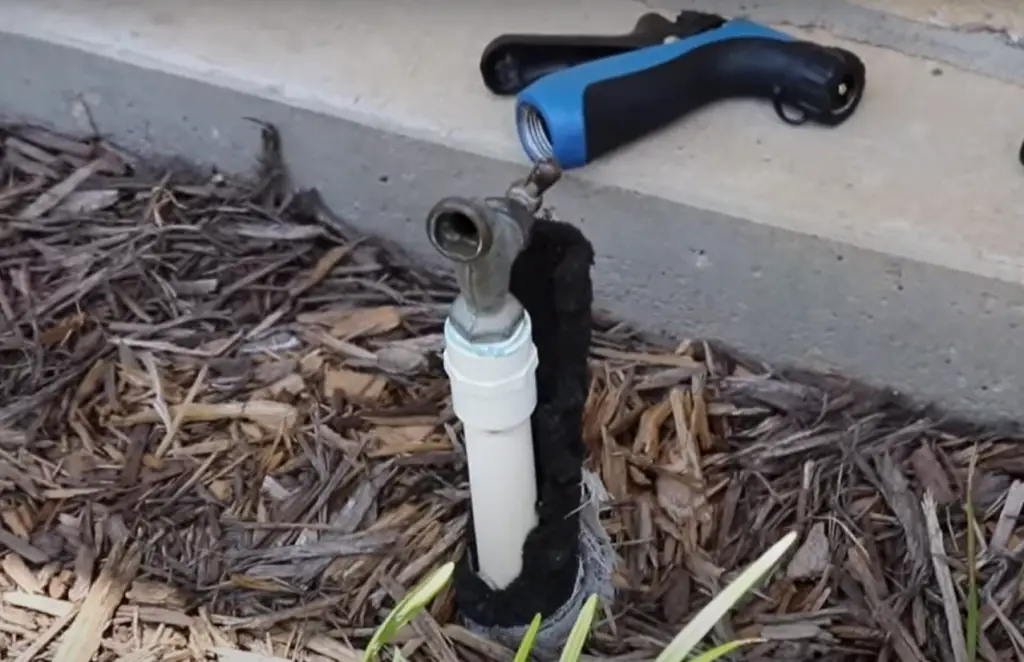
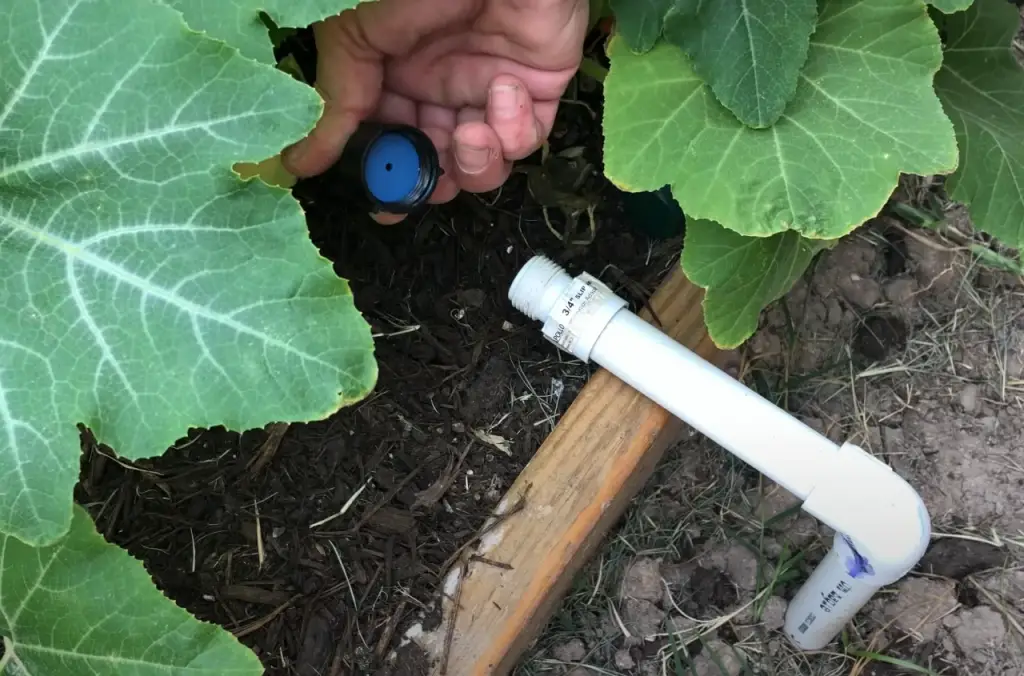
- Backflow preventer/vacuum breaker (for systems connected to an outdoor hose bibb);
- Hose repair kit (in case of punctures in the soaker hose); [1]
How To Set Up A Soaker Hose System
Make The Soaker Hose More Flexible.
Soaker hoses aren’t just for large gardens – they can be used to water smaller areas too! To make the hose more flexible, use an elbow connector to connect two or three shorter lengths of soaker hose together. This will make it easier to shape the hose around plants and garden beds. [1]
Determine Soaker Hose Layout
Before you start laying down the soaker hose, decide how it will be laid out. Think about the layout of your plants and garden beds and shape the hose to fit them. You may need to use extra connectors to make sharper turns or create longer lengths of hose. Make sure you leave enough slack in the hose for movement and expansion when it’s filled with water. [1]
Shorten The Soaker Hose
If you’ve got a long soaker hose, it may need to be shortened before use. If so, use a utility knife or scissors to make the cut. Make sure you leave at least an inch of overlap at each end of the new joint for a secure connection. [1]
Add the Soaker Hose Connections
Once you’ve determined the layout of your soaker hose, it’s time to add the connectors. Make sure each connector is secured tightly and that there are no gaps or holes in any of the connections. If you need additional connectors, consider buying a universal soaker hose coupling kit which will have all the components you need for connecting different lengths of hoses together. [1]
Test and Troubleshoot Your System
The last step is to test your system and make sure it’s working correctly. Turn on the water supply and check for any leaks or drips. Make sure all the connections are secure, and that no water is escaping from them. If you find any problems, turn off the water immediately and troubleshoot. It’s also a good idea to check on your system occasionally during use and after to make sure everything is working properly. [1]
Add a Soaker Hose Timer
For convenience, you may want to add a soaker hose timer to your system. This will allow you to set up the system and automate the watering process. The timer can be programmed to turn off and on at certain times of day or night and help ensure that your plants are getting enough water without over-watering them. [1]
Cover The Soaker Hose With Mulch
Finally, cover the soaker hose with mulch. This will help keep it in place and provide extra insulation for the water inside. It will also help reduce evaporation and make sure the water is delivered directly to the roots of your plants. [1]
The Pros of Soaker Hoses
Cost Effective
Soaker hoses are much more cost-effective than sprinkler systems. Sprinklers require a lot of equipment to be purchased and installed, including pipes and irrigation controllers or timers. With soaker hoses, all you need is the hose itself, which can be bought for a fraction of the cost of a sprinkler system. [2]
Less Complex
Soaker hoses are much less complex than sprinkler systems, which require careful planning and installation. Installing a soaker hose can be done quickly and easily with minimal effort, making it perfect for busy or inexperienced gardeners. [2]
Maintains Soil and Nutrients
Soaker hoses are great for maintaining soil and nutrient levels in your garden. Unlike sprinkler systems, which can disperse water too quickly and cause runoff, soaker hoses slowly release water directly into the soil. This helps ensure that any nutrients present in the soil stay where they should be – right at the root level of your plants. [2]
No Weeds
Since soaker hoses dispense water directly into the soil, they’re great for preventing weeds. Without moisture or nutrients at the surface level, weed seeds have no chance of taking root and growing. [2]
Saves Gardener on Labor and Resources
Using a soaker hose also saves the gardener on labor and resources. Soaker hoses are designed to release water slowly, allowing your garden to stay hydrated without having to check it constantly throughout the day. This means less time spent tending the garden and fewer trips to the store for extra supplies.
It’s easy to see why soaker hoses have become a popular choice for gardeners. They’re easy to install, cost-effective, and require minimal maintenance, making them perfect for busy or inexperienced gardeners. With the right setup and proper installation, you can enjoy an efficient and hassle-free watering system that will keep your plants happy and healthy! [2]
Prevents Disease
Soaker hoses also help prevent disease in your garden. By slowly releasing water directly into the soil, soaker hoses help maintain even moisture levels in the root zone of your plants. This helps prevent diseases such as root rot and fungal infections from taking hold, which can be devastating to a garden. Soaker hoses can also help prevent leaf diseases by keeping water off the foliage of your plants. This reduces the chances of your plants becoming infected with powdery mildew or other common fungal diseases. [2]
The Cons of Soaker Hoses
Lack of Convenience
One of the most common complaints about soaker hoses is that they can be difficult to install, particularly for those who have limited experience with plumbing projects. Though it’s possible to lay out and install a soaker hose in an hour or two, it requires some expertise to ensure that all the pieces are connected properly and securely. Additionally, if you are connecting the soaker hose to a timer or other automated system, it can be quite time-consuming. [2]
More Maintenance
Because soaker hoses are attached directly to your water source, it’s important to check them periodically for leaks and other potential problems. Not only can a leak waste valuable water, but it can also cause damage to the area around the hose if left unchecked. Additionally, you may need to reposition the hose from time to time depending on how it’s being used, which can be a hassle. [2]
How Long To Run Your Soaker Hose?
Once you have your soaker hose installed and running, how long should it run for? This depends on the size of your garden and the type of soil you are using.
For heavier soils, you may need to run the soaker hose for longer than two hours. If your garden is large and has a lot of plants, then you may want to divide up the session into multiple runs over the course of the day. This helps ensure that each plant’s soil gets an adequate amount of water. [3]
Helpful Tips When Using Soaker Hoses
Choose Specific Soaker Hoses
When selecting your soaker hose, choose one that has a slow but steady water flow. Soaker hoses can be found in different sizes and lengths, so it is important to make sure you select the right size for your garden.[2]
Water by Zone
Once you have selected the right soaker hose for your garden, it is important to water by zone. This means breaking up your garden into sections and installing separate lengths of soaker hose for each section. Watering one section at a time will ensure that you are giving all areas of your garden an equal amount of water.[2]
Consistency Matters
It is essential to water consistently. Soaker hoses should be set on a timer, so they can turn on and off at the same time each day. This will help you save water in the long run and ensure that all areas of your garden receive enough moisture.[2]
FAQ
Can you connect a soaker hose to a regular hose?
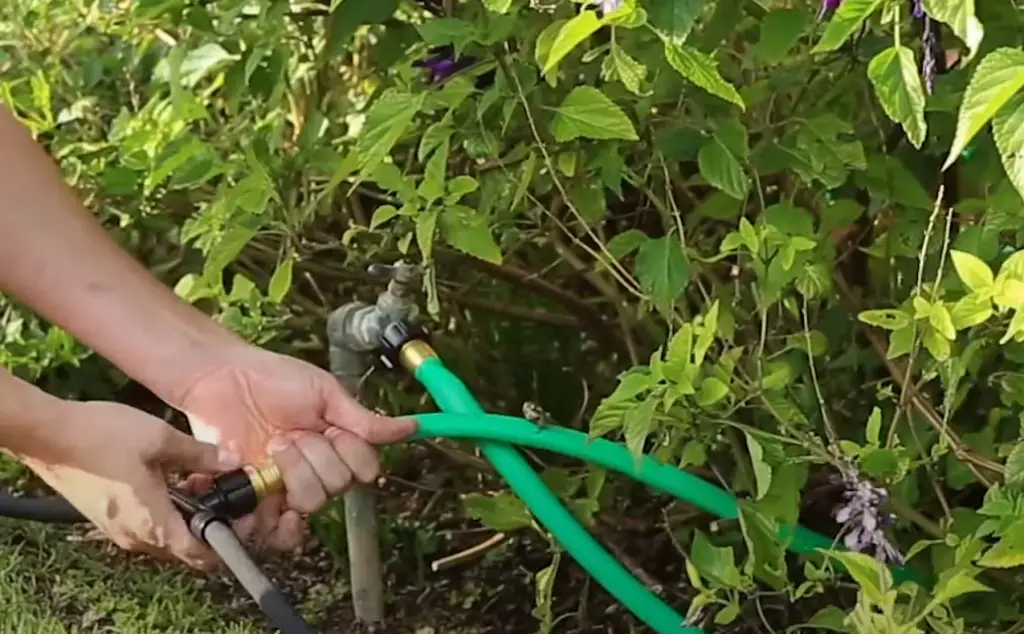
Yes, you can connect a soaker hose to a regular garden hose. To do this, you will need to use an adapter. This will allow you to attach the soaker hose and control the flow of water from the regular hose. Make sure that your adapter is suitable for both types of hoses before connecting them.
How long do you leave soaker hoses on?
It depends on the type of plants you are watering and the amount of water needed. For established plants, a soaker hose should be left on for about 15 to 20 minutes per day. If watering newly planted seeds or seedlings, it is best to keep the soaker hose on for about 10 minutes each day.
How deep do you put a soaker hose?
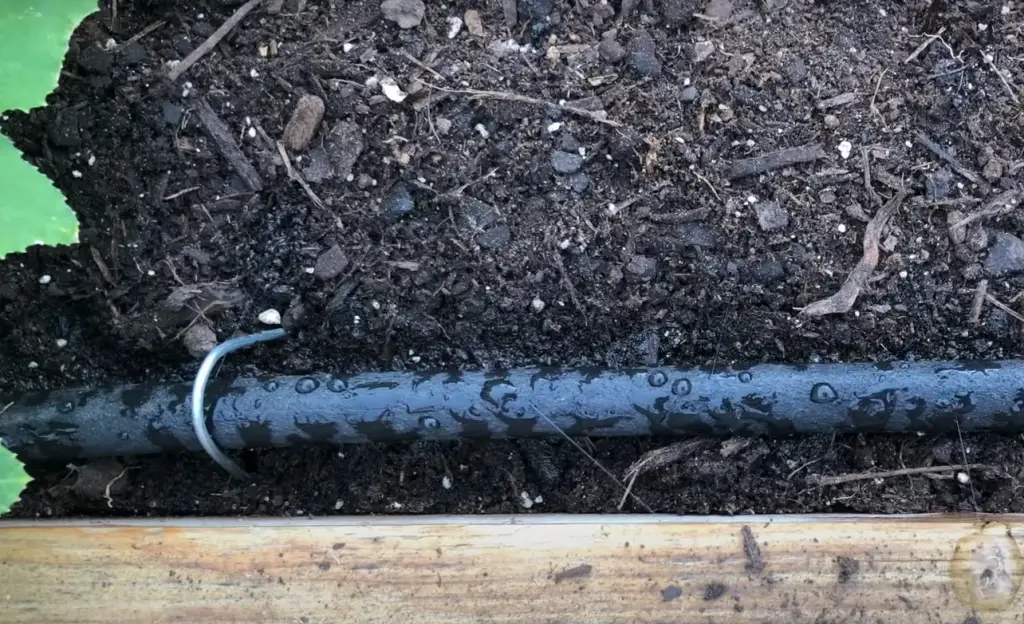
When installing a soaker hose, it should be buried beneath the soil surface, leaving only one to two inches exposed. This ensures that water is distributed evenly and that the roots of your plants are adequately hydrated. It also helps prevent evaporation from the sun and keeps weeds from growing near the hose.
Where do you place a soaker hose?
When installing a soaker hose, it should be placed around the perimeter of the garden bed where plants are located. This helps ensure that water is evenly distributed and reaches all the necessary areas. Soaker hoses can also be run along walkways or pathways to keep them free of weeds.
Do you leave soaker hoses on all day?
No, it is best to leave the soaker hose on for a short period of time each day. Over-watering can damage plants by causing root rot or other problems. It is important to monitor the amount of water being used and adjust accordingly as needed. If you are unsure, it is best to start with 15-20 minutes per day and adjust as needed.
Should you bury your soaker hose?
Yes, it is best to bury your soaker hose beneath the soil surface. This will ensure that water is evenly distributed and that the roots of your plants are adequately hydrated. It also helps prevent evaporation from the sun and keeps weeds from growing near the hose. When burying the soaker hose, make sure to place mulch over it to further protect it from the sun.
Can you run a soaker hose overnight?
No, it is not recommended to run a soaker hose overnight. Over-watering can damage plants by causing root rot or other problems. It is important to monitor the amount of water being used and adjust accordingly as needed. If you need to water for extended periods of time, consider using an automated irrigation system instead.
Do you cap the end of a soaker hose?
Yes, it is recommended that you cap the end of a soaker hose when finished using it. This will help prevent water from escaping and keep your garden beds properly hydrated. It also helps to protect the soaker hose from damage and prevents any blockages or clogs in the line.
Do soaker hoses need to be removed in winter?
Yes, it is recommended to remove soaker hoses in winter. This will help protect them from damage caused by freezing temperatures and allow for easy storage. If you plan on using the hose again in spring, make sure to check for any kinks or blockages before reinstalling it.
Useful Video: How to install a soaker hose
Conclusion
Installing a soaker hose is not difficult, but it does require a few steps. Before beginning the installation, make sure to measure and mark out where you want the hose to go, and check for any existing underground pipes or wires that could get in the way. Make sure to buy an appropriately sized hose for your garden’s needs and, if possible, look for one that is made of durable materials. Finally, make sure to secure the hose in place with stakes or other anchors and test it before covering it up with mulch. With all these steps followed correctly, your garden should be set to benefit from the efficient watering provided by a soaker hose!
References:
- https://www.gardenersoasis.com/install-soaker-hoses/
- https://morningchores.com/soaker-hoses/
- https://www.gardenersoasis.com/install-soaker-hoses/


Leave a Reply
View Comments