Setting up a shed can seem like an overwhelming and daunting task. After all, ensuring your shed is level and structurally sound before you even start filling it with items can be time consuming. But the work you do in advance will pay off with a sturdy, well-built structure that stands the test of time. Learning how to level a shed is not only important for its longevity but also so if you choose items to store are safe and secure on each shelf or floorboard inside your shed. We’re here to walk you through step by step on how to make sure your new or existing shed is properly leveled – from measuring the ground beneath it to shimming boards correctly – so it stays looking good for years and remains both functional and safe!
Why Is It Important To Level A Shed?
It is important to level a shed because it helps prevent water damage and deterioration of the shed over time. A level base will help ensure that the walls, roof and foundation are all properly supported. An uneven or unlevel surface can lead to cracked walls, sagging floors, leaking roofs, and other structural issues in the future. It also makes it easier to install door and window frames.
Additionally, having a level shed can help you avoid issues with moisture buildup which can cause mold growth inside your shed. Finally, leveling your shed ensures that the shed doors open and close smoothly without sticking or jamming shut due to an uneven frame or wall panels.
Do You Need To Level A Shed Base Perfectly?
When it comes to building and maintaining your shed, the base is the most important aspect. A level foundation ensures that all of the walls, doors and windows sit perfectly in their frames and won’t lean or buckle over time. If you’re ever going to need to open or close any part of your shed with ease then it’s essential that the whole structure is square and level.
Therefore it’s essential that you level out all of the areas in your shed base before beginning construction. The best way to do this is with a spirit level and some shims or gravel depending on how much adjustment needs to be made. You should take measurements at various points around the perimeter of the shed base before starting work so that you can make sure everything is leveled out perfectly. After making any adjustments, double check with the spirit level to make sure that nothing has shifted back again. [1]
How to Level a Shed?
Concrete Blocks
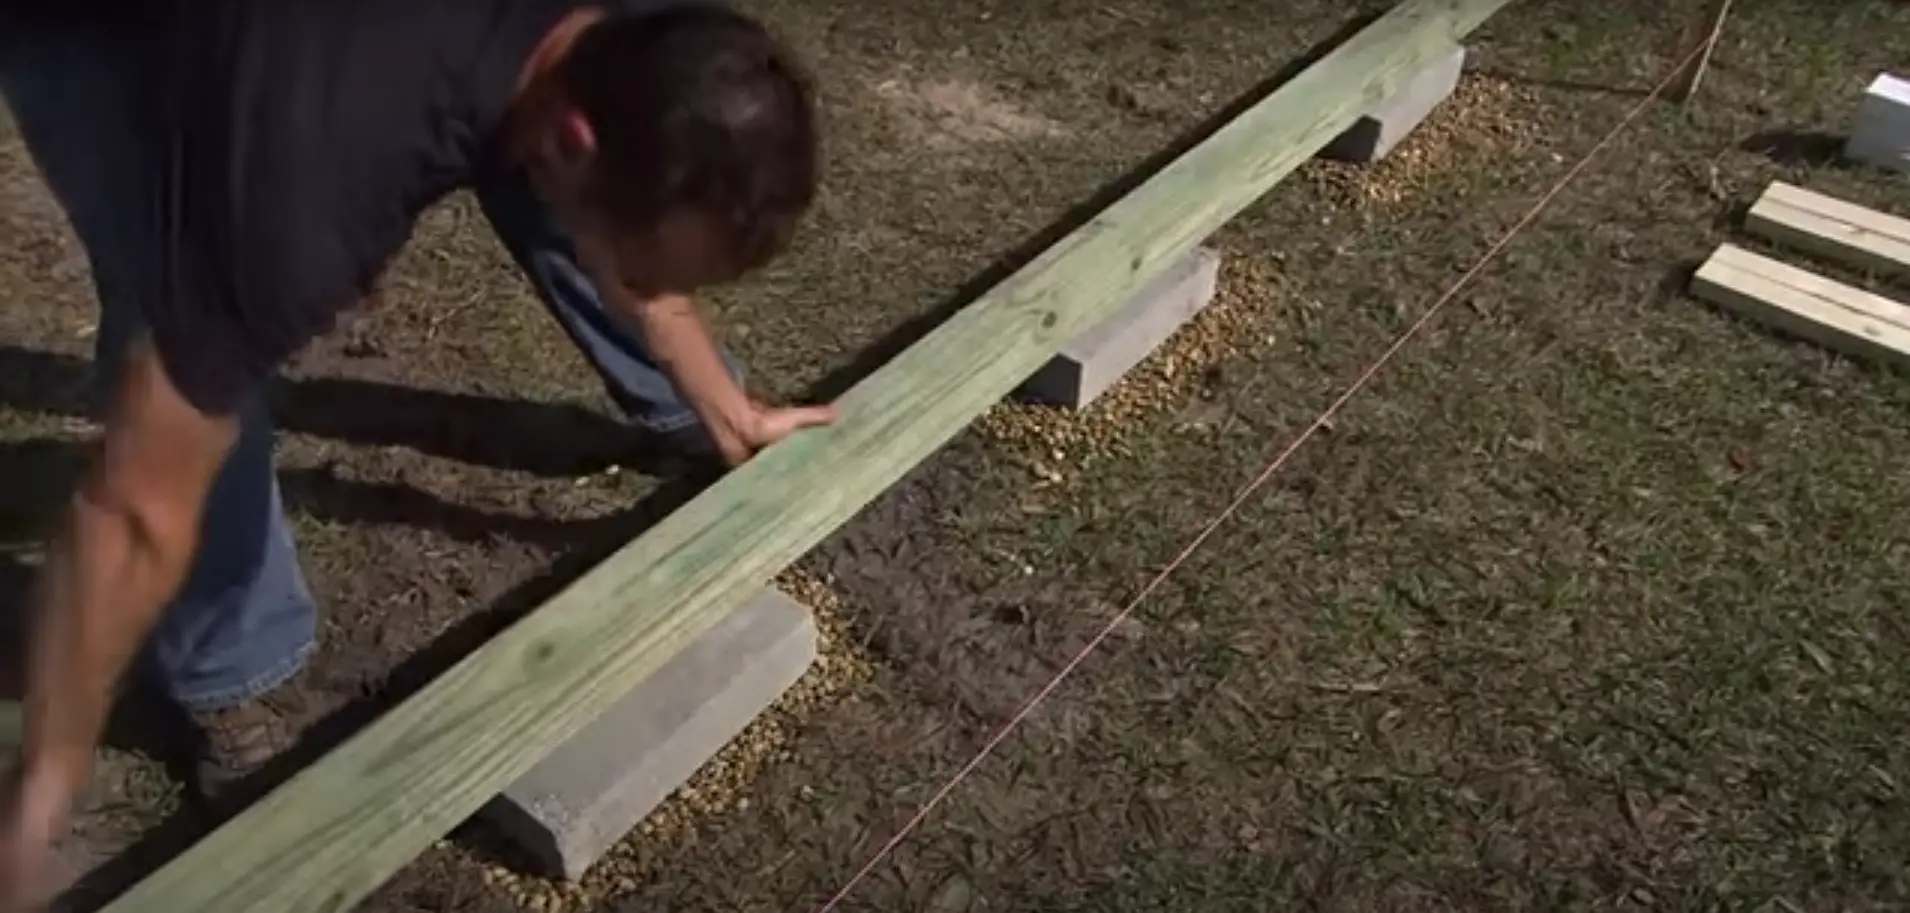
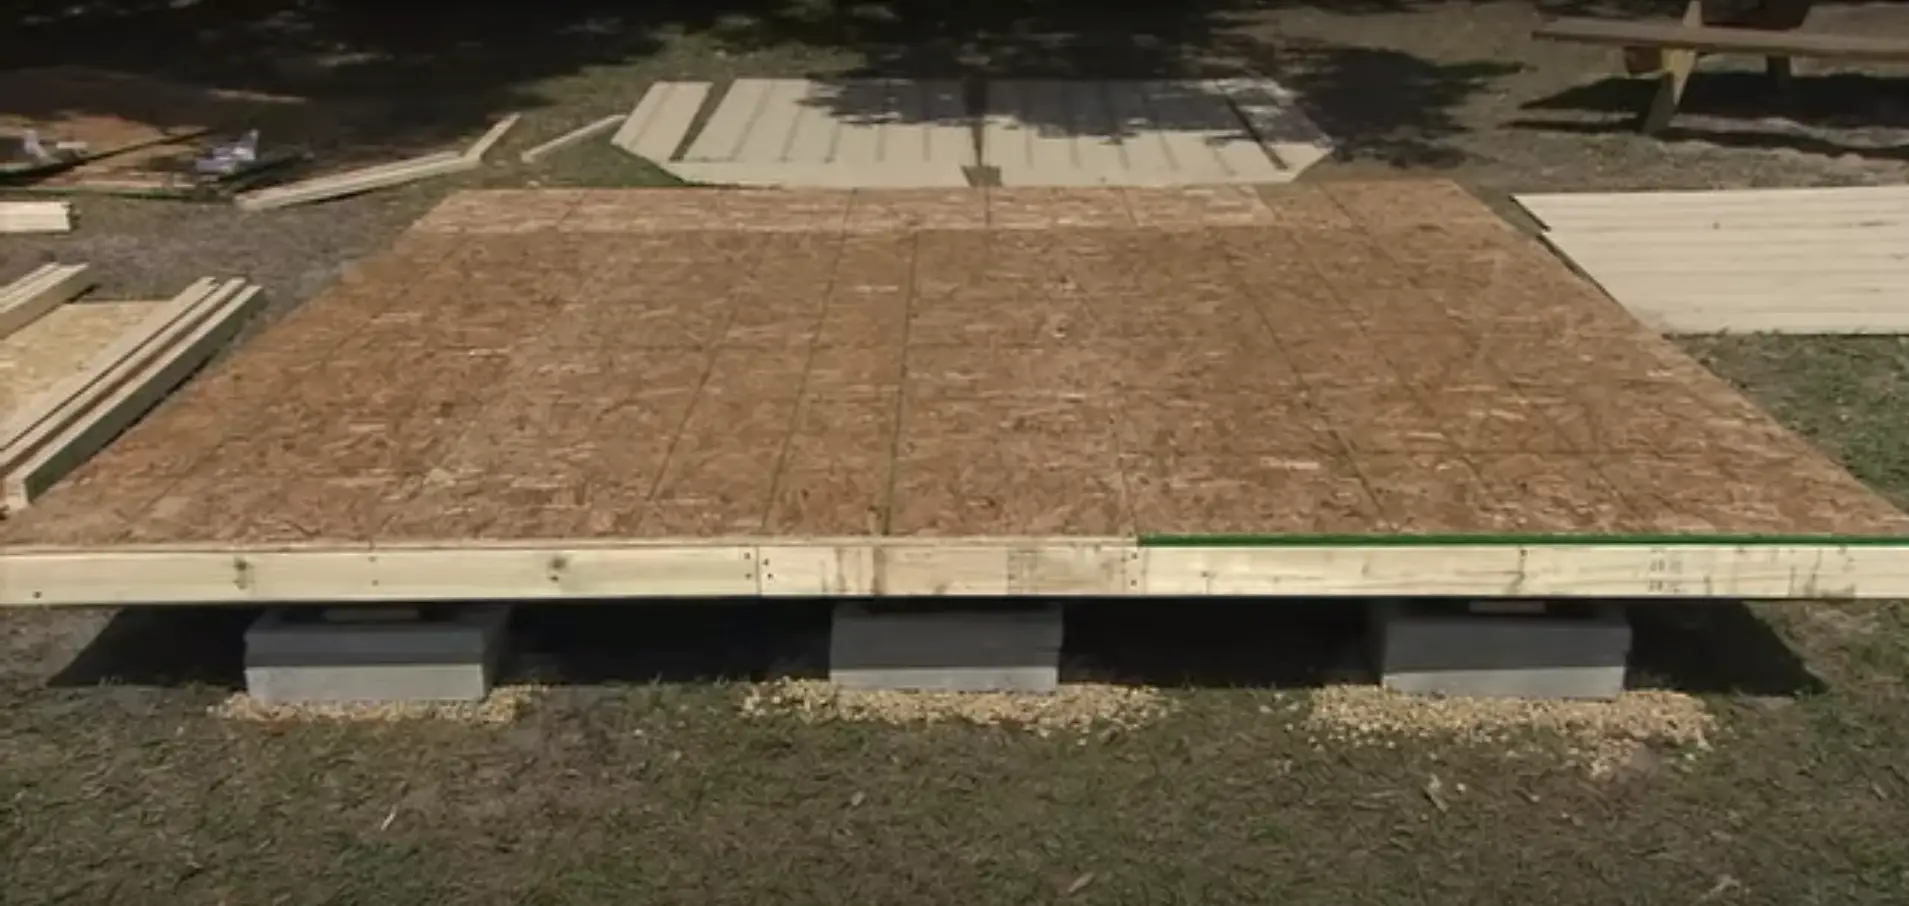
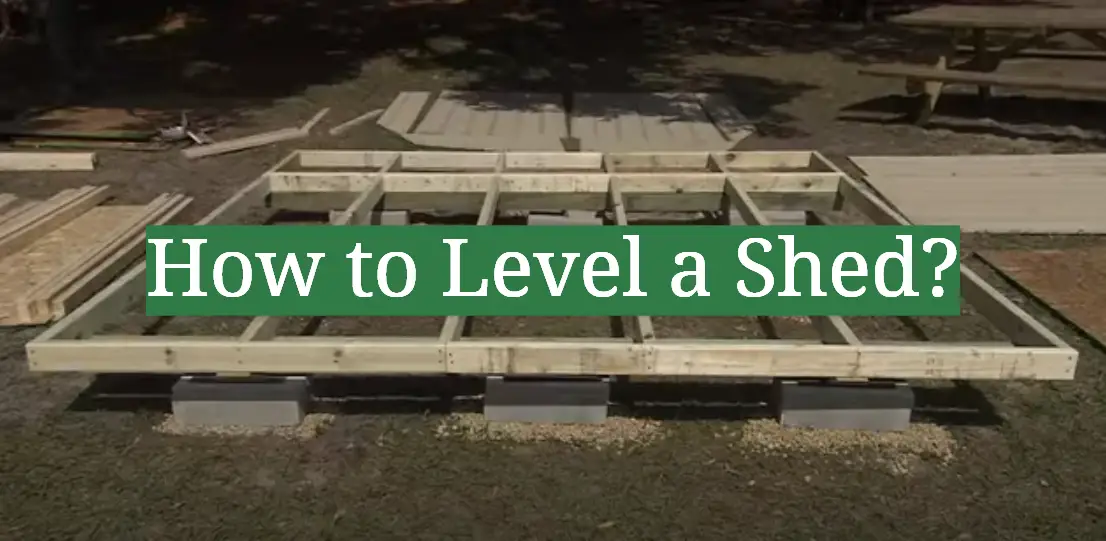
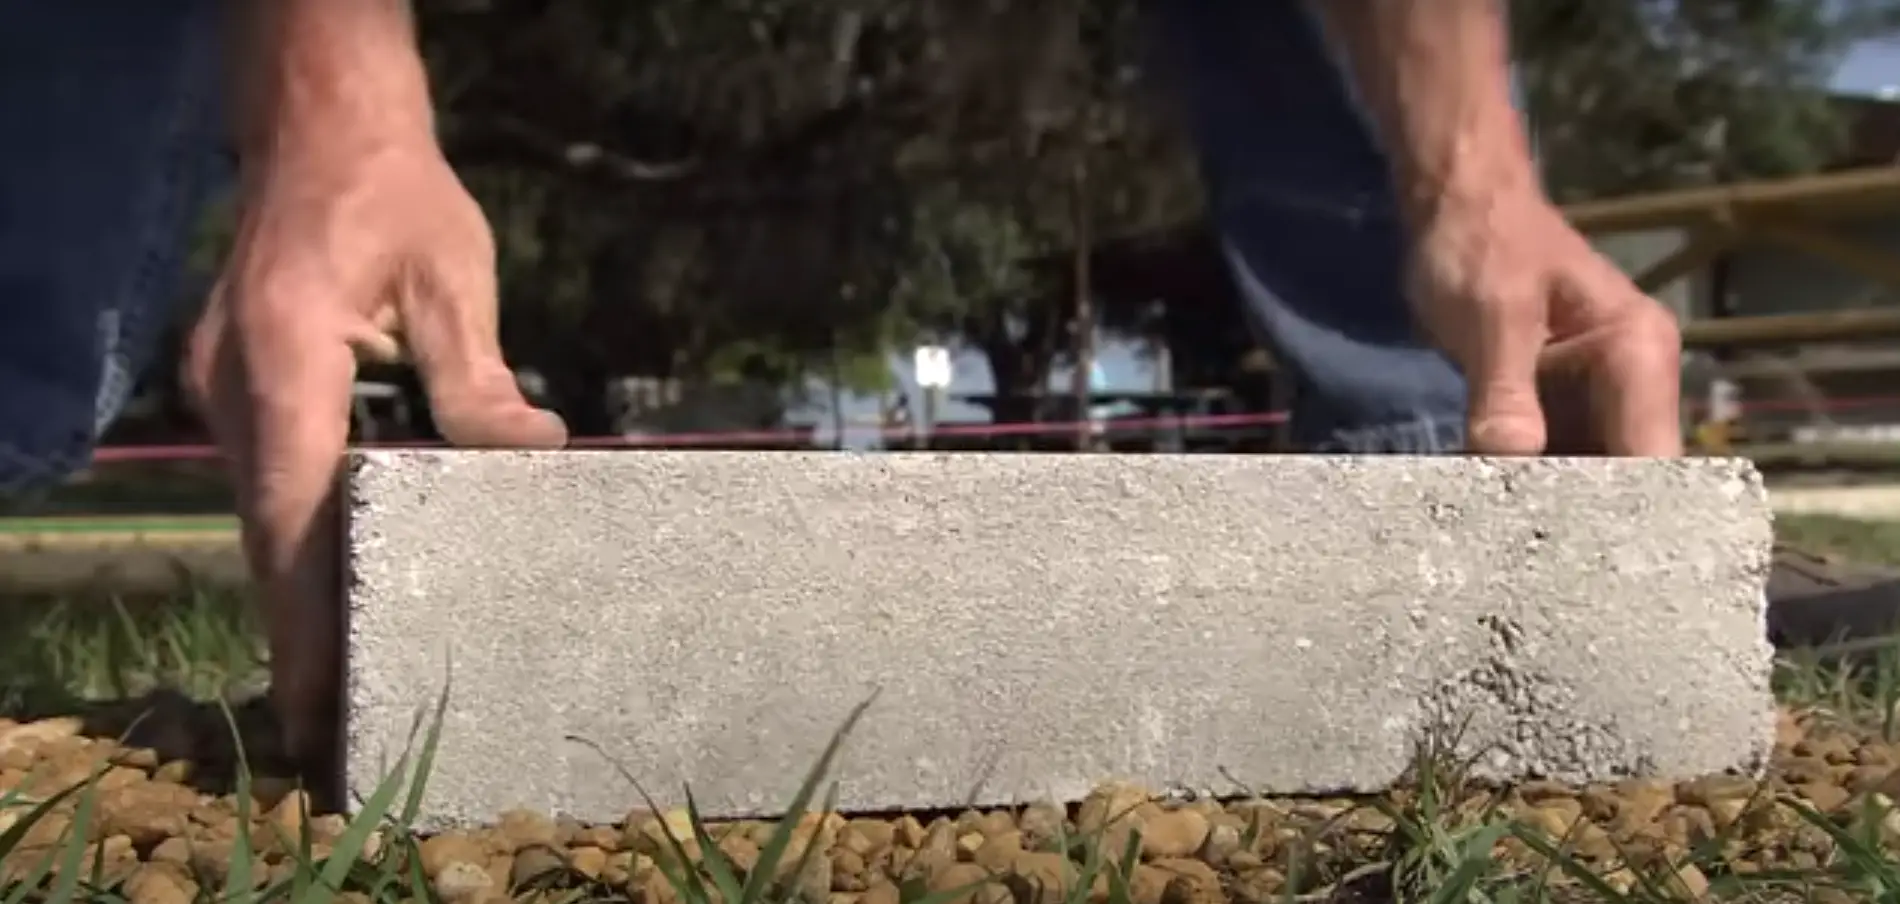
Concrete blocks are a great option for creating a level foundation for your shed. Start by laying out the perimeter of the shed using stakes and string. Make sure that your measurements are accurate – you want to make sure that the concrete blocks fit snugly against one another. Once you have established the exact layout, dig holes around the perimeter of where you will be placing your concrete blocks. Using an auger or post hole digger can help make this process easier. Place each block into its hole and fill with gravel until it is level with the ground surface. You can then add dirt on top of the gravel, ensuring that it is packed firmly down to create a solid base for your shed.
Leveling Sand
If you don’t want to use concrete blocks, you can also level the ground around your shed using sand. Start by clearing away any existing vegetation and removing any large stones or debris. Dig out a shallow trench around the perimeter of where you will be placing your shed and fill it with several inches of leveling sand. Using a rake and shovel, spread the sand evenly across the area to create a level base for your shed. Once you have finished leveling it out, tamp down the sand until compact to ensure that it is solid enough to support your shed’s weight.
Adjustable Foundation Supports
If you have an existing shed that needs to be leveled, adjustable foundation supports are a great option for re-leveling it. Start by removing any dirt, gravel, or other material from around the perimeter of your shed’s base. Dig out small holes around the perimeter and place adjustable foundation supports in each hole. Fill with gravel until they are level with the ground surface, then adjust the height of each support until your shed is properly leveled. Once all of the supports are adjusted correctly, add more gravel and/or dirt on top of the supports to create a solid base for your shed. [2]
Gravel Base
If you don’t want to go through the hassle of using concrete blocks or sand, a gravel base can also be used to level the ground around your shed. Start by clearing away any existing vegetation and removing any large stones or debris. Dig out a shallow trench around the perimeter of where you will be placing your shed and fill it with several inches of gravel. Using a rake and shovel, spread the gravel evenly across the area to create a level base for your shed. Once you have finished leveling it out, tamp down the gravel until compact to ensure that it is solid enough to support your shed’s weight.
How to Level an Existing Shed?
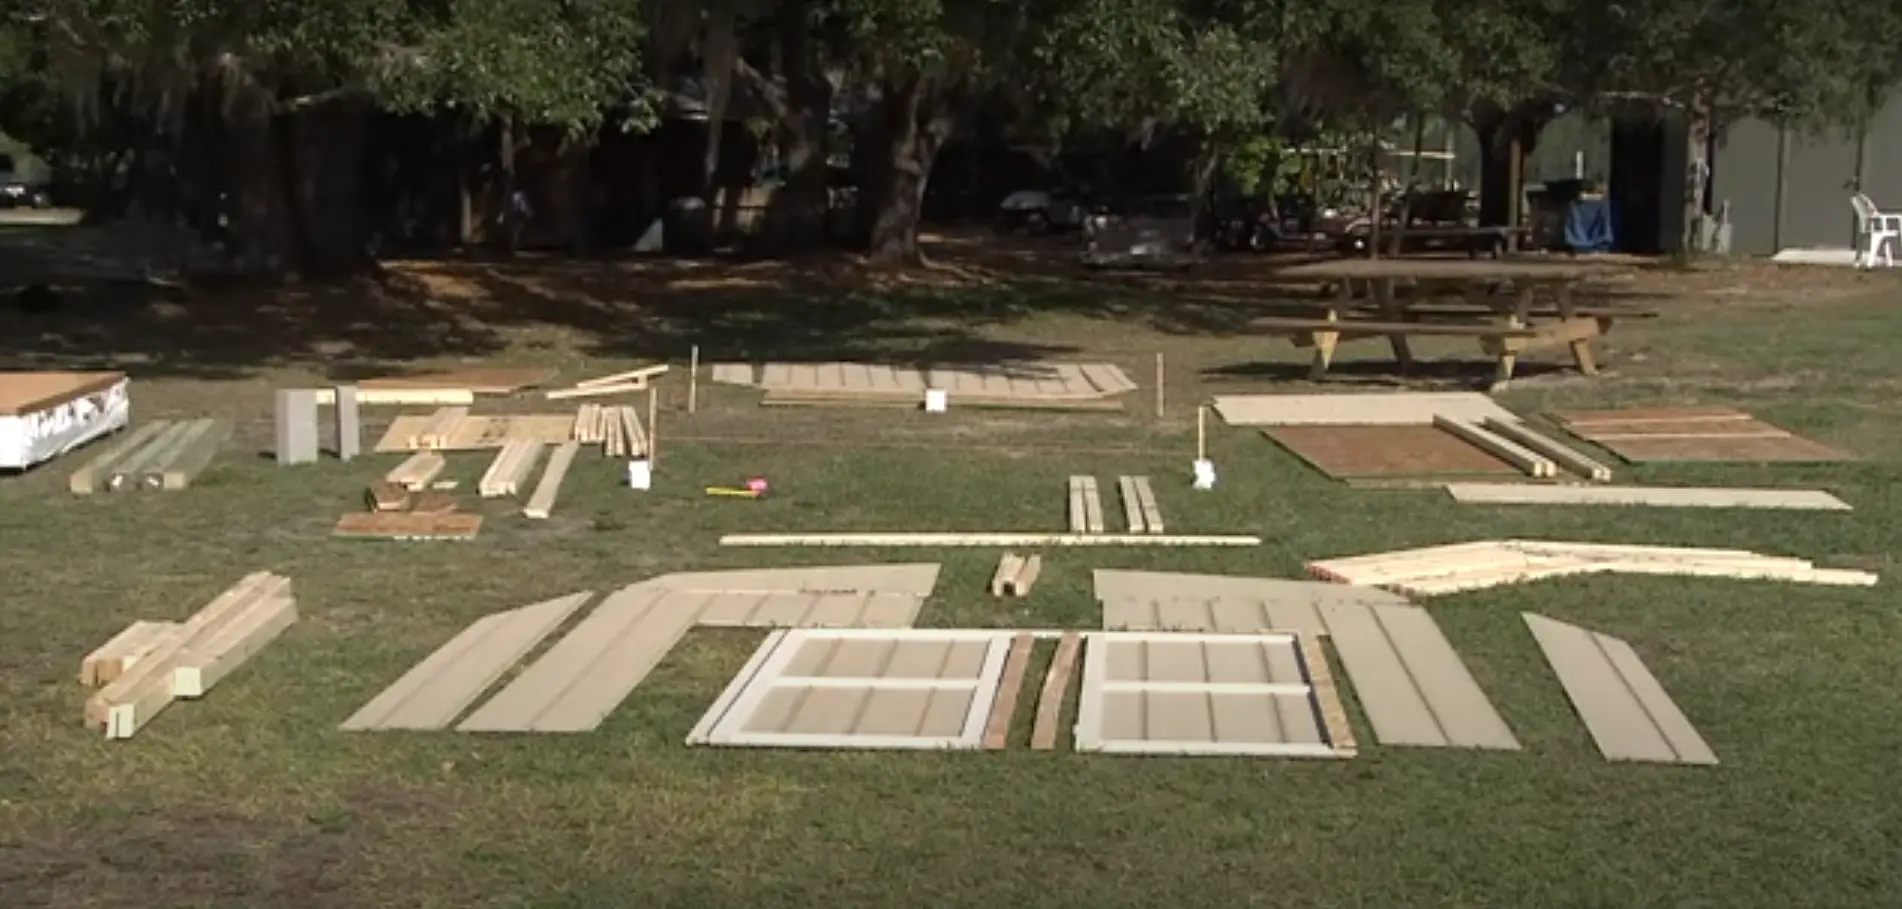
If you have an existing shed on your property which is not level, it can be a challenge to make sure that everything in the shed remains upright and secure. To prevent any damage or accidents, it’s important to take time to ensure your shed is leveled properly.
Here’s how:
- Measure the distance from the ground to each corner of your shed as well as the center of each wall at least twice for accuracy. Make note of these measurements so you can use them later when leveling the shed.
- Begin by determining which corner needs to be raised or lowered in order for the entire structure to become level with one another.
- Use two wood blocks or concrete blocks to create a sturdy base that will act as a fulcrum for the corner you need to level. The blocks should be placed in such a way that the height of them is equal to the distance from ground to shed corner at each end.
- Place 4×4 treated wood posts under the corners or wall where it needs to be lifted or lowered, making sure they are even with one another and secure.
- Begin jacking up or lowering your shed into place using a power jack until all measurements taken earlier match up perfectly.
- Continue jacking until you have reached the desired height for your shed then proceed to check for proper plumbness and squareness before proceeding with any further work.
- Fill in any gaps that may have been created with dirt, gravel or concrete as needed.
- Lastly, check once more to make sure all measurements match the desired height before moving on.
Now that you know how to level an existing shed, you can rest assured your items will remain secure and upright when placed inside it! Taking the time to properly level a shed is a great way to protect your belongings and yourself from accidents and damage caused by an unleveled structure. So remember to always check for proper plumbness and squareness before taking on any DIY project involving leveling a shed! [3]
Benefits of Leveling a Shed
Leveling a shed is an important step in the installation process, as it helps ensure the structure will remain stable for many years to come. When a shed is level, it reduces strain on the floors and walls of the structure, making it less likely to shift or collapse over time. Properly leveled sheds can also provide more even support for roofing materials, improving their lifespan and reducing the risk of water damage. With just a few simple tools and some patience, anyone can properly level their shed with relative ease. The benefits of doing so are numerous:
– Improved structural integrity: Leveling your shed helps ensure that it remains sturdy and secure over time. This can help prevent issues such as sagging floors or walls that may otherwise be caused by an uneven base.
– Reduced maintenance: With a level shed, you won’t have to worry about minor adjustments or repairs as often. This can save time and money in the long run.
– Enhanced aesthetics: A leveled shed looks more visually appealing and professional compared to one that is not properly aligned. Not only does this make a better impression on neighbors, but it may also increase your home’s property value if you ever decide to sell.
In conclusion, leveling your shed has numerous benefits that are worth considering before beginning the installation process. Taking the time to ensure that everything is level will help guarantee years of stability and satisfaction with your new structure. [4]
How to Insulate a Shed?
Insulation is an important part of properly leveling a shed. It can help protect it from the elements and keep it cool in the summer months. Here’s how to insulate your shed:
- Measure the area that needs insulation and purchase enough to cover it. You’ll need enough insulation for both walls and ceilings.
- Cut out pieces of insulation with scissors or a sharp knife so they fit snugly between wall studs, joists and rafters. Make sure there are no gaps or air leaks around them.
- Place vapor barrier against interior walls, making sure to overlap all seams with tape for added protection against moisture seepage.
- Secure insulation using adhesive caulk or construction adhesive.
- Install insulation into the ceiling by running it between joists and nailing it in place. Add additional pieces if needed to cover the entire area.
- To ensure maximum efficiency, seal all seams and edges with weatherproofing caulk or spray foam insulation.
- Finally, finish your shed project by installing a top-quality door with proper sealing around the sides and bottom of the doorframe. This will help keep out drafts and maintain an even temperature inside your shed all year long!
With these steps, you’ll be able to effectively insulate your new shed for protection against inclement weather conditions and energy efficiency that can save you money on heating bills in the winter months. Now, your shed is ready for use and can be enjoyed all year long! [5]
Do You Need a Shed?
Before you start leveling a shed, you should check if you need one in the first place. Sheds come in all shapes and sizes and can serve a variety of purposes, from providing storage to hosting outdoor activities like barbecues or outdoor movie nights. Do some research on what type of shed best suits your needs and determine if it’s something that would be beneficial for your home.
Once you decide that a shed is necessary for your home, the next step is to find the perfect spot for it. Look for an area with good drainage, plenty of sunlight exposure and easy access from other areas. Avoid placing it near trees or shrubs as this could cause problems with roots growing up through the flooring over time. It’s also important that the ground is relatively level and stable so your shed will be safe and secure.
Next, you’ll need to prepare the site for building by removing any debris or large rocks, grading the area if necessary, and making sure there isn’t any standing water on the surface. After this has been completed, you can begin leveling your shed.
Next, you’ll need to adjust the foundation until it is level. To do this, use shims between the foundation and the ground to raise or lower parts of it so that they are even with one another. This can be done by adding more soil beneath the foundation or taking away excess soil from underneath the shed. Once all parts of the foundation have been leveled, you should fill any gaps with gravel for added stability.
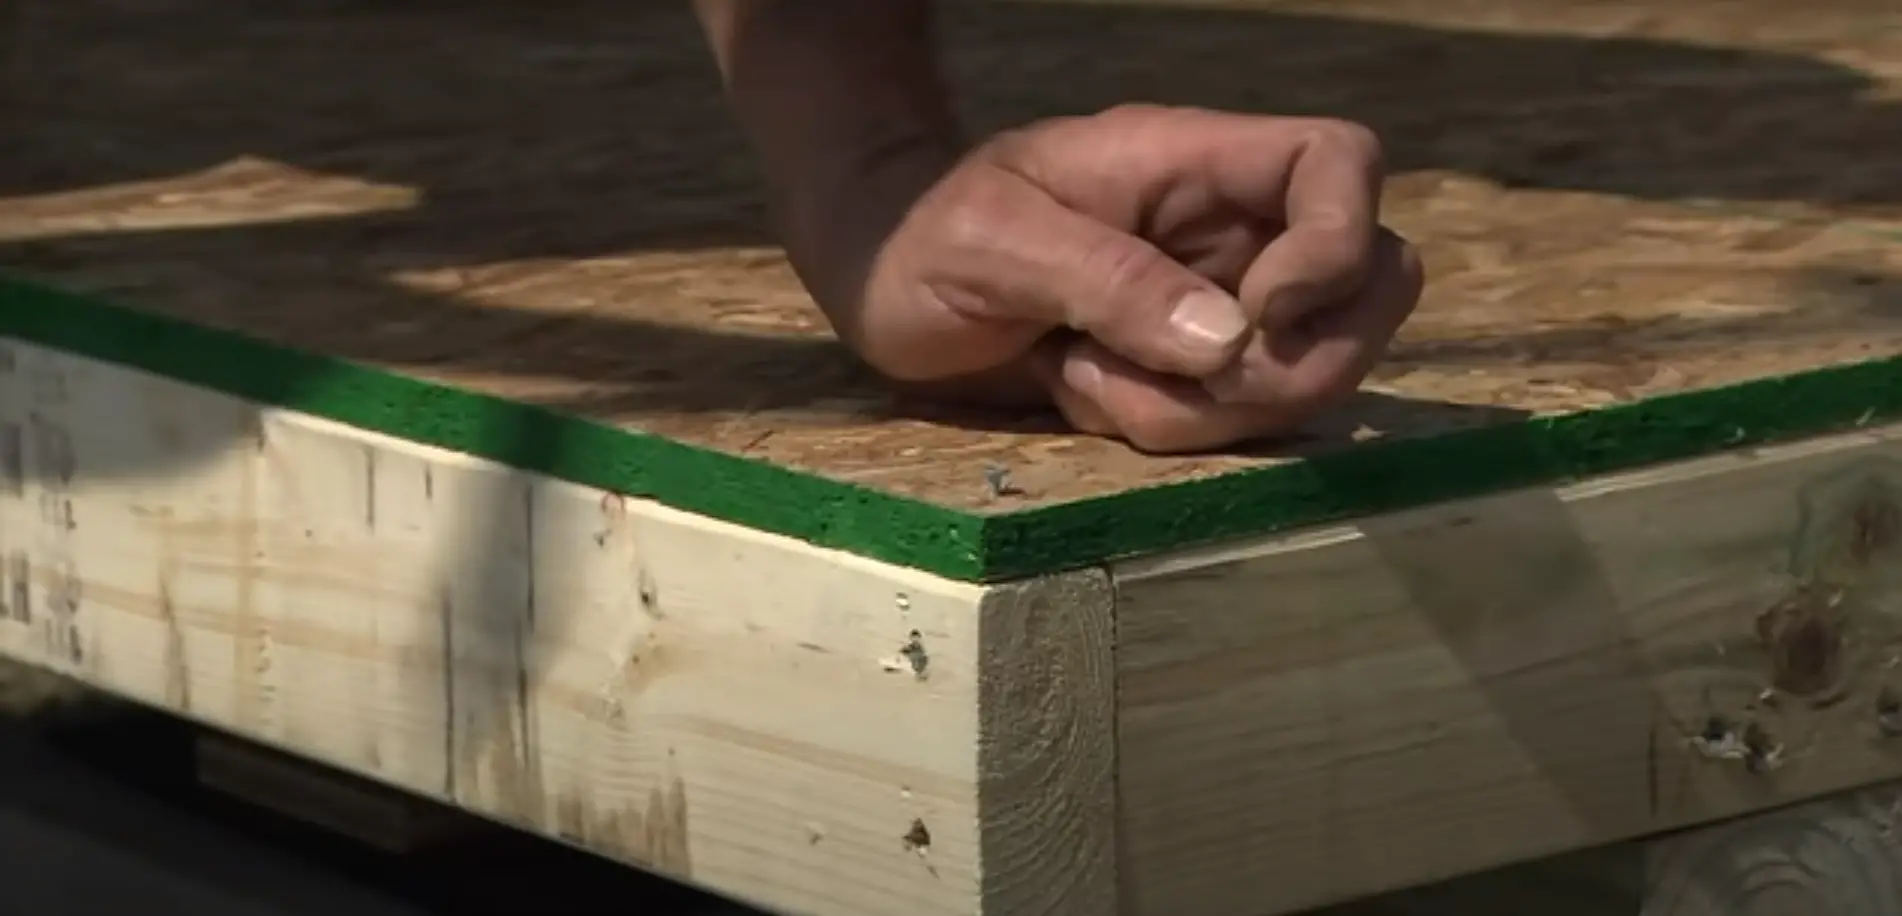
Finally, make sure your shed is securely anchored to its base – this will prevent any movement over time due to wind or other forces. If you’re not confident in doing this yourself, consider hiring a professional who has experience in anchoring sheds properly. [6]
FAQ
How do you level a shed on uneven ground?
The most important step in leveling a shed on uneven ground is to first level the area where the shed will be placed. Use a spade or other tool to dig down and fill in areas as needed until the ground is even. Once the ground is leveled, lay down crushed rock or stone dust to create an evenly distributed foundation for your shed. If necessary, use shims and wooden wedges beneath the frame of your shed to help adjust it until it’s perfectly level. Finally, secure your shed with screws and anchors into place so it won’t shift over time.
Can you build a deck on a sloping surface?
Yes, it’s possible to build a deck on a sloping surface! You’ll need to take into account the angle of the slope when planning your deck and adjust it accordingly to make sure it’s stable. You may also need to install retaining walls or pavers on the sides of the deck to help stop any potential shifting or sliding. Finally, be sure to use galvanized wood screws and anchors for added stability.
What are the best materials for a shed foundation?
The best materials for a shed foundation will depend on the type of foundation you plan to use. For concrete slab foundations, pour concrete mix and gravel or broken stone. For pier foundations, use pressure-treated lumber posts and beams to support your structure. And for floating foundations, use crushed rock or stone dust topped with a layer of sand or gravel. No matter which type of foundation you go with, be sure to include some form of waterproofing membrane beneath it as well.
Can I build a shed without a permit?
It depends on where you live and the size and scope of the shed you plan to build. Generally speaking, most jurisdictions require a permit for any structure that is over 120 square feet in size or requires excavation or building materials that are out of the ordinary. Check with your local municipality to find out if you need a permit for your shed and what the requirements are.
Can I put a shed on blocks?
Yes, you can put a shed on blocks. Blocks provide an economical and easy way to level a shed on uneven ground without having to pour concrete footings. Be sure to use high-quality, pressure-treated lumber blocks that have been rated for the weight of the shed and its contents. Also, use galvanized screws and anchors when attaching the frame of your shed to the blocks. This will help ensure that your shed is secure and stable on the blocks.
Can I build a shed on an existing concrete slab?
Yes, you can build a shed over an existing concrete slab! First, make sure that the slab is level and firm so it can properly support the weight of your shed and its contents. Also, check for any cracking or unevenness in the concrete that could cause instability. If necessary, add reinforcement to strengthen the slab before attaching your shed frame to it with screws and anchors. Finally, use a waterproofing membrane beneath the frame of your shed to prevent moisture from seeping into it over time.
What type of foundation do I need for my shed?
The type of foundation you need for your shed will depend on the type of shed you are building, as well as its size and purpose. If you are building a small storage shed that is not intended to be used for heavy-duty work, then a gravel base may be sufficient. For larger sheds and those intended for more frequent use, a concrete slab or pier-and-beam foundations are recommended. When determining what kind of foundation is best for your project, consider the weight of the equipment and materials that you plan to store in it. The heavier the contents, the stronger your foundation needs to be. Additionally, if you live in an area with cold weather or extreme temperature swings, you should take extra steps to make sure that your foundation is secure and sturdy enough to withstand harsh weather conditions.
Do shed bases need to be perfectly level?
No, a shed base does not need to be perfectly level. However, it is important to make sure that the ground where the shed will be installed is relatively level and free from large dips or bumps. To achieve this, you should first check for any irregularities in the ground with a spirit level and then use sand or gravel as necessary to fill in any low spots and raise the surface up if needed. Once your surface is even, adding wooden sleepers can help create a strong and sturdy foundation for your shed. Depending on your preference, you could either use timber posts sunk into concrete foundations or simply screw them directly into the ground. You can then lay down boards over these sleepers before finally placing your shed on top of them. With the right preparation, you can ensure that your shed will stand securely on an even and level surface. Finally, it is also important to make sure that the door of your shed is aligned properly with its frame.
How many blocks does it take to level a shed?
The number of blocks you need to level a shed will depend on the size and shape of the shed as well as the slope or unevenness of the ground. Generally, it’s best to use at least two blocks per corner, and multiple blocks for each side if there is any significant slope. If your shed is especially large or oddly shaped, then you may need more blocks than this. It’s important that all sides are properly supported with enough blocks so that your shed is level and stable. For smaller sheds, you may be able to get away with using one block per corner; however, larger sheds may require two or more blocks in certain spots to ensure its stability.
How high should a shed be off ground?
Ideally, a shed should be 6-12 inches off the ground to ensure that it is well ventilated and able to withstand any moisture or dirt that may accumulate underneath it. You can use additional blocks if needed to raise your shed higher than 12 inches off the ground. Be sure to check with local building codes in your area as they may have specific requirements for how high your shed must be off the ground. Additionally, you’ll want to make sure that adjusting the height of your shed will not cause any structural issues or impede access/egress from the structure.
Useful Video: How To Level A Shed by Heartland Sheds
Conclusion
Leveling a shed can be an important part of keeping it secure and safe from the elements. It’s not difficult to do, even if you don’t have any experience with DIY projects. The main steps for leveling a shed are to determine where its foundation needs to be leveled, adjust the footing as necessary, make sure all joists are level, and use shims or concrete blocks to support the flooring. Once you’ve completed these steps, your shed should be stable and properly leveled. With regular inspections and maintenance, you can ensure that your shed remains leveled throughout its lifespan.
Good luck with your project!
References:
- https://plasticinehouse.com/how-to-level-a-shed/
- https://www.wikihow.com/Level-the-Ground-for-a-Shed
- https://heartlandsheds.com/how-to-level-a-shed/
- https://www.siteprep.com/how-to-level-ground-for-shed/
- https://www.urban-sheds.com/blog/how-to-level-ground-for-a-shed
- https://info.cookstuff.com/blog/how-to-safely-re-level-your-shed







Leave a Reply
View Comments