
Do you have an old wooden pallet lying around and don’t know what to do with it? Why not use it to make a beautiful planter for your garden or patio! Making a pallet planter is an easy DIY project that can be done in just a few hours. Not only will it look great, but it’s also very affordable since most of the materials are easily found at home or from recycled sources. With some basic tools and supplies, you’ll soon have a unique, rustic-looking planter that adds charm and character to your outdoor space.
How You’ll Make A Pallet Planter
- Gather your supplies: A wooden pallet, a power drill and screws, structural brackets (optional but recommended), a saw (hand or power),, paint/stain,ting soil, plants of choice
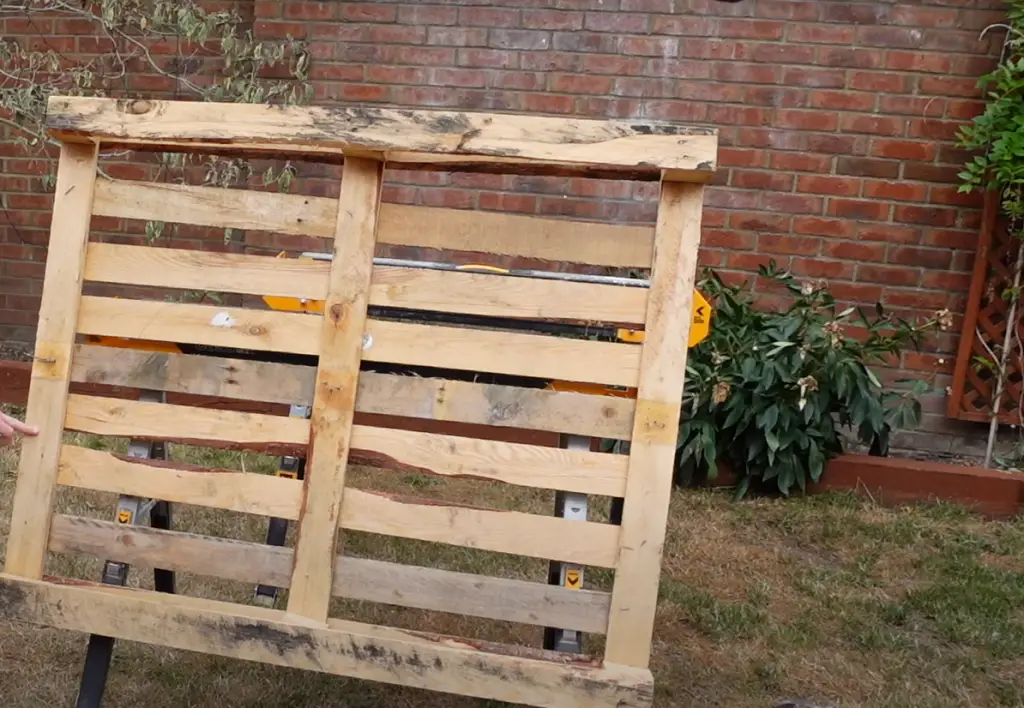
- Disassemble the pallet using your saw. on the size of the pallet, this should take no more than 15 minutes.
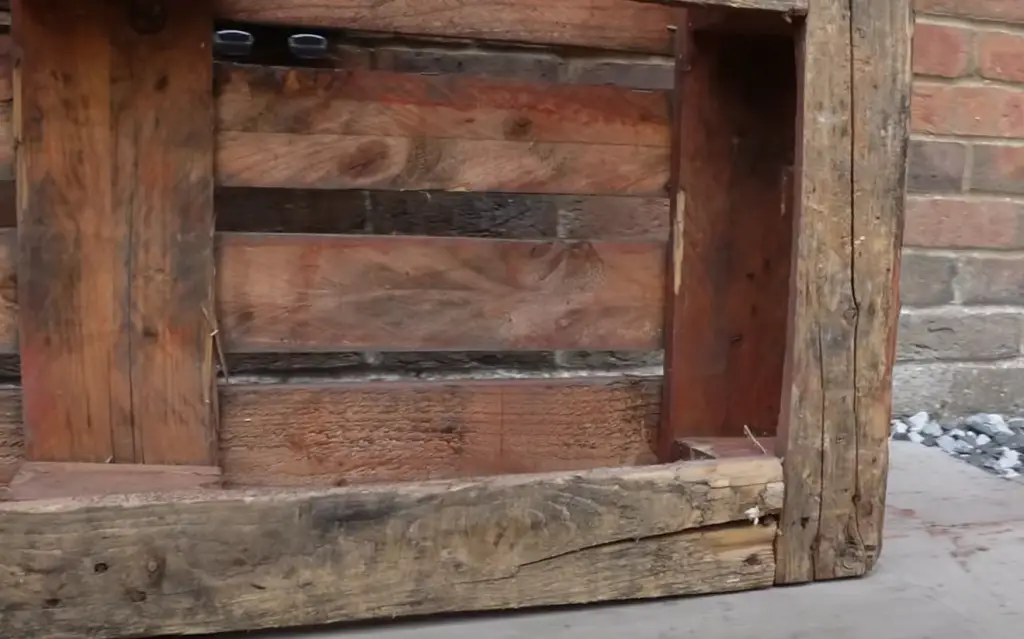
- Check and strengthen the wooden boards. Make sure that all planks are in good condition and free of rot or splintering before using them for your planter. You can also use bolts to secure any loose boards to the pallet frame, if necessary.
- Attach the structural brackets. This will help support your planter and keep it from wobbling over time.
- Paint or stain the pallet boards in whatever color you choose. Allow to dry before continuing to the next step.
- Reassemble the pallet planter and use screws to secure all of the pieces in place.
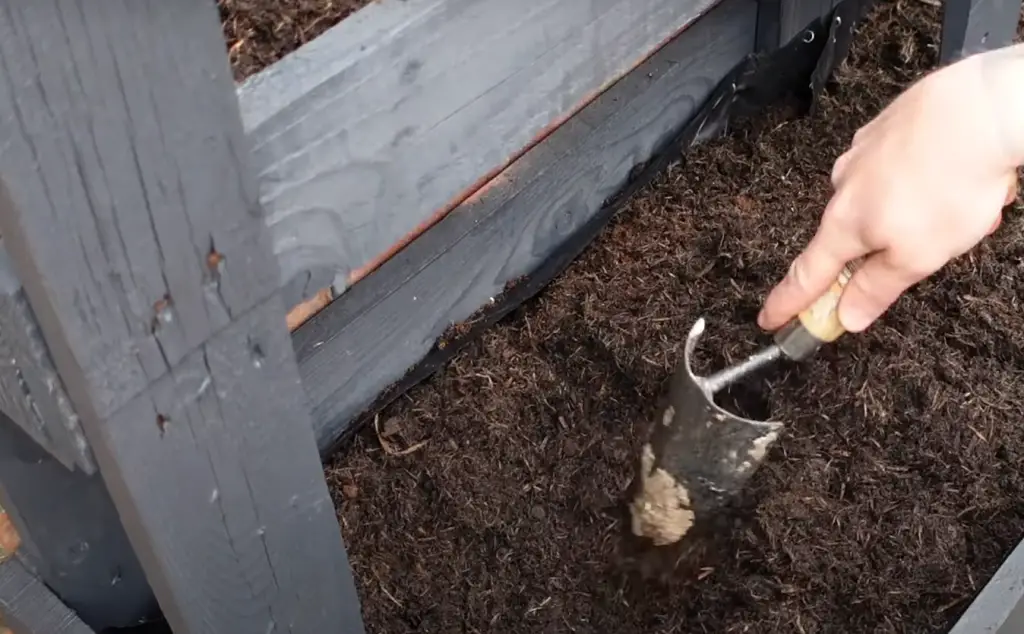
- Fill the planter with soil and your plants of choice, arranging them as desired.
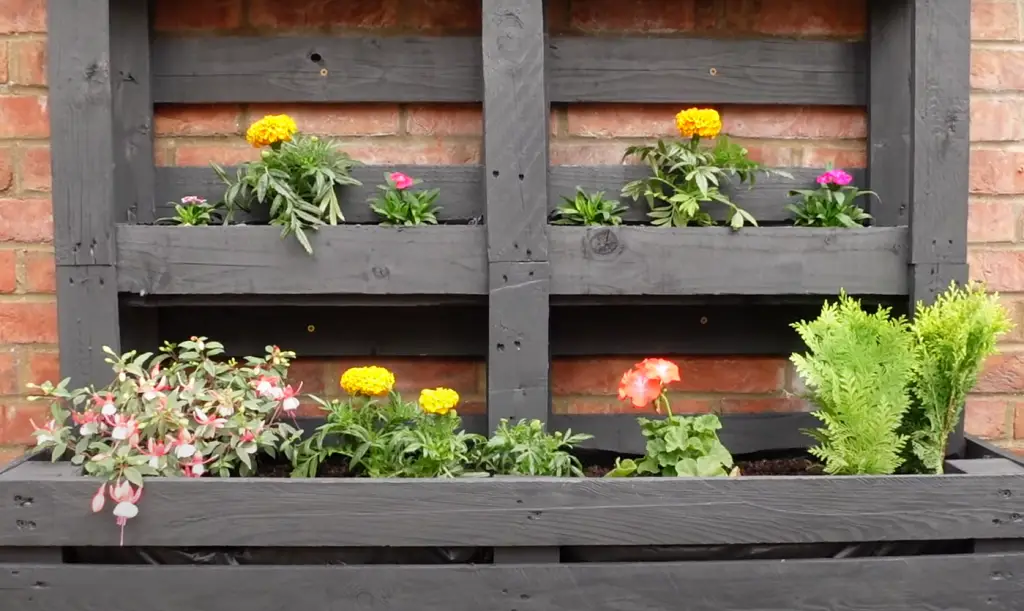
- Place your new pallet planter where you’d like it in your garden or patio and enjoy!
Basic Wood Pallet Components
To create a pallet planter, it is crucial to have a good understanding of the fundamental elements of a wooden pallet. Wooden pallets usually consist of four deck boards at the bottom and two top boards that are secured with wooden runners or stringers. The stringers give the pallet strength and stability, allowing them to hold heavier loads. Each component may vary slightly in size and shape, depending on the type of pallet and its intended function.
Once you are familiar with the basic components of a wood pallet, you can begin to gather materials for your DIY project. In addition to one or two wood pallets, you will need soil and plants for your planter. You may also need additional tools and materials, such as screws, drills, saws, and paint.
After gathering the necessary materials, you can begin to construct your planter. Begin by arranging the pallets in the form of a box with the bottom deck boards facing outwards. Use screws or nails to secure the stringers on each corner of the box. Next, you can add a layer of soil to the bottom of the planter, followed by your desired plants or seeds. Finally, use paint or wood stains to give your pallet planter a finishing touch! [1]
Step-By-Step Instructions
Let’s take a closer look at how you can make a planter with your own hands using pallets.
Step 1: Cut The Pallet
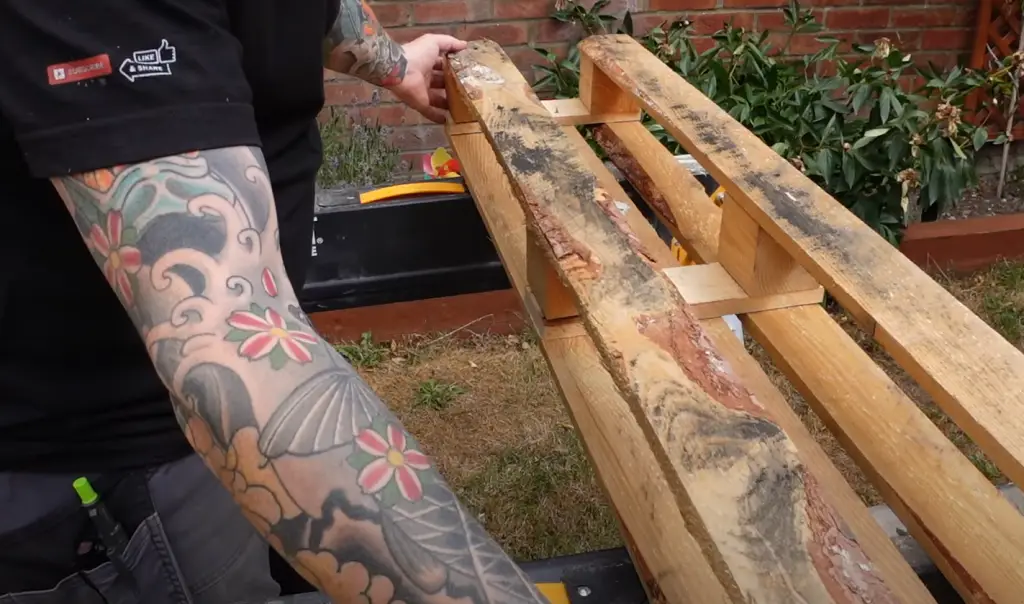
Please use a circular saw to cut the pallet into three equal-sized pieces. When working with wood, it is important to wear safety goggles and gloves.
Step 2: Remove The Wood On The Backs Of The Pieces
To remove the extra pieces of wood on the backs of each piece, please use a chisel and hammer. This will give them a cleaner look when finished.
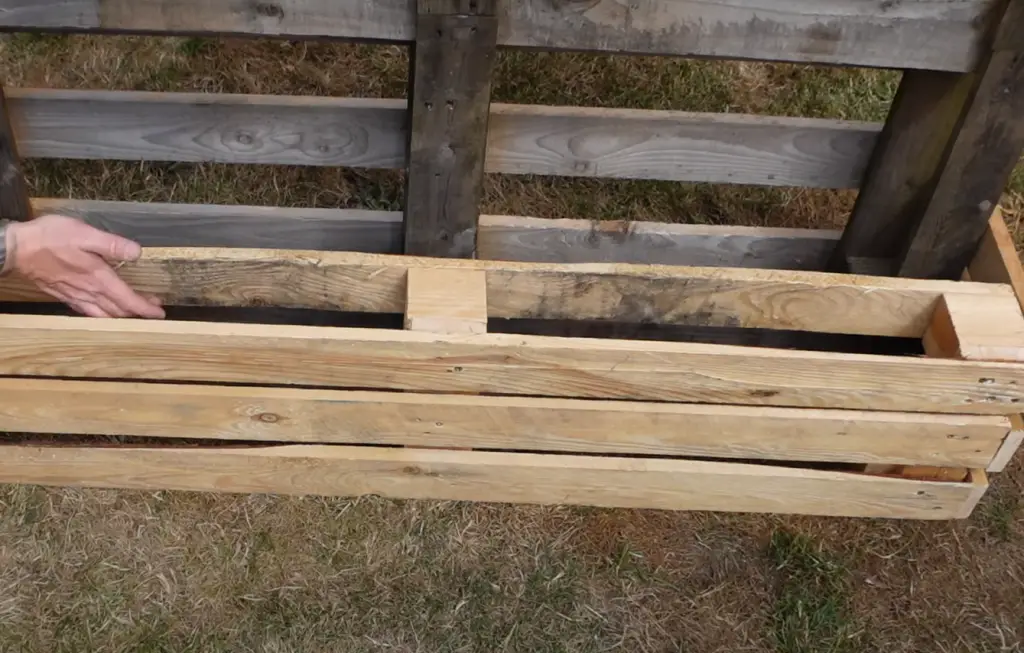
Step 3: Begin Assembling The Pallet Planter
Start attaching the pieces together using wood glue.
Step 4: Finishing Up The Pallet Planter Box
Once the glue has dried, sand the planter down to give it a smooth finish. Once done, paint or stain the box as desired.
Step 5: Add Feet (Optional)
You can add feet to the bottom of the pallet planter for added stability. You don’t have to follow this step to complete the box design.
It’s time to start planting now that your pallet planter box is finished. Fill your box with soil and then plant whatever flower or plant you desire.
Lining The Pallet Planter
If you wish to use the planter for food production, you may need to line it with a plastic liner before planting. This will help keep moisture in and prevent contamination from the wood pallet.
And there you have it – your very own pallet planter! With some patience and effort, you can create a beautiful piece of outdoor decor that is sure to add value to your home. [2]
Planting The Pallet Planter
Choose plants that will thrive in your climate and fit properly inside of the pallet planter. For example if you live in a hot dry environment, succulents may work well for you.
To prepare the pallet planter for planting, add soil until it reaches about an inch or two below the top. Ensure that you utilize high-quality potting soil that is devoid of any weeds. If you’re using seeds to plant, sprinkle them evenly on top of the soil and lightly cover them. Then, if you’re using seedlings or established plants, dig a hole in the soil and place the seedling into it.
Once all of your plants are planted, water them deeply, making sure to get each one thoroughly wet. It’s best to water in the morning so that evaporation rates are lower throughout the day.
Finally, keep in mind that your plants need sunlight and protection from the elements to thrive. Place your pallet planter in a sunny spot, make sure it has adequate drainage and protect it from heavy winds if possible. With frequent watering and proper care your plants will flourish!
Pallet Planter Longevity
The pallet planter you make will depend on how well you maintain it over time. It’s important to check the pallet for any signs of rot or decay and replace it if necessary. Additionally, treat the wood with a sealant to protect it against moisture damage and fading due to UV rays from the sun. If your planter is going to be outdoors and in direct sunlight, you should also use a UV-resistant sealant.
You should check the planter every few months for signs of wear and tear. Make sure to replace or repair any broken or loose pieces that could lead to water damage in your plants. If you have an outdoor pallet planter, you should also bring it indoors during freezing temperatures or harsh weather conditions to keep the wood from deteriorating.
Finally, regular maintenance such as dusting, cleaning and repainting can help extend your pallet planter’s lifespan so that you can enjoy its beauty for years to come. With these few simple steps and a little bit of care, your pallet planter will last a lifetime. [3]
Sourcing A Wood Pallet To Make A Planter
Once you have decided on the type and size of the planter you would like to make, the next step involves sourcing a wood pallet. The best way to do this is to look online for local businesses that are giving away or selling wood pallets. If you can’t find any available online, then you could check with local hardware stores or construction sites. Make sure that you properly inspect the wood pallet for any potential damage before taking it home to use in your project.
Once you have obtained a wood pallet, the next step is to dismantle it. You can do this with a crowbar and a hammer. Start by prying apart any boards that are nailed together. Take care to remove the nails without damaging the wood. Once all of the boards have been removed, use a jigsaw or sawzall to cut the pallet into pieces, depending on the size planter you’d like to create.
Once your wood pallet has been dismantled and cut into the pieces you need for your planter, it’s time to start constructing.
Once that is done, you can then place two more of the cut pieces at either end and secure those with nails or screws as well. Finally, use the remaining piece to create the bottom of your planter. You can do this by simply nailing it into place or using wood glue to secure it in place.Build a Pallet Planter Vegetable Garden
Creating a pallet planter vegetable garden is an easy and inexpensive way to add more fresh vegetables to your diet. With just a few simple steps and the right materials, you can create a beautiful and functional vegetable garden in no time at all!
- Gather materials: To get started, you will need two wood pallets, soil, fertilizer, and your chosen vegetables. You can often find free or low-cost pallets at hardware stores, lumber yards, and even online.
- Prepare the pallets: Before you begin building your planter garden box, make sure to thoroughly clean the pallets with a brush and soapy water. This will help prevent any dirt or debris from getting into your soil and vegetables.
- Assemble the planter base: Lay one of your pallets on its side, then set the other one on top of it in a perpendicular fashion. Secure them together using screws, nails, or wood glue.
- Fill with soil and fertilizer:Use soil and fertilizer to fill the box to the top. Make sure that you are using organic, non-GMO soil and fertilizer so your vegetables will be safe to eat.
- Plant your vegetables: Now it’s time to start planting! Pick the vegetables of your choice, such as tomatoes, peppers, squash or eggplant. Plant the seeds or plants about 8 inches apart, and be sure to read the planting instructions for each kind of vegetable.
- Water regularly: Once your vegetables are planted, it’s important to water them on a regular basis in order to keep them healthy and growing. [4]
FAQ
What do I need to make a pallet planter?
You will need a pallet, plants, soil, wood screws or nails, wire or twine and a drill. You may want to use additional items such as gravel, compost, mulch or other supplies depending on your preferences. Additionally, you should also have protective gloves and eye protection when working with the pallet.
How do you make a planter box out of a pallet?
Making a planter box out of a pallet is an easy and cost-effective way to create an eye-catching addition to your garden or patio. All you will need for this project is a pallet, some basic tools, and a few hours of time. To begin, choose the right pallet for your needs. You’ll want one that is made of untreated wood and doesn’t have any large splinters or rot. Once you have chosen the pallet, it’s time to begin building your planter box. Start by taking apart the pallet into individual boards or planks.
Take care not to damage the pieces as you will be using them to build the planter box. Next, lay out the boards and planks in your desired pattern to form a rectangular shape. To join each piece, use either nails or screws. Make sure all the edges are evenly lined up and that you have an even number of boards on each side. If necessary, trim excess wood from any errant edges or planks. Once the frame of your planter box is complete, it’s time to add drainage holes. Make sure to create a few small holes at the bottom of your box to let any excess water drain out. You can also add some stones or pebbles at the bottom of the box for extra drainage. Finally, line the inside of the planter box with a layer of plastic sheeting or burlap to keep soil and water contained. Fill it up with potting soil, and you’re ready to plant your favorite flowers, herbs, and vegetables! With just a few simple steps, you can transform an ordinary pallet into a beautiful planter box for your outdoor space.
Is pallet wood good for planters?
If you use pallet wood obtained from a clean source, it can be an excellent material for making planters. Pallets are typically made out of softwoods like pine or poplar that have been treated to resist moisture and insects. Before you begin constructing your pallet planter, take the time to inspect the wood for any signs of damage or pests. If you find any, discard the wood and choose a different pallet instead.
How do you make a vertical pallet planter?
You can easily and inexpensively increase the garden space in your home by creating a vertical planter using pallets. With just some basic materials, you can transform a pallet into a decorative vertical planter that will enhance the look of any outdoor space. To create a vertical pallet planter, start by measuring the size of your pallet. Cut one of the slats into four pieces and then attach these pieces to the other side of the pallet using screws or nails, forming a box frame. Add a thin layer of gravel to the bottom for drainage and fill it with potting soil, leaving about two inches of space below the top edge for planting. Plant whatever plants you have chosen for the planter, ensuring that they are securely in place. Place the pallet planter in its desired location and enjoy your garden!
How do you weatherproof wooden pallets?
Weatherproofing wooden pallets is a necessary step in order to keep your planter looking good and lasting for a long time. You can weatherproof your pallet planter by applying waterproof sealant. First, you’ll need to power wash the wood or scrub it with warm, soapy water to get rid of dirt and debris. Let the wood dry completely before applying a waterproof sealant such as polyurethane, marine-grade varnish or teak oil. If you’re using a spray on sealant then make sure to cover your work area with plastic and wear protective gear like glasses and gloves while spraying. Apply the sealant in thin layers and allow it to dry in between each coat. Once the sealant is completely dry, you’re ready to use your pallet planter!
How long do pallet planters last?
The lifespan of your pallet planter relies on the wood type, maintenance, and climate of your location. Generally speaking, a well-maintained pallet planter can last for several years. To maximize lifespan, use pressure treated or rot resistant wood, such as cedar or redwood, and try to place the planter in an area that is protected from the elements. Additionally, make sure to periodically check for signs of rot or decay, and treat with a wood preservative as needed. With proper maintenance and care, your pallet planter will likely last you many years!
What is the best way to line a wooden planter?
The best way to line a wooden planter is with a waterproof material like pond liner, plastic sheeting, or even thick canvas. This will help protect the wood from getting damaged and absorbing moisture. If you’re using a pallet planter in an area that receives direct sunlight, then it’s important to add several additional layers of protection, such as a liner made from recycled plastic or rubber.
This will help to protect the wood and provide an extra barrier against water damage. Additionally, you can use a raised bed liner or add mulch to the bottom of your planter for additional protection. Once you have lined your wooden planter, it’s important to also seal any cracks or crevices with a sealant to fully protect it from the elements. Doing so will help extend the life of your planter and ensure that it stays in excellent condition for many years to come.
How do you make a simple planter box?
Here are the steps you should take to make a simple planter box using one pallet:
- Obtain a suitable pallet for use in creating the planter box. You can often find free or inexpensive pallets at hardware stores or home improvement centers.
- Cut off any extra pieces of wood on the pallet, such as nail heads and protruding boards.
- Sand the pallet with medium-grit sandpaper until it is smooth and free of splinters.
- Paint or stain the pallet for a more attractive finish and to protect it from the elements.
- Measure and cut pieces of wood to size for the walls of your planter box.
- Assemble the walls onto the pallet using screws or nails.
- Place plastic sheeting on the bottom of your planter box to create a water-resistant barrier.
- Fill the planter box with potting soil and your desired plants, flowers, or vegetables.
- Place the planter in a sunny spot and enjoy!
What do you put in the bottom of a planter for drainage?
When you make a planter from pallets, remember to think about drainage. It is important to add a substance in the bottom of the planter that helps to drain away excess water from the soil and the roots of your plants in order to ensure proper drainage. You can use rocks, broken terracotta pots, or a plastic liner at the bottom of a planter for drainage. Make sure to create some holes in the plastic liner if you decide to use it, so that the water can drain out. The goal is to keep the soil from becoming too soggy. To further aid with drainage, try adding a layer of charcoal or gravel below your soil. Giving your plants well-draining soil will prevent waterlogging and promote healthy root growth.
What plants are best for a pallet planter?
When selecting plants for a pallet planter, it is important to choose those that are suitable for its particular conditions. Since the planter is usually placed outdoors and exposed to direct sunlight or wind, it is best to select hardy varieties that can tolerate these elements. Some of the best options include herbs such as rosemary, oregano, thyme and sage; succulents such as cacti or aloe vera; and other low-maintenance plants like ferns, ivy, violets and impatiens.
Useful Video: How to Make a Pallet Planter
Conclusion
Making a pallet planter is a rewarding and creative project that doesn’t require too much time or money. You can use simple tools that you have at home to turn an old pallet into a lovely decoration for your garden. Once the planter is finished, you can fill it with soil and your favorite flowers or plants to enjoy for years to come. You can add more creativity by painting the pallet in any color you can imagine, which will add a unique touch to your garden.
References:
- https://www.homedit.com/ways-to-build-a-pallet-planter/
- https://www.thespruce.com/how-to-make-a-simple-pallet-planter-5186994
- https://lovelygreens.com/how-to-build-a-pallet-planter/
- https://www.gardenpatch.co.uk/how-to-make-a-pallet-planter-box/