Are you looking to build a slanted shed roof that gives your outdoor space an extra level of style and practicality? A slanted shed roof is a great option for those who need more coverage from the elements but are limited by budget or yard size. It’s also perfect for turning your garden area into an inviting place that can be enjoyed throughout the year. If you want to learn how to build a slanted shed roof, keep reading because we will guide you through all the necessary steps in this blog post.
How to Build a Slanted Roof Shed: Step by Step
Step 1: Gathering Requirements
Make sure you have met all requirements before starting the construction process for your slanted roof shed. Firstly, check if there is a building permit needed from your city or county to proceed with the project. Secondly, calculate the cost of materials and supplies necessary for the construction of your shed roof.
Step 2: Check Local Law Restriction
Before you begin building your roof, make sure to check the local laws regarding construction procedures to ensure that you comply with them. This is especially true when building a slanted roof shed, as regulations may differ depending on the state/country and area of construction.
Step 3: Choose Size and the Style of the Shed Roof
After verifying any local law limitations, the following measure is to select the dimensions and design of your shed’s roof. Consider how much space you need for storage and other activities, as well as what type of slant will be best suited for your needs. [1]
Step 4: Determine a Location for the Shed Roof
Where you decide to place the roof will determine its success. Make sure to pick a location that has secure footing and is level with the ground. Also, be mindful of nearby trees or power lines when selecting your spot.
Step 5: Prepare the Construction Site
It’s time to prepare the construction site now that you have selected a location for the roof. Clear an area of any debris and make sure that the ground is level and firm. If necessary, add soil or use paver stones to make sure that the surface is even.
Step 6: Build Shed Foundation
Once the construction site is prepared, it is time to construct a foundation for your shed. You can use either a concrete slab or gravel bed foundation for the shed roof structure. Whichever you choose, make sure that the foundation is level and solid.
Step 7: Build Shed Flooring
Once the foundation is built, it is time to construct the flooring for your shed. For this part of the project, you have the option to use either plywood or pressure-treated wood. Make sure that all pieces are firmly secured and that there are no gaps in between them. [2]
Step 8: Building the Walls and Roof
Now that the flooring is in place, it is time to build the walls and roof of your slanted shed. Start by framing the walls with lumber and then install sheathing over them. For the roof, use 2x4s spaced out evenly to create a rafter system for your shed.
Step 9: Shed Wall Sheathing
Once the rafters are in place, it is time to start the sheathing for your shed walls. You can use either plywood or OSB (oriented strand board) for this part of the project. Make sure that all pieces overlap firmly and that there are no gaps between them.
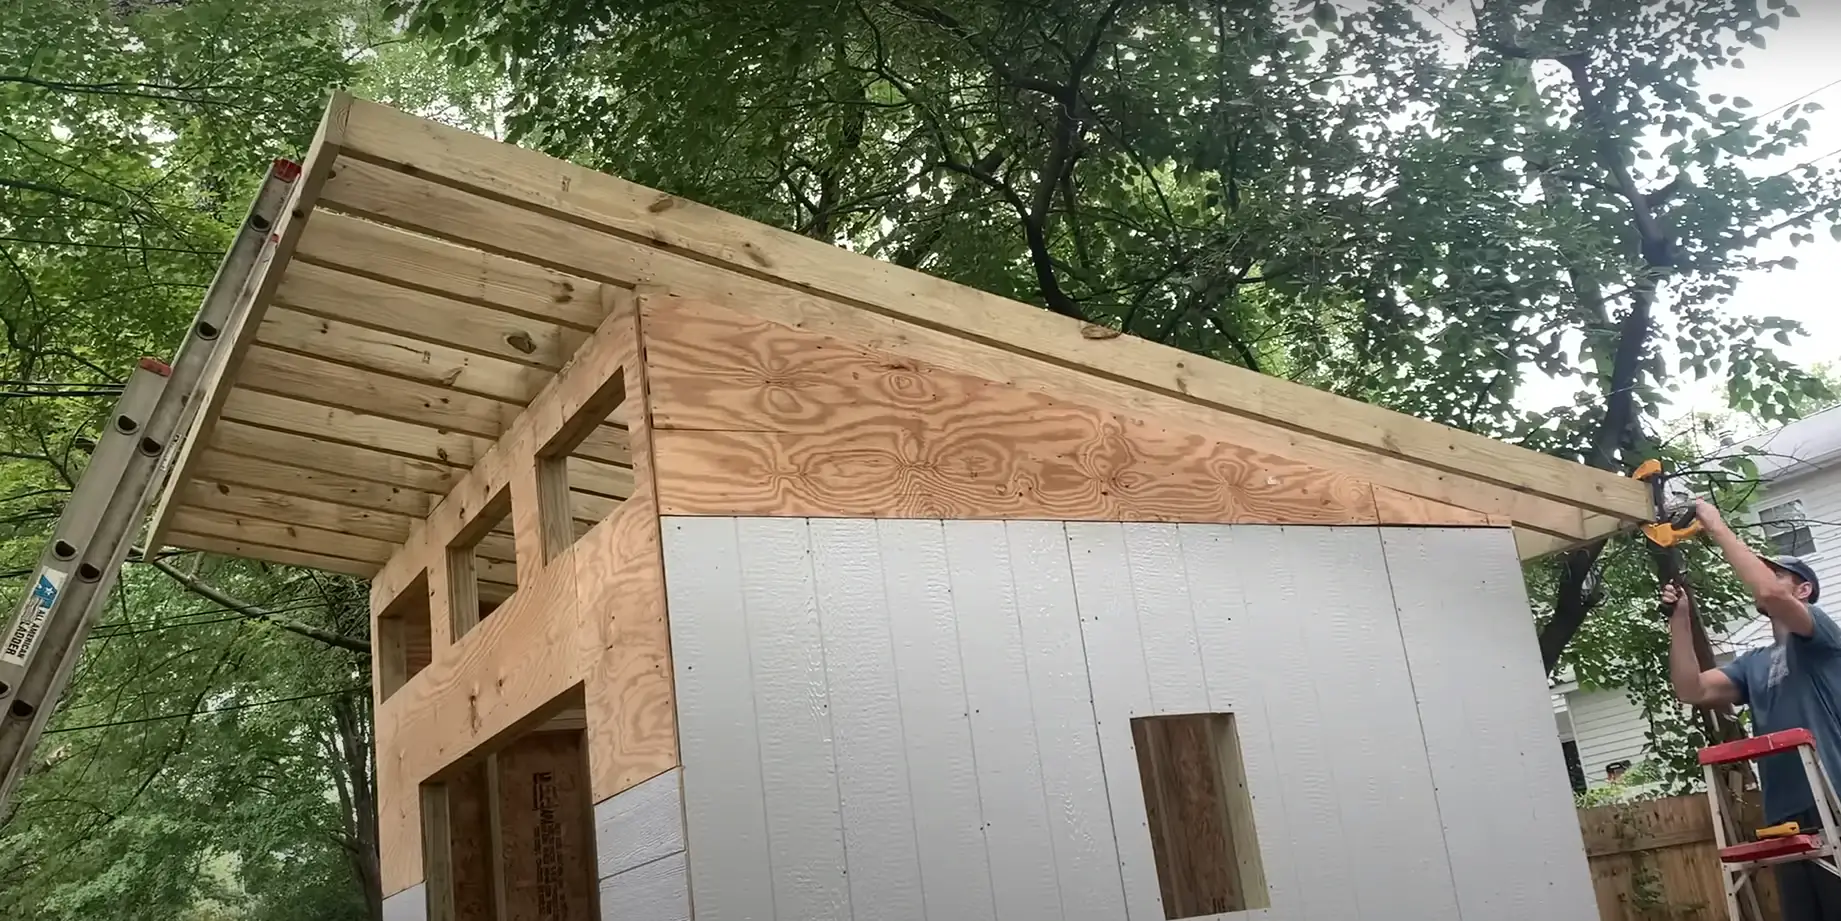
Step 10: Build a Skillion Roof
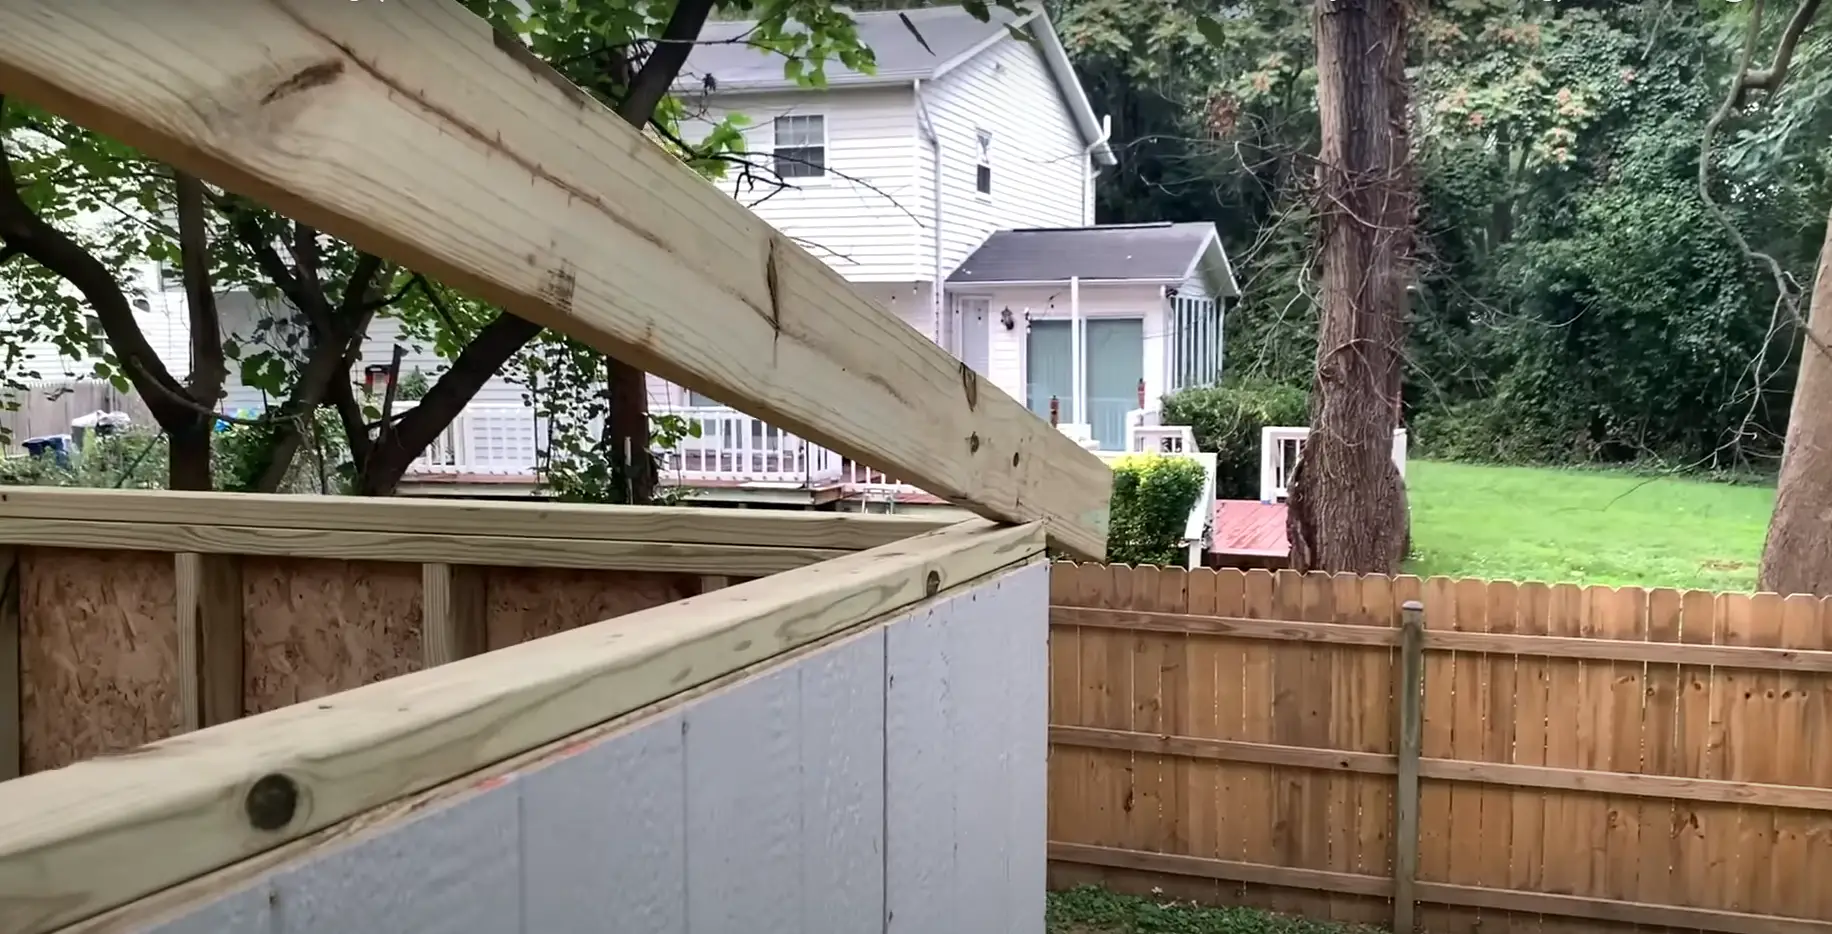
Now that the walls and flooring are in place, it is time to build a skillion roof. This type of roof has a single slope with one side rising higher than the other. First, use 2x4s to frame out the slanted roof structure and then cover it with sheathing boards. Secure all pieces firmly with nails or screws.
Step 11: Build Double Shed Doors
Since the roof and walls are completed, the next step is to construct a pair of double doors for your newly built slanted roof shelter. Use a pair of standard 6-foot wide single door frames and attach them together with hinges. You can either buy prefabricated doors or make your own from plywood or OSB boards. [3]
Step 12: Frame the Windows
Once the shed doors are in place, it is time to frame the windows. Use a 1×4 lumber piece for each window frame and position them according to your desired size and shape. Cut out the opening using a circular saw or jigsaw and then secure it firmly with nails or screws.
Step 13: Install Siding and Roofing
The final step is to install the siding and roofing of your shed. If you are using vinyl siding, make sure that all pieces overlap securely. For the roof, you can use either asphalt shingles or metal panels. Be sure to secure them firmly with nails or screws.
The Slanted Roof Installation Process
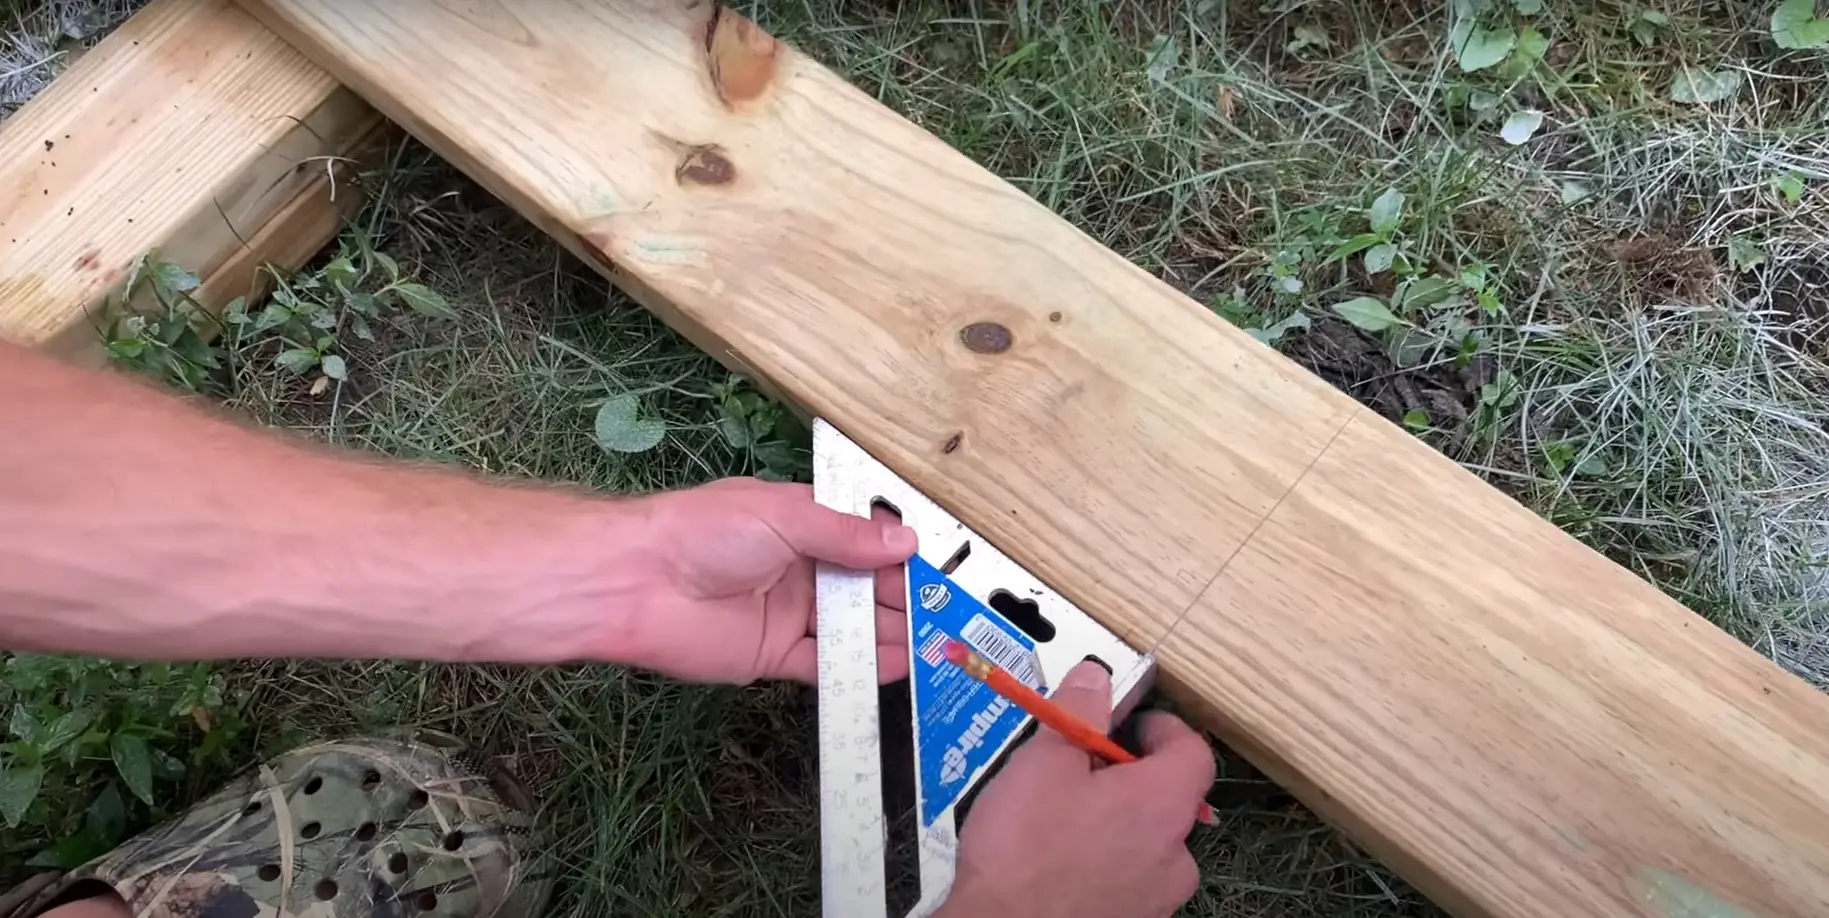
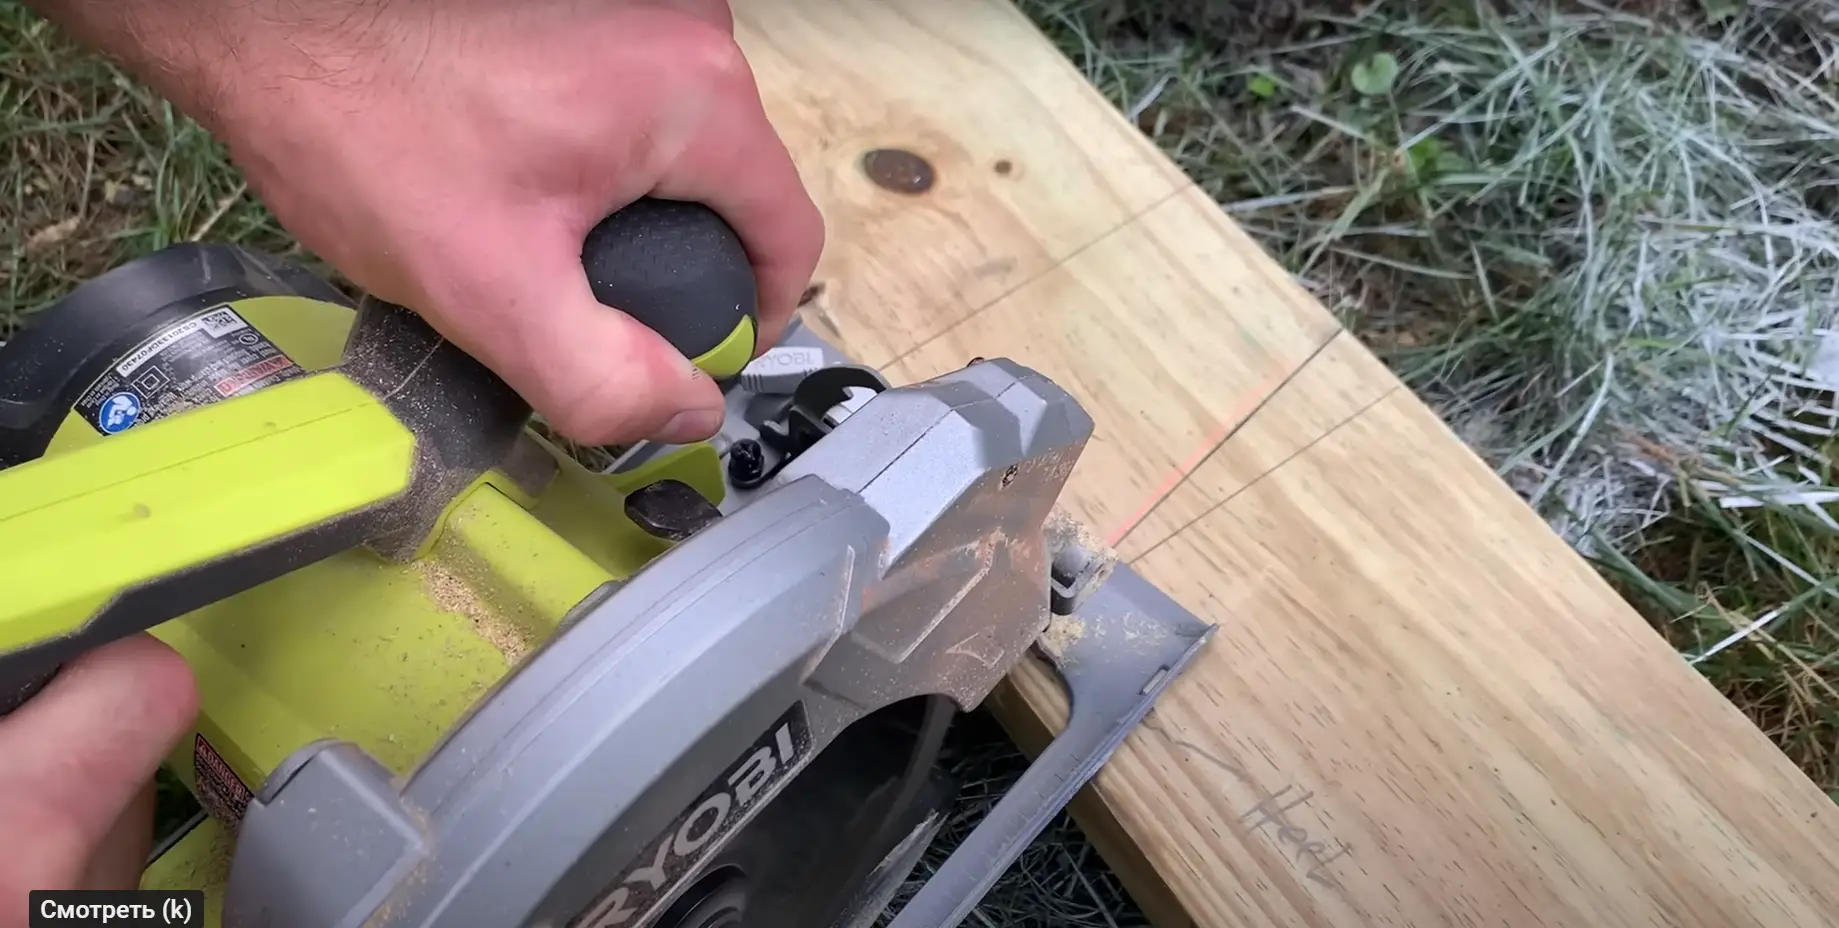
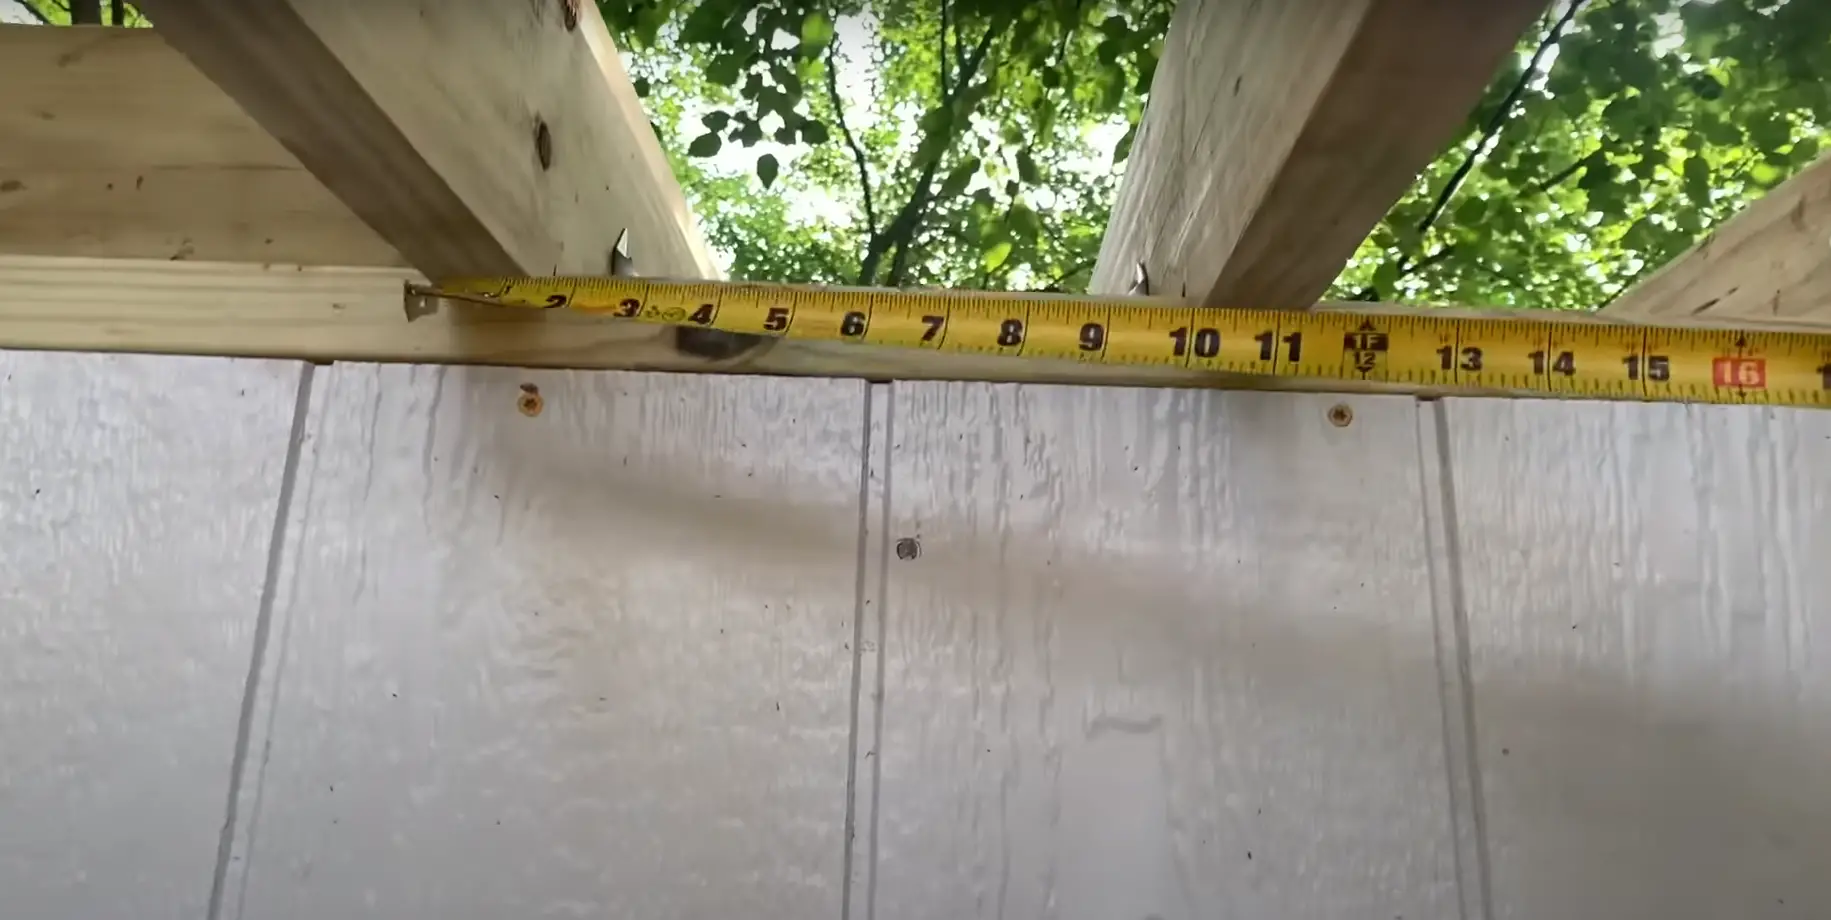
The installation of a slanted shed roof requires careful measurement and construction techniques. To begin, you will need to measure the width and length of the shed walls that will support the new roof. The next step is to calculate the rafter lengths using trigonometry formulas based on the measurements taken earlier. A framing square can be used to mark out your lines for cutting.
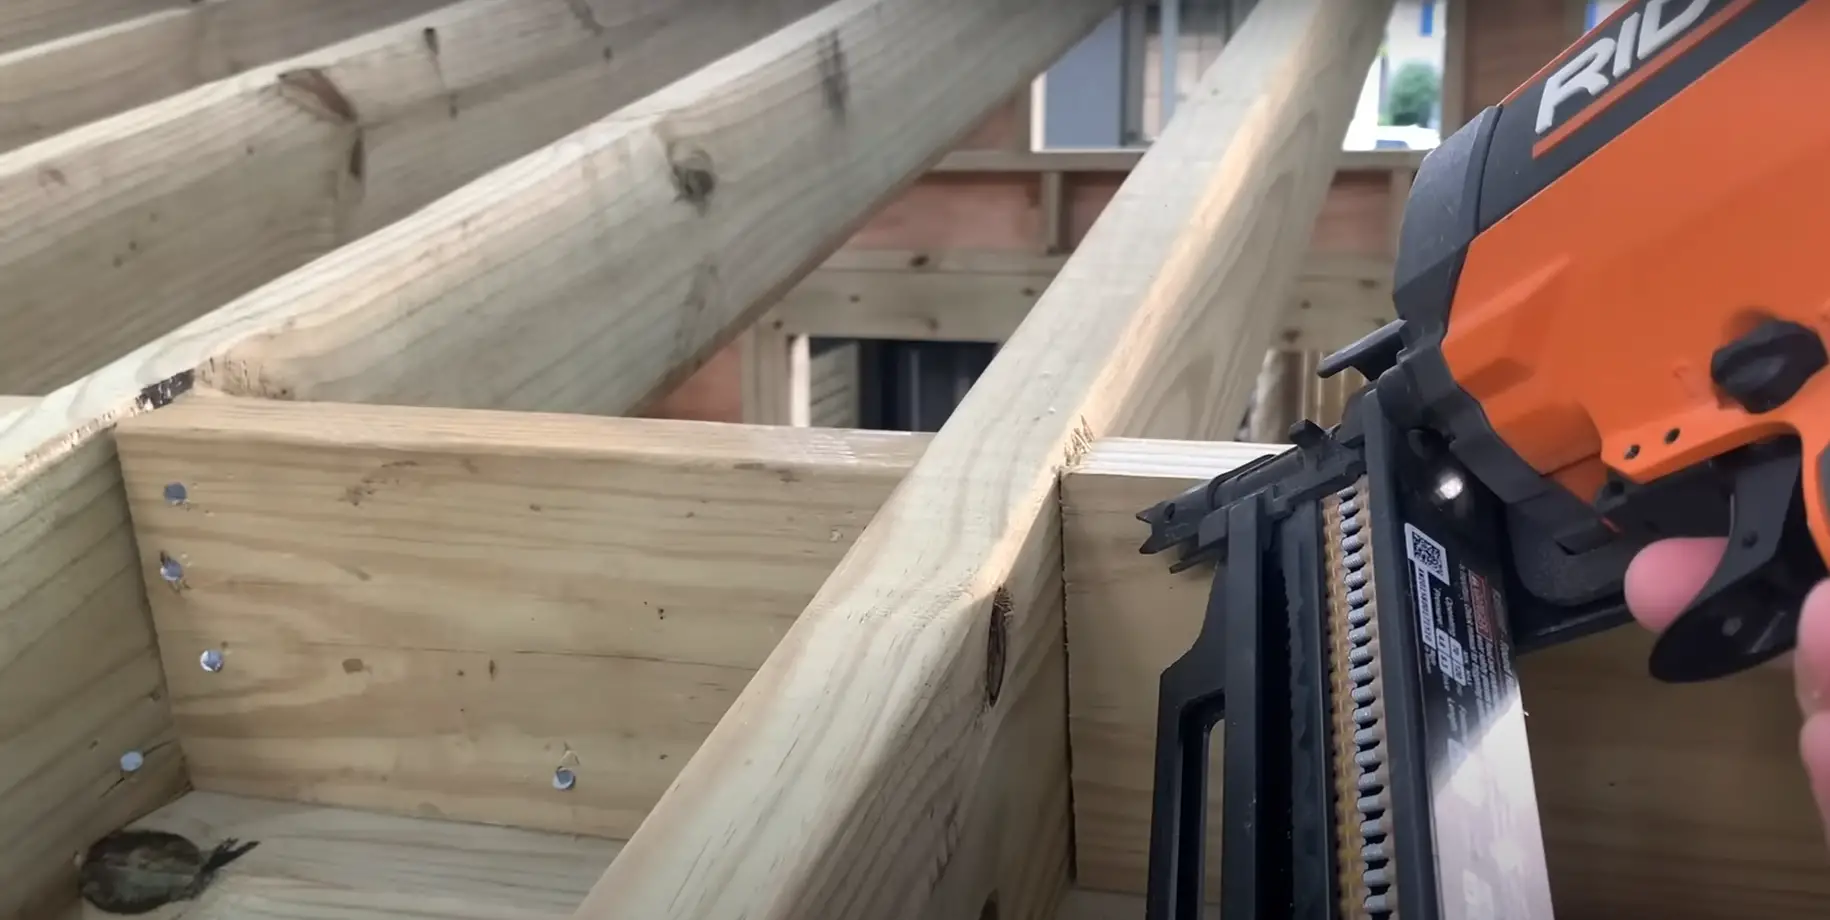
Be sure to use galvanized nails when attaching everything together as this will increase the longevity of your new slanted shed roof. Also, ensure that all pieces fit tightly and securely together before adding any additional layers; otherwise, water may leak through the joints and cause damage inside your shed. With these steps in mind, you should now have a better understanding on how to build a slanted shed roof!
Covering a Slanted Roof
When it comes to covering a slanted roof, you have many different options. Depending on the type of roof you have and the overall purpose, certain materials may be better than others. If you are looking for something durable and long-lasting, metal roof panels can provide this. They come in various colors, so you can choose one that will match your home’s aesthetic best.
Alternatively, asphalt shingles are also quite common and easy to install. For an environmentally friendly option, consider installing solar panels on your slanted roof — they’ll help reduce future energy costs considerably! With all these choices available, it should be easy to find the right material for your shed’s slanted roof. [4]
Cost of DIY Building 10×14 Storage Shed
Building a 10×14 storage shed is an affordable DIY project for most homeowners. The total cost of materials and supplies needed to build the shed will depend on the quality of the building materials you choose, as well as how many additional components you add such as windows, doors, and other decorative elements.
Basic wood framing materials such as 2x4s, plywood sheets, roofing felt, and shingles typically range from $400-$700. You may also need to purchase additional hardware items like screws or nails. If you are adding features like windows and doors those costs can add up quickly. Consider costs for framing lumber (for window/door frames), door hardware (hinges and locks) and glass panes.
Overall, it is possible for homeowners to build their own 10×14 storage shed for under $2000 depending on the materials used, level of customization, and labor costs. It is important to research all available options before beginning any DIY project so that you know what costs will be involved and what supplies are needed. With proper planning and preparation this project can be completed within your budget! [5]
Pros and Cons of a Slanted Shed Roof
Pros: A slanted shed roof is a great way to add extra storage space as it allows for more room inside the shed. It also prevents rainwater from pooling on top of the shed and gives an aesthetically pleasing look both inside and outside. The slant of the roof also helps to prevent snow buildup during winter, which could cause damage to the structure over time. This type of roof is also relatively easy to build, making it a good choice for the DIYer.
Cons: While this type of roof can be easy to construct, it may require additional materials than other types of roofs due to its angled shape. Additionally, one must take into consideration that having a slanted shed roof can make accessing items stored in the shed difficult and require ladders or other equipment to reach them. The slanting of the roof may also reduce natural light inside the shed, making it harder to work and find items within. Finally, depending on climate conditions, a slanted roof can be more vulnerable to storms, wind and snow damage than other types of roofs.
Additionally, due to its angled shape, a slanted roof may be more vulnerable to weather damage such as snow buildup or winds than other types of roofs.
What Is The Average Lifespan Of A Sloped Roof?
Sloped roofs, when properly constructed and maintained, typically have a longer lifespan than flat roofs. This is because sloped roofs are better able to shed rainwater and snowfall. On average, a well-maintained sloped roof should last between 15 and 30 years. Depending on the materials used and the climate in which it is located, some sloped roofs can even last up to 50 years. In order for your slanted roof to reach its full lifespan potential, proper installation and maintenance must be applied.
Regularly inspecting your roof for any signs of damage or wear is important in order to catch problems early before they become too severe. Additionally, cleaning off debris from the roof regularly will help keep it in good condition for much longer. If any repairs are needed, they should be conducted as soon as possible to avoid further damage from occurring. Having an experienced roofer conduct regular maintenance or repairs on your roof is the best way to ensure it lasts for its full lifespan potential.
By following these tips, your slanted shed roof will remain in good condition and last you for years to come. With proper installation and maintenance, it can reach its full lifespan potential of up to 50 years! [6]
Is a Slanted Roof Safe?
When building a slanted shed roof, it is important to consider safety. A slanted roof requires more structural support than a flat roof and needs to be constructed correctly in order to ensure that it can withstand the load of snow and other weather conditions.
Additionally, when constructing the slanted roof, appropriate bracing should be used in order to maximize its stability. It is also important to follow all local building codes when constructing a slanted shed roof, as failure to do so could lead to serious consequences.
Taking these steps will help ensure that your new shed roof is safe and secure for years to come!
Is It Safe To Walk On A Sloped Roof?
The safety of walking on a sloped roof depends largely upon the type of roof and its slope angle. Generally, roofs with low slopes (less than 25-degrees) are considered safer for walking than steeper ones. Additionally, flat or slightly curved roofs may be safer to walk on as they do not require steep angles or vertical edges that can be dangerous when traversed.
Overall, walking on a slanted shed roof can be done safely if you take proper precautions and use the correct safety measures. However, if in doubt, it is always better to bring in an experienced professional for their expertise and advice.
Things to Avoid When Building a Slanted Shed Roof
- Don’t use too small of a roof size for the shed – A slanted roof requires larger rafters and trusses than the typical gable roof, so it is important to plan ahead and make sure that your shed has enough space for these components.
- Don’t forget to factor in wind resistance – A steeply pitched roof can be more vulnerable to wind damage, so it is important to ensure that the roofing material used will provide adequate protection against strong winds. It may also be beneficial to add additional bracing or an extra layer of shingles to the structure in order to increase its strength.
- Don’t neglect drainage considerations – Proper drainage is essential for any roof, but especially when building a slanted shed roof. It is important to ensure that there are adequate eaves and gutters to carry water away from the structure. Also, making sure that the grade of the slope is steep enough to prevent standing water will help protect your shed in the long run.
- Don’t skimp on materials – High-quality lumber and metal components should always be used when constructing a slanted shed roof. The added weight of these materials will add strength and longevity to the structure, so it pays to spend a bit extra upfront rather than having to repair or replace components down the line.
- Don’t underestimate labor costs – Building a slanted shed roof is not a job for the faint of heart. It requires patience and precision, as well as specialized tools and equipment. Hiring an experienced contractor or carpenter can save you time and money in the long run, so take care to factor these costs into your budget before starting construction.
By following these simple guidelines, you can ensure that your slanted shed roof will be built safely and effectively. With proper planning and attention to detail, you should have no trouble creating a strong and attractive structure that will last for years to come! [7]
FAQ
How to build a slanted roof for a shed?
Building a slanted roof for your shed is not as difficult as it may seem. The most important step is to make sure that the materials you use are suitable and of good quality.
- Start by measuring the area where the shed will be built, including the angles of the walls and ceiling height, if necessary. This will ensure that all dimensions are correct when constructing the roof.
- Choose high-quality roofing material such as asphalt shingles or metal sheets and prepare them according to the manufacturer’s instructions before beginning installation. Make sure that they are properly sealed and nailed into place before moving onto other steps.
- Cut the rafters to match the angles of your walls, as well as the ceiling height. The number of rafters you’ll need may vary depending on the size and shape of your shed.
- Nail the rafters securely in place, making sure that they are properly aligned with one another and level at all points along their length.
- Attach roofing material over top of each rafter, following the manufacturer’s instructions for installation and sealing them together according to the specific product guidelines.
- Once complete, check for any weak areas or potential leak points and repair them accordingly before finishing off with a coat of paint or sealant, if desired.
How do you cut rafters for a slant roof shed?
Cutting rafters for a slant roof shed is not a difficult task, but it does require some accuracy and precision. The first step is to determine the pitch of the roof (how steep or shallow it is). Once this has been done, you can use either a framing square or template to mark out the cut lines on each rafter. Next, measure and mark the length needed for each rafter. It’s important to make sure all pieces are exactly the same length as any variation could cause major issues with fitting together at the ridge board. Take your measurements off of the outside edge of one end of the rafter and transfer them onto the other end using a straight edge. This will ensure an even cut. Finally, make the cuts with a circular saw and smooth out any rough edges. It’s also important to double check your measurements before you start cutting. With these steps, you can easily cut rafters for a slant roof shed.
What is the best slope for a shed roof?
The best slope for a shed roof will depend on the specific needs of your project. For most sheds, a 4/12 pitch is ideal as it offers enough space for storage and ventilation but also keeps water from pooling or running off too quickly. Generally speaking, the steeper the slope, the more difficult it can be to construct a stable framework. Ultimately, you may want to consult with an expert in order to determine what would be best suited for your particular shed.
What should you consider when building a slant roof?
When building a slant roof, there are several factors that must be taken into account in order to ensure the structure is secure and stable. First, you need to make sure that all rafters are cut to the same length and that they are evenly spaced. It’s also important to make sure that the ridge board, which runs along the peak of the roof, is level and securely fastened in place. Additionally, it’s essential to consider the weight of any shingles or tiles you plan to use as well as how much snow your area typically gets in order to ensure that your shed will be able to handle the load. These are just a few considerations when building a slant roof shed. With careful planning and attention to detail, you can create a sturdy structure that will stand up against any weather conditions.
What are the cons of slanted roofs?
The main disadvantage of slanted roofs is the increased complexity of construction. Slanted roofs require more expertise and a greater amount of materials in order to construct, which makes them more expensive than flat roofs. Additionally, depending on the pitch, these types of roofs can be difficult to access for repairs or maintenance. Moreover, they are generally less energy efficient than flat roofs due to poor insulation properties. Finally, they may not offer much protection if there is a lot of snowfall in your area as a steeper slope could cause snow and ice to easily slide off the roof instead of building up and melting slowly over time.
Is a slant roof cheaper?
The answer is yes, a slanted shed roof can be cheaper than a traditional flat roof. This is because the fewer materials needed to build the structure and less labor that goes into constructing it. You save on cost by not needing long-term maintenance or replacement materials for the roof. Additionally, you have fewer issues with water accumulation since rainwater can drain off more easily from a sloped surface than it does from flat surfaces. Although this type of roof may require more time to install, it often pays for itself in terms of cost savings over its lifetime.
How long does a sloped roof last?
Depending on the materials used to build the roof, a slanted shed roof typically lasts between 20 and 50 years. Metal roofs tend to last longer than asphalt shingle roofs, up to 50 years in some cases. Regardless of the type of material used, proper construction and maintenance are essential for extending the longevity of your slanted shed roof. Regularly check for loose or damaged shingles or panels and have any necessary repairs done as soon as possible. Additionally, consider coating the roof with a sealant every few years to keep it protected from weathering elements.
Useful Video: DIY Shed Roof Framing (How to Build a Shed Roof, Make Birdsmouth Cuts, and Install Plywood Decking)
Conclusion
Building a slanted shed roof doesn’t have to be difficult. With the right materials and tools, you can build one yourself in no time at all. It’s important to measure and mark carefully before cutting any wood, and always use caution when working with power tools. Once you’ve completed your project, you’ll be able to enjoy the benefits of a strong, attractive shed roof that will stand up to the elements for years to come.
Good luck!
References:
- https://fortressroofing.ca/blog/how-to-build-a-slanted-shed-roof/
- https://plasticinehouse.com/how-to-build-slanted-roof-style-shed-guide/
- https://atimprovements.com/lean-to-shed-roof/
- https://www.wikihow.com/Build-a-Shed-Roof
- https://houseunderconstruction.com/roof/how-build-slanted-shed-roof
- https://americanstandardroofing.com/homeowners-guide-to-sloping-roof-types/
- https://www.homedit.com/sloping-roof/




Leave a Reply
View Comments