Are you looking for an easy way to store things in your shed? Building shelves is a great solution and can add instant storage space. Shed shelves allow you to get organized and make the most of the available space, whether it’s for seasonal decorations or outdoor power tools. In this blog post, we discuss step-by-step instructions on how to construct sturdy wooden shelves so you can maximize your shed’s storage potential! We’ll go over the materials needed as well as steps such as planning, cutting pieces, and assembling them into functional shelving units that will have your shed organized in no time. Read on to learn more about how building shed shelves helps keep belongings safe and sound under one roof!
Simple Shed Shelving Solutions
Work Surface and Storage in One
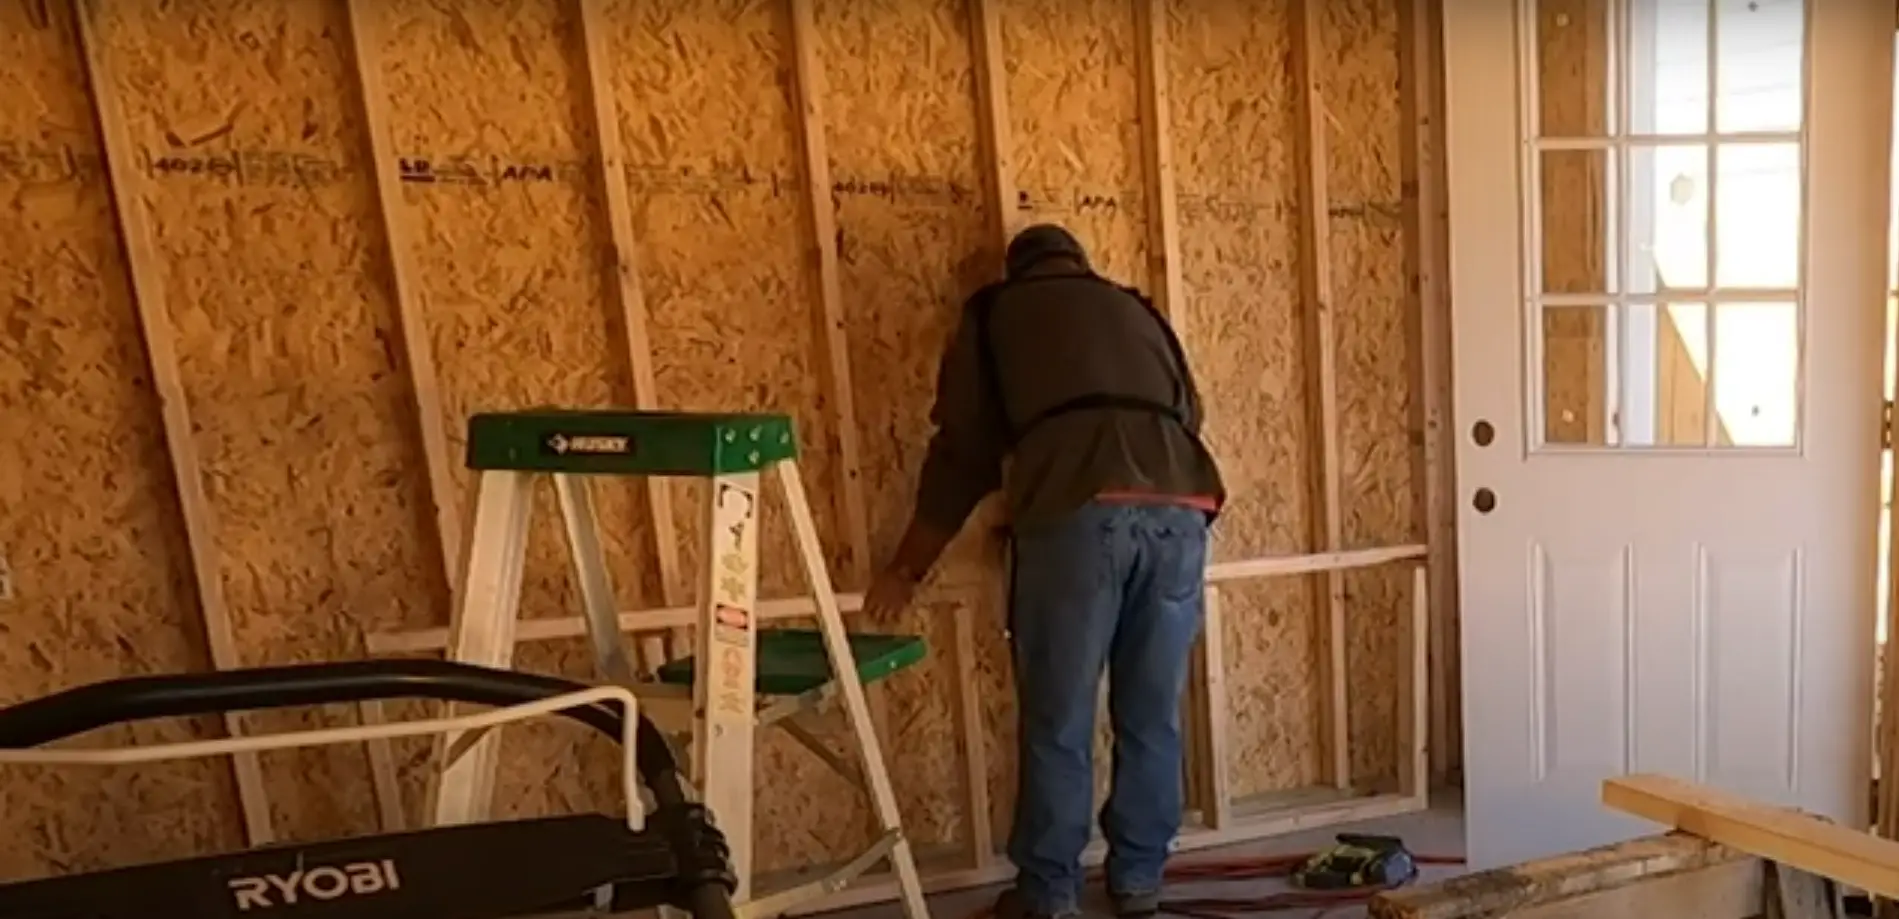
Often the most efficient way to build shed shelves is also the simplest. If you have a large enough flat surface, such as a tabletop or wall-mounted shelf, adding adjustable feet can make it an ideal storage and workspace combination. Just measure out your desired height (typically between 2 and 4 feet) and install metal shelving supports that fit into pre-drilled holes in the baseboard or along each side of the surface. You can then add an accessory rack below for additional storage space.
Vertical Shelving Solutions
For off-the-floor storage, vertical shelving solutions are great options. Often taking up less than 12 inches of floor space, these units are perfect for smaller spaces and often come with locking mechanisms for additional security. Typically made of plastic and metal, wall-mounted vertical shelving provides adjustable cubby holes for storing items like tools and supplies. For an even more secure solution, you can add a keyed lock to the locking mechanism which will ensure your valuables stay safe and sound. [1]
Everyday Items For Everyday Storage
If you’re looking for a less expensive storage solution, there are plenty of everyday items in your home that can be used to hold your shed belongings. A simple wire shelf hung from the top of the wall can be used to store light items such as tools and supplies, while larger plastic crates or baskets can easily fit just about any item you need to store. If you need something more permanent and secure, metal shelves or lockers may be a better option – just make sure they’re securely mounted on the walls first!
DIY Shed Shelves Between Studs
Experienced DIYers can opt for a simpler solution for shed shelves by constructing them between the studs in the walls. This will allow you to create shelf heights and widths that are perfect for your needs without having to measure or cut anything – simply screw the supports into the wall and secure them with wall anchors. For additional security, use screw-in bolts rather than nails when attaching shelving brackets.
Heavy-Duty Shelves For Monster Storage
If you need high-quality storage options, consider using heavy-duty shelves. Typically made of metal and wood, these shelves can easily hold up to 1000 lbs depending on your model – perfect for storing large and heavy items in a secure area. Just make sure you install them properly using wall anchors or screws and always check that they’re securely fastened before loading them up with your stuff. [2]
Headroom and Headway For All Your Projects
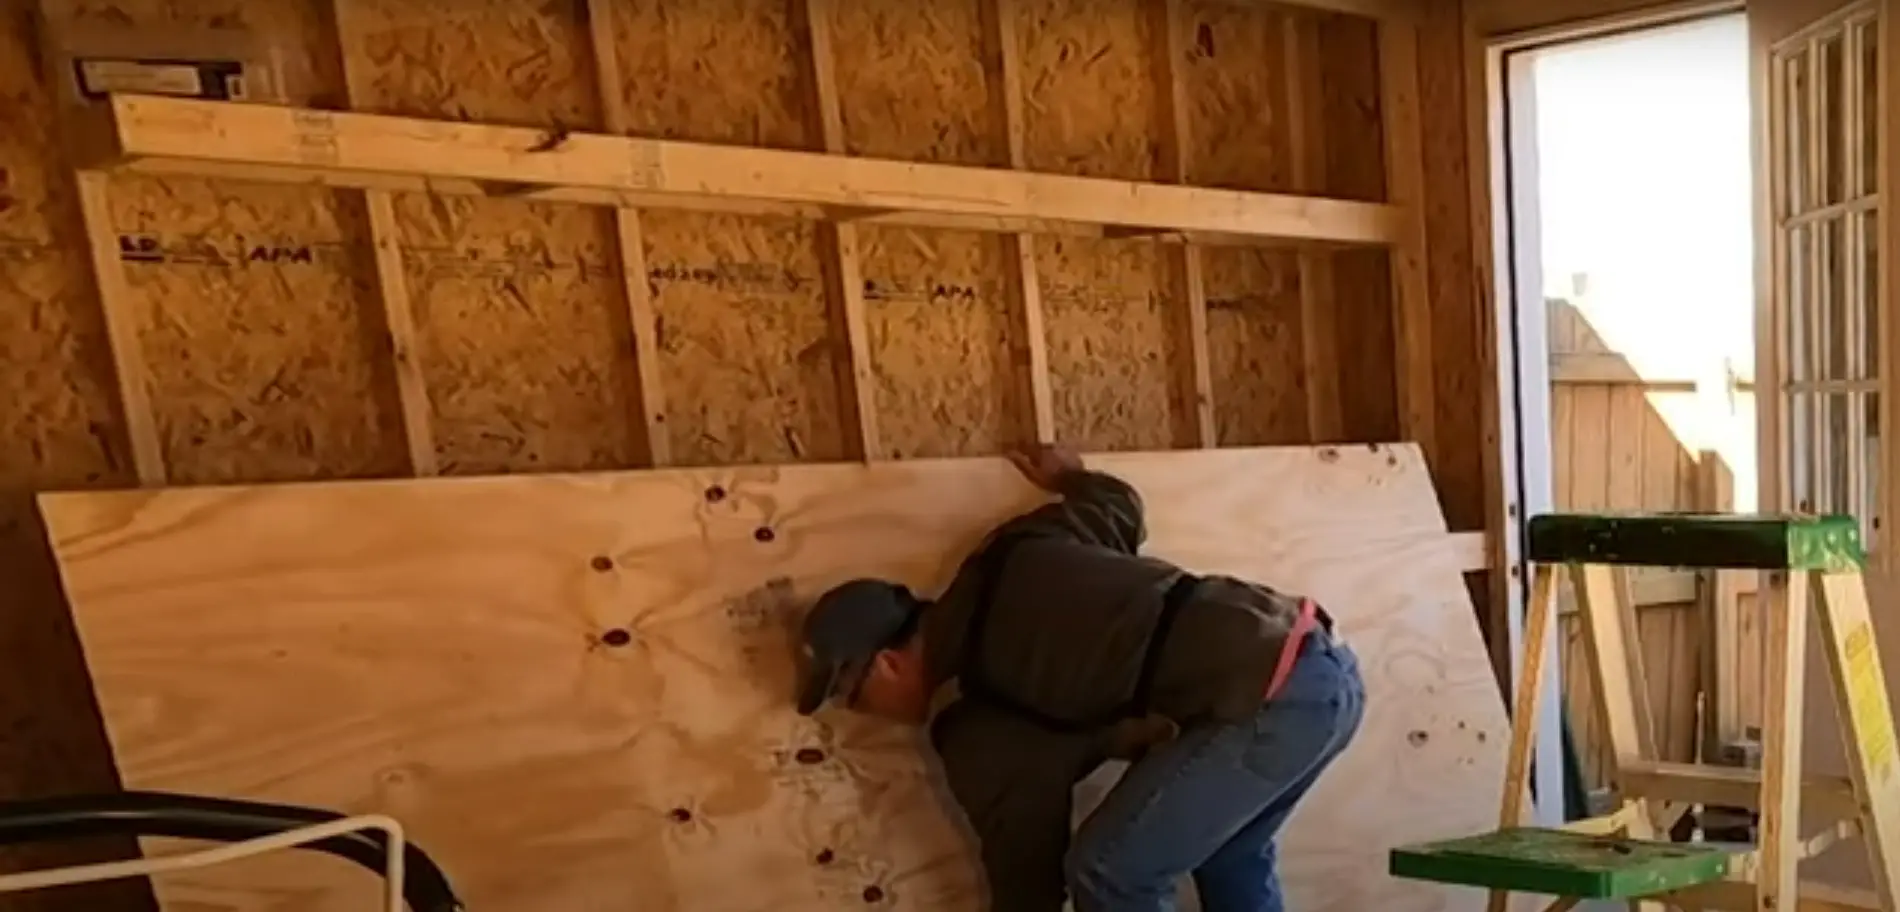
If you’re looking for a more flexible solution, headroom shelves are the way to go. These overhead shelves provide extra storage and workspace without taking up precious floor area – perfect for keeping supplies or tools handy while you work on your projects. Just make sure you mount them securely in the shed, as they can be extremely heavy when loaded with items.
Freestanding Tall Shelves
If you’re looking for a more permanent solution, freestanding tall shelves can be used to store items such as power tools and other bulky items. These tall shelving units usually come in metal or wood frames with adjustable shelving brackets for customizing the height of your shelves according to your needs. Just make sure you secure them properly to the floor with screws or wall anchors before loading them up with heavy items.
The Inexpensive, Quick Shelves (Under $40)
If you’re looking for an inexpensive and quick way to build shed shelves, look no further than using simple materials from your local hardware store. With a few pieces of wood, a drill, and some screws you can create sturdy shelves in less than an hour. First things first: Measure the width and height of the interior of your shed to determine the measurements needed for the shelf boards. It is important to measure twice before cutting once! [3]
Now it’s time to put the board into place! Place the shelf boards on top of the support posts and secure them in place using small screws. This will create a sturdy, solid shelf that can hold up to 80 pounds per square foot.
The Moderately More Expensive Shelves (Still Under $75)
If you’d like to spruce up your shed and make it look more attractive, or if you need a sturdier shelf solution, wooden shelves are probably the best choice. You can build sturdy wooden shelves for less than $75 in most cases.
Here’s what you’ll need:
2x4s – To construct the frame of the shelf
Plywood – For the shelf surface
Screws – To hold everything together
A saw and drill – tools necessary for cutting and assembling
You’ll want to choose a flat area inside your shed to mount your shelves. Start by measuring this space so that you know exactly how much wood you’ll need to buy. Then cut two 2x4s to create the frame of the shelf, and use screws to attach them together. Once your frame is built, you can cut the plywood to fit inside the frame. Make sure to leave a bit extra so that it hangs over slightly on each side. Then hold the plywood up against the top of your shelf and make marks where each screw should go. Pre-drill holes for your screws before attaching them in order to make sure everything fits snugly.
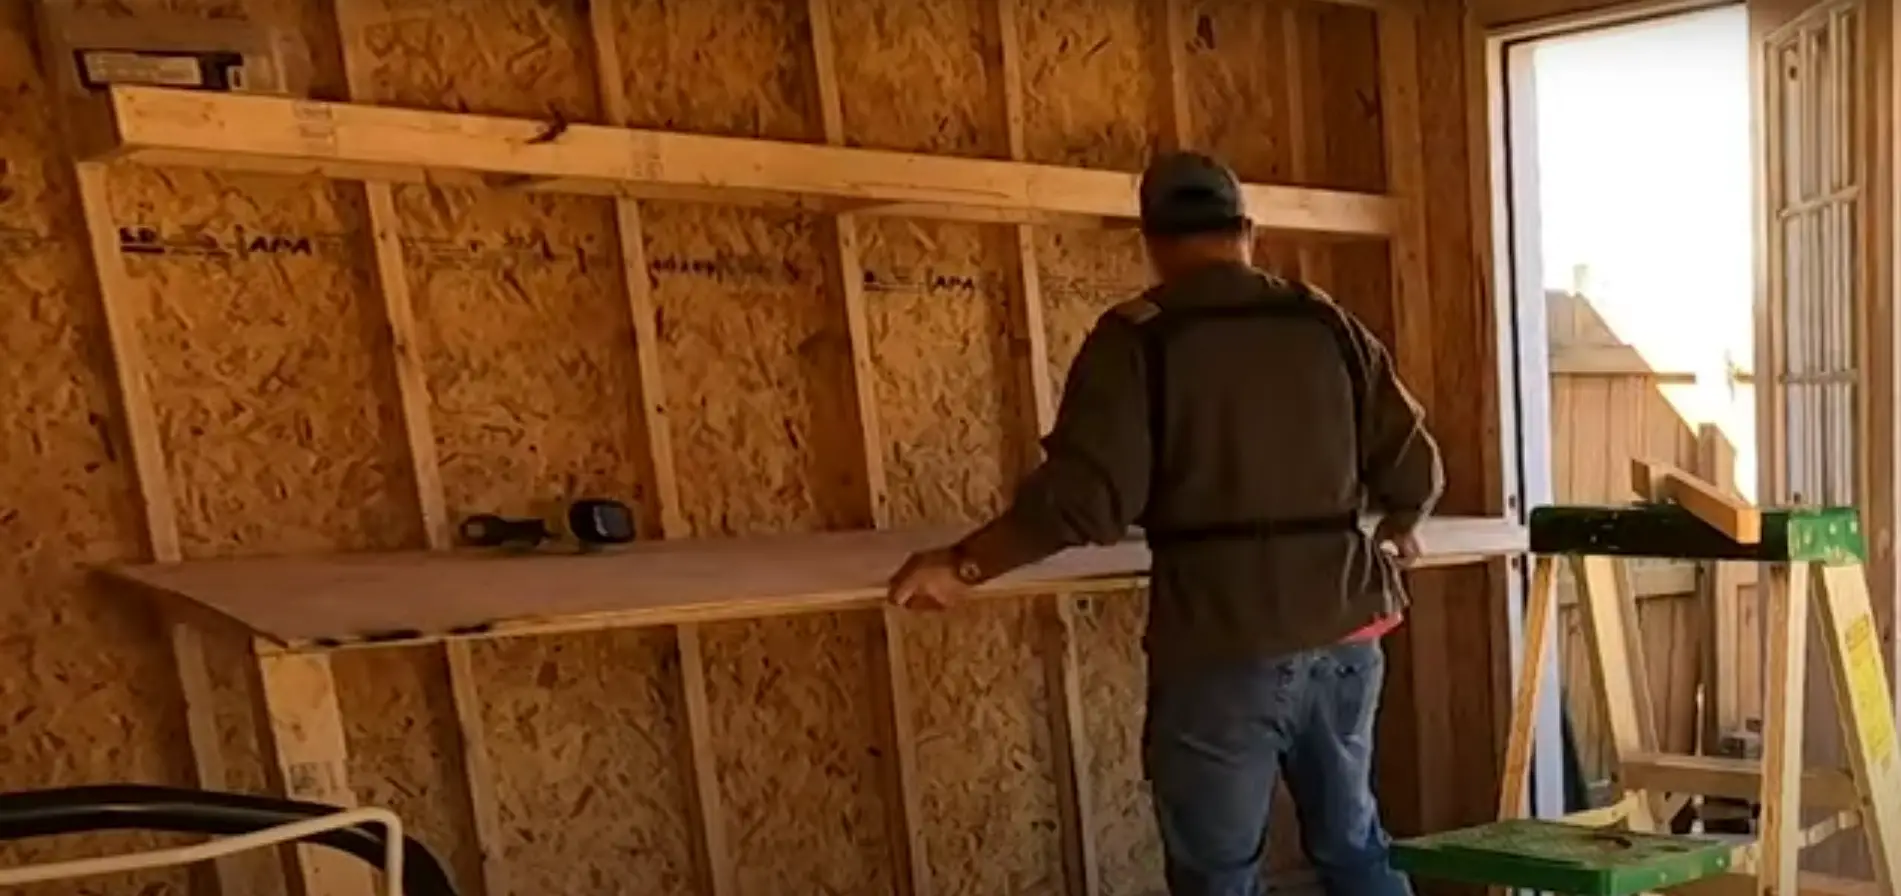
You’re now ready to mount your shelf! Use a drill or hammer and nails to secure it into place in your shed. Depending on how much weight you expect your shelves to bear, you may want to add additional support braces at either end of the shelf. Now you have a sturdy, attractive shelf to use in your shed! [4]
Ladder Shelves for Extra Storage
If you need a bit more storage in your shed, ladder shelves are an ideal solution. They’re easy to build and provide great space for things like tools and lawn care equipment. Here’s what you’ll need:
-Wood (2x4s or 1x12s), cut into four pieces the same length
-Four metal brackets
-Screws, nails, and/or wood glue
-Paint or stain (optional)
First, measure the walls of your shed and make sure that whatever size of shelf you choose will fit against them. Then cut four boards of the same length to create each side of the shelf. Next, use two brackets to hold the side pieces together. Pre-drill holes for your screws and use a drill or hammer to secure them in place.
After that, you can attach the remaining two boards to create the ladder-style shape. Again, pre-drill the holes before securing with screws or nails, and consider using wood glue as an extra measure of support if desired. Once everything is in place, it’s time to paint or stain your shelf so that it looks great!
Rectangular Shelving
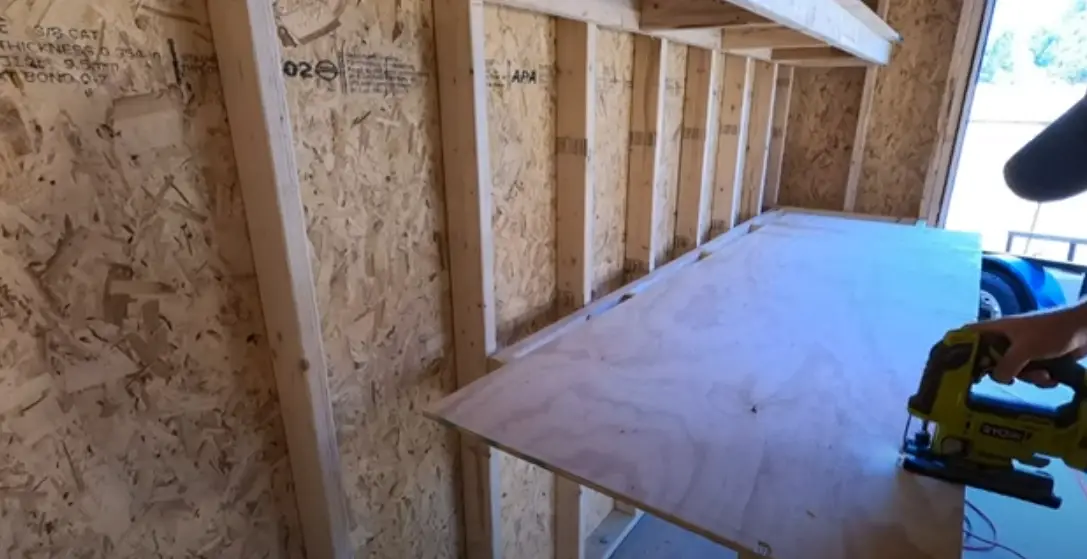
Building rectangular shelves is one of the simplest and most common ways to add extra storage space in your shed. To begin, measure out a section of your wall that you would like to use for shelves and mark off the area using a pencil. Then, cut two pieces of 2x4s or other sturdy material to the appropriate size. Using screws and brackets, attach the two pieces together at the corners by screwing them into place. Make sure they are securely screwed in so that they won’t come apart. Once done, stack four more boards on top of each other and screw them into place as well. This will create a frame for your shelves.
Once all of this is complete, measure out the appropriate size of plywood or other material you would like to use for your shelves and cut them out with an electric saw. After that, attach the boards to the frame using screws or nails and make sure they are securely attached. Finally, add brackets on either side of each shelf so that they can be secured to the wall. Once all of this is done, you should have sturdy shelves that will last for years to come! [5]
Horizontal Ladder Shelves
Horizontal ladder shelves are a great way to create more storage space in your shed. These shelves provide plenty of room for storing items like lawn care tools, garden supplies, and even seasonal decorations. Here’s how to build this type of shelf:
- Begin by measuring the wall where you want to install the shelf. Mark off the spot using a pencil or marker.
- Using a drill and suitable screws, mount two vertical lengths of 2x4s at either end of the marked area on the wall. Make sure both pieces of wood are flush with each other so that they form an even surface for mounting the shelves.
- Measure out four equal lengths between both ends of the 2x4s. Mark these spots on the wall and then mount additional pieces of 2x4s at each location.
- Finally, cut boards to match the length of your shelf unit and mount them on top of the vertical lengths of wood you installed in steps 1-3. This will form a sturdy platform for mounting your shelves onto.
- Once all boards are mounted to the wall, use a level to make sure everything is even before adding shelves or other storage items onto your ladder shelf unit. By following these simple steps, you can easily build your own horizontal ladder shelf for extra storage space wherever it’s needed in your shed! [6]
Garden Shed Cubbies
They are a great way to store tools and gardening supplies. Building Shed Shelves is an easy project that you can do yourself with minimal tools and materials.
You may want to add some wood glue for extra stability if needed. Next, attach plywood panels or unfinished hardwood boards over the frame of your shelf units as shelves themselves. If necessary, use wood screws to secure the shelves in place.
Finally, you can paint or stain your shed shelves to match the rest of your space. Make sure all edges are sanded down smooth and sealed with a clear finish for protection from moisture.
Ceiling Shelving
Ceiling shelving is a great way to maximize the storage in your shed without taking away precious floor space. It’s easy to build and can support heavy items like garden tools, power tools, paint cans, and other miscellaneous supplies. To create ceiling shelves in your shed:
- Measure the length of the wall you want to install the shelf on and make sure that it has enough headroom for you to easily access your stored items.
- Cut several 2×4 pieces of lumber into lengths equal to the width of your shelving area (for example 2-foot wide shelves require 4-foot long boards). You will need two boards per shelf level. 3. Attach the 2×4 boards to the wall using lag bolts, making sure that they are level.
- Hammer in a few nails along the top of each board to create a lip or edge where you can place the shelf boards on top.
- Cut several pieces of plywood into shelves that fit your desired sizes and slide them onto the lip created by your nails from step 4.
- Secure the shelves with wood screws at each corner for extra stability and safety.
- After you’ve secured all of your shelves, fill them up with whatever items need storage!
By using ceiling shelving in your shed, you can store more items without sacrificing any floor space or reducing accessibility.
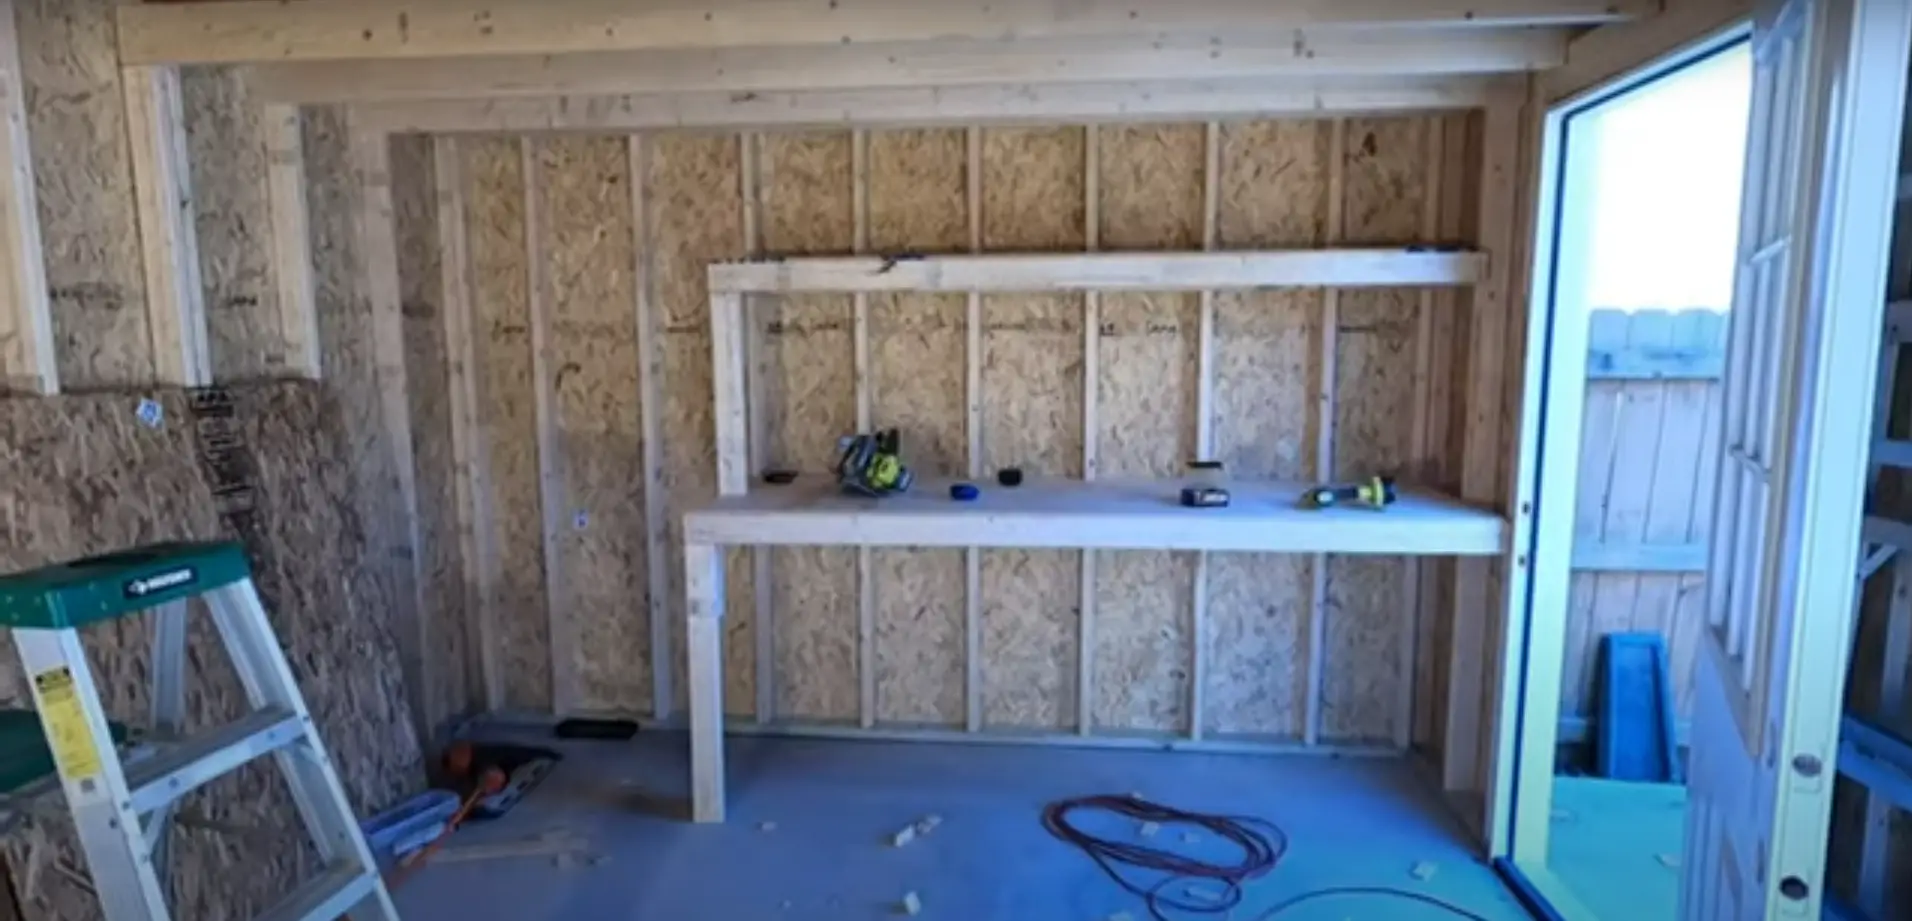
How to Install a Shelving Unit for a Lifetime Shed?
Installing a shelving unit for a Lifetime shed is relatively easy and does not require too much time or effort. Here are the steps you need to follow in order to make sure the shelf is securely fastened:
- Measure out where you would like your shelves to go, making sure they won’t interfere with any of the existing structure of the shed while still giving you plenty of storage space.
- Gather all necessary materials – studs, screws/nails, brackets and shelf boards.
- Cut out pieces of wood (studs) that will act as support beams for your shelves; these should be cut slightly larger than the length between struts on each wall of the shed.
- Install these studs to the wall, making sure they are level and secure so your shelves won’t sag or be uneven.
- Using screws/nails, attach brackets to each side of the studs at desired intervals. This provides a stable surface to help keep your shelf boards in place and is especially important if you plan on using heavy objects for storage.
- Place pre-cut shelf boards onto the brackets and secure them with additional screws as necessary; make sure that everything is even and that there is no bowing or warping in any of the boards for maximum stability.
- Once all shelves have been installed, you can fill them up with whatever you intend to store in the shed.
By following these steps, you can easily install a shelving unit for your Lifetime shed and get years of reliable use out of it. With sturdy shelves in place, you’ll have plenty of storage space and make the most out of your shed. [7]
Shed Ceiling Storage
A great way to add extra storage space in your shed is by installing ceiling storage. This can be done by attaching 2x4s or other similar lumber to the ceiling joists and then adding shelves, hooks, and bins. If you have a lot of items you need to store, you may even want to build an overhead loft.
When installing shelving on the ceiling, it’s important to make sure that everything is securely attached and won’t come crashing down if someone bumps into it. It’s also best practice to use lag bolts instead of nails so that the pieces are firmly held together.
DIY Shed Corner Shelving
If you are looking for an easy and affordable way to add storage space to your shed, then consider building corner shelves. Corner shelves can help you maximize the vertical space inside your shed, allowing you to store more items efficiently. Building a set of corner shelves is also relatively straightforward, provided that you have all the necessary supplies and materials. Here’s how to build sturdy and reliable shed corner shelves in five simple steps.
Step 1: Gather Supplies
Before starting construction on your shed corner shelves, make sure that you have all the necessary supplies. You’ll need wood screws, wood glue, a drill/driver with screw-tip attachment, saw horses or table saw, miter box or circular saw, sandpaper, measuring tape and lumber. Make sure that the lumber you use is of a type suitable for outdoor use (e.g., pressure-treated pine) to ensure longevity.
Step 2: Measure and Cut
Measure your shed walls so you know precisely how large your shelves need to be. Use the miter box or circular saw to cut the wood pieces according to size; make sure each piece is cut cleanly and accurately for best results. Then, lightly sand each cut edge with sandpaper to smooth them out.
Step 3: Assemble Shelves
Use wood glue on one short side of each shelf board before combining them in an L shape with screws – this will help prevent any movement later on. Make sure each shelf board is properly aligned before securing them together with the screws, as this will ensure that your shelves are level and stable.
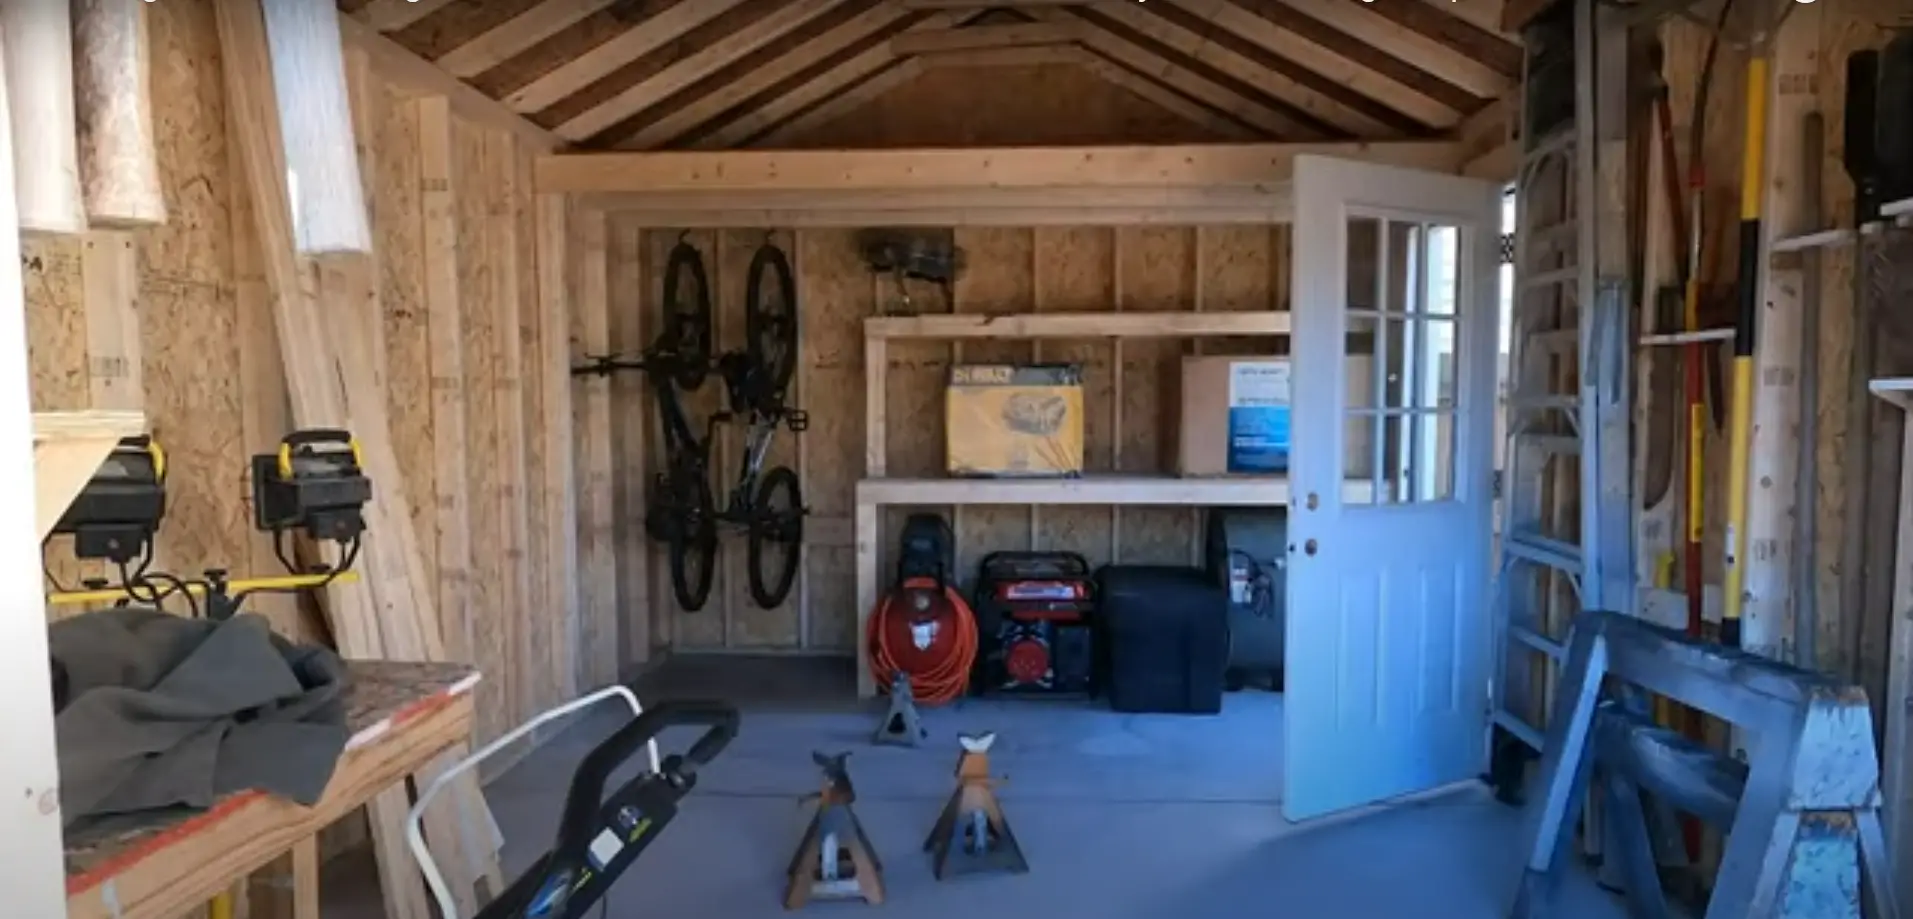
Step 4: Attach Shelves to Walls
Next, attach the finished corner shelves to the walls of your shed using wood screws. Make sure that the shelves are level when attaching them, and drill pilot holes first if necessary to prevent splitting or cracking the lumber.
Step 5: Finish Up
Finally, fill in any screw heads with wood putty for a polished look and give the entire shelf assembly a light sanding for extra smoothness. You can also apply outdoor-grade sealant or paint if desired; just make sure it’s suitable for the type of wood you’re using.
With that, your corner shelves are complete! They should provide ample storage space and sturdy support throughout their lifetime. Enjoy your new DIY shed corner shelving! [8]
FAQ
What kind of wood should I use for shed shelves?
Plywood is the most popular material for shed shelves, as it’s lightweight yet strong enough to hold several heavy items. You can also use particle board or even solid wood if you prefer a more durable option. Make sure to check with your local hardware store for their recommendations on which material is best for your particular application.
How much weight can shed shelves hold?
The amount of weight that your shed shelves can hold depends largely on how they are constructed and what type of material is used. Generally speaking, plywood shelves are able to support up to 150 pounds, particle board can handle up to 200 lbs., and solid wood can bear up to 400 lbs. Be sure to consult the instructions that come with your shelf kit or ask a professional for advice.
What is the easiest way to build shed shelves?
The easiest way to build shed shelves is to purchase pre-made kits that with everything you need and detailed instructions on how to assemble them. This eliminates the need for measuring, cutting, or drilling your own materials and ensures that your shelves will be properly constructed. Additionally, most shelf kits also come with predrilled holes so that you can easily install any additional supports or hardware as needed.
Can I use shed shelves outside?
Yes, you can use shed shelves outside as long as they are made of weatherproof material such as treated wood or metal. Be sure to check with your local hardware store for their recommendations on which material is best for your particular application. Additionally, you should always make sure to properly seal and waterproof the shelves when using them outside to prevent any water damage or warping.
What is the difference between shed shelving and garage shelving?
Shed shelving is typically constructed from lightweight materials such as plywood, while garage shelving is generally made from heavier-duty materials like particle board or solid wood. Shed shelves are also smaller than most garage shelves, so they don’t take up as much space if you need to store items in a confined area. Garage shelves typically come with additional support beams or brackets for added stability, which makes them suitable for holding heavy items like power tools or large containers of chemicals.
Useful Video: Shed Organization. Potting area, workbench, bike rack, shelves, soooo many shelves! Using scraps!
Conclusion
Building shed shelves is an easy and simple DIY project that can be completed in a few hours. Once you understand the basics of how to build shelves, you can use the same concepts to create whatever design your heart desires. With the right materials and tools in hand, there’s nothing stopping you from building a reliable storage space for your shed! Don’t forget to measure twice and cut once before assembling any part of the shelf. As always, make sure to wear safety gear when working with power tools or heavy items. We hope this guide has been helpful as you start your journey of having more organized shelving in your shed!
Good luck!
References:
- https://plasticinehouse.com/diy-shed-shelving-ideas-and-plans/
- https://www.twofeetfirst.net/build-storage-shelves-for-a-shed-or-garage/
- https://thecarpentersdaughter.co.uk/woodworking/diy-shed-shelves/
- https://www.oneprojectcloser.com/how-to-build-shed-storage-shelves/
- https://www.instructables.com/Shelves-for-a-Shed/
- https://www.shedking.net/storage-shed-shelves.html
- https://www.secrets-of-shed-building.com/how_to_build_shelving.html
- https://shedbuilder.info/build-storage-shelves.aspx





Leave a Reply
View Comments