When it comes to garden tools, there’s one thing for sure: they get dirty. In fact, many of them can become downright caked with dirt and mud, which is not only unsightly but can also lead to rusting and other damage. Fortunately, cleaning garden tools is a relatively easy task that can be done in just a few minutes using the right methods and products. In this guide, we’ll walk you through the process step-by-step so that your tools will be clean and ready to use for the next gardening season!
Why You Should Clean Garden Tools
Garden tools are one of the most important things that you need to have in order to make your gardening experience more enjoyable. They can help you with a lot of tasks such as weeding, planting, and even watering your plants. In addition, using the right garden tool can also help extend the life of your plants.
There are a lot of different garden tools available in the market today and each one has its own advantages and disadvantages. It is important that you choose the right garden tool for your needs so that you can get the most out of it.
Over time, garden tools can become dull and rusty. This is why it is important to clean them on a regular basis. Cleaning your garden tools will not only help them last longer but it will also prevent them from spreading diseases to your plants.
How Often Should You Clean Garden Tools?
Ideally, you should clean your garden tools after every use. However, we understand that this is not always possible. If you cannot clean them after every use, then make sure to do it at least once a month. This will help ensure that your garden tools are always in top condition.
Cleaning your garden tools is not a difficult task and it can be done quickly if you have the right supplies. Below are some tips on how you can clean your garden tools. [1]
Cleaning Garden Tools
Now that you know how important it is to clean garden tools, we will provide you with a detailed step-by-step guide on how you can do it. We will discuss everything from what supplies you will need to other factors you need to consider.
What Will You Need
There is a short list of supplies you will need in order to clean your garden tools. This includes:
- A bucket
- A hose
- Some soap
- A brush
- A towel
You might also need some additional supplies depending on the state of your garden tools. If they are particularly dirty or rusty, then you might need to use a wire brush or sandpaper. We will discuss this in more detail later on.
Once you have gathered all of the necessary supplies, you can start cleaning your garden tools. [1]
Wash the soil away
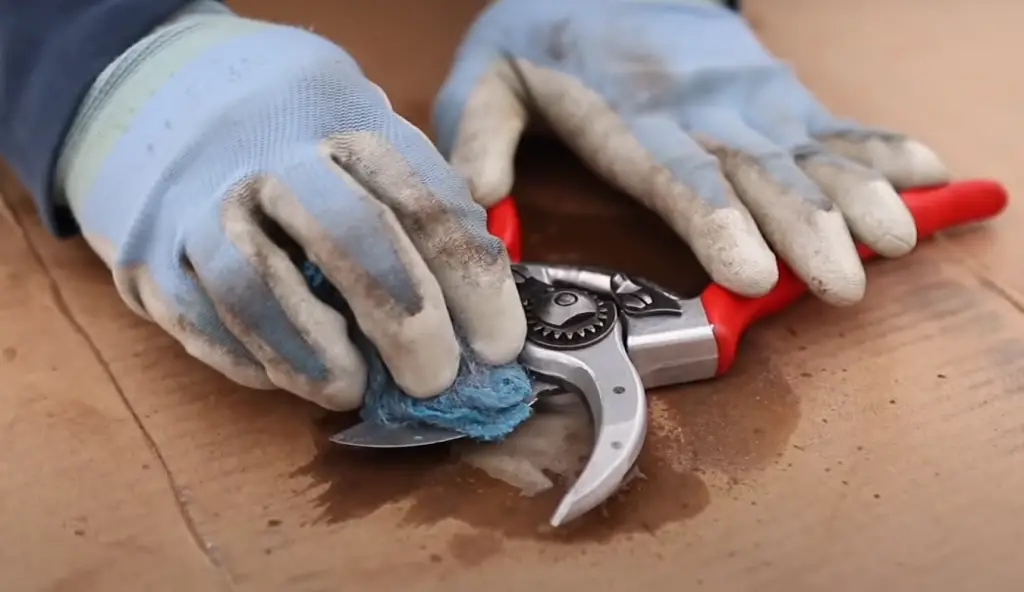
Chances are, your garden tools are going to be covered in dirt and soil after every use. The first step is to remove all the dirt and soil that is on the tool. You can do this by using a hose or a bucket of water. If you are using a hose, make sure that the water pressure is not too high as it can damage the tool. Once all the dirt and soil have been removed, you can proceed to the next step.
Simply fill up a bucket with water. Let the tool soak in the soapy water for at least 30 minutes before proceeding to the next step. Then, use a brush to scrub away all the dirt and soil from your garden tools.Once you have removed all the dirt and soil, rinse your garden tools off with clean water.
Soak in Soapy Water
The next step is to soak your garden tools in soapy water, again! This will help remove any remaining dirt and grime that is on the tool. You can use any type of soap that you have around the house. We recommend using dish soap as it is designed to break down grease and dirt.
Let your garden tools soak in the soapy water for at least an hour. This will give the soap time to work its magic and break down all the dirt and grime. You should now see a significant difference in how clean your garden tools are! If they are still not as clean as you would like.
Rinse and Dry the Tools
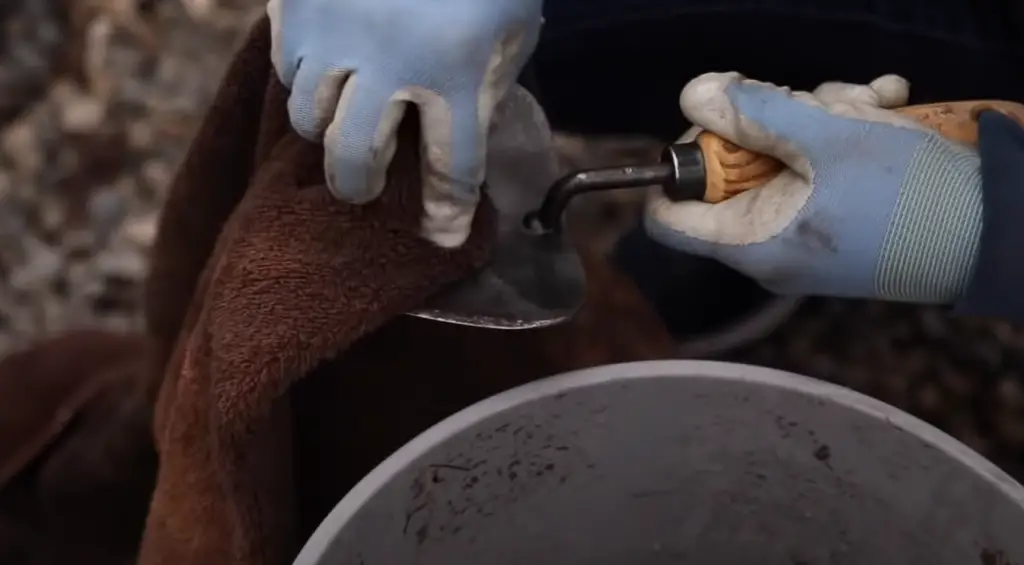
Again, use clean water to rinse off your garden tools. Make sure that you remove all the soap suds before proceeding to the next step. We recommend you use a microfiber cloth as it will help remove any remaining water from your garden tools.
Once your garden tools are rinsed, dry them off with a clean towel. You can also let your garden tools air dry if you do not have a towel . Just make sure that they are completely dry before storing them away. [1],[2],[3]
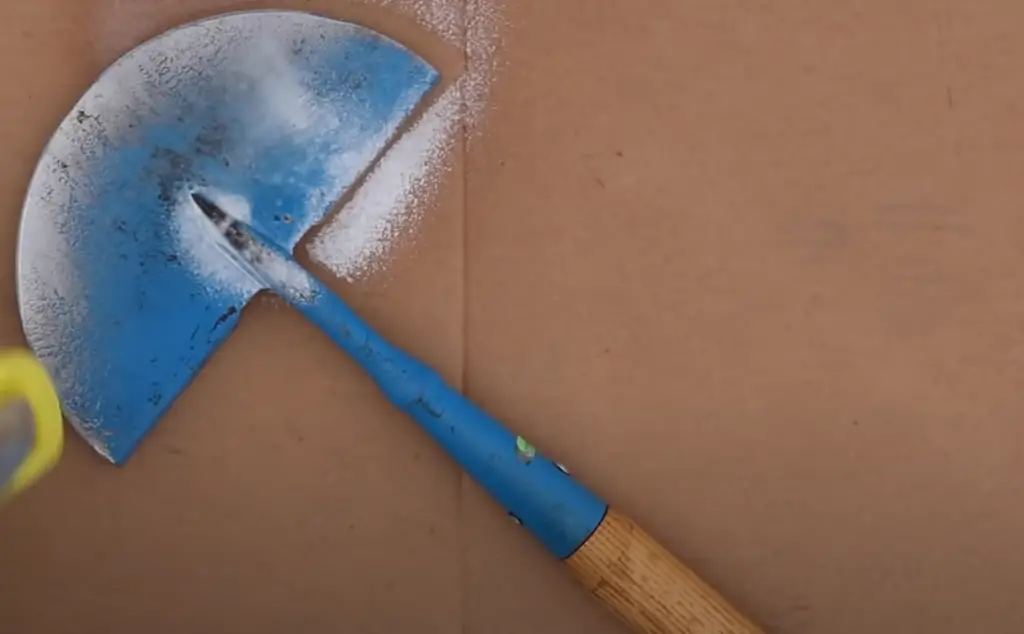
Inspect for and Remove Rust
After your garden tools are clean, inspect them for any rust. Rust can cause a lot of damage to your tools, making them unusable and it can also spread to other parts of your garden. If you notice any rust on your tools, make sure to remove it immediately.
You can remove rust by using a wire brush or sandpaper. For more difficult cases, you may need to use a chemical rust remover. Once you have removed the rust, make sure to apply a coat of paint or varnish to prevent it from coming back.
Of course, you can minimize the chances of rust by storing your garden tools in a dry place. If you live in an area with high humidity, then consider using a rust-preventative spray on your tools.
Once you have removed all the rust from your garden tools, make sure to apply a coat of WD-40 or another type of oil. This will help prevent the tool from rusting in the future.[1],[2],[3]
Remove Gooey Sap
If you have ever stored your garden tools in the garage or shed, then chances are they have come into contact with sap. Sap can be very difficult to remove and it can cause damage to your tools if it is not removed properly.
It is sticky and can be difficult to remove. If you have gooey sap on your garden tools, you will need to clean it off before using the tools again.To remove sap, we recommend using a putty knife or a towel dipped in turpentine. Gently scrape away the sap until it is completely removed . If you find that the sap is still sticky, then you can use a solvent such as mineral spirits to remove it. However, in most cases soaking the tool again will make it easier to remove the sap.
Once you have removed all the sap, make sure to rinse off your tool with clean water. You may also need to use a brush to remove any remaining sap. [1]
Disinfect Tools
Once you have removed the sap, you will need to disinfect the tool. Disinfecting garden tools is important to prevent the spread of disease. Both bleach or rubbing alcohol are effective disinfectants. You can also use a solution of one part bleach to nine parts water. To disinfect your tools, soak them in the solution for at least five minutes. Rinse them well with clean water and dry them before using them again. [1],[2],[3]
How to Take Care of Garden Tools
Now that you know how to clean garden tools, you need to learn how to take care of them. Cleaning is only part of the picture when it comes to keeping your tools in good shape. Properly caring for your garden tools will extend their life and make them easier to use.
Sharpen them regularly
Garden tools need to be sharpened regularly. If your garden tools are dull, they can be more difficult to use and can cause damage to your plants. A sharp blade is key for making clean cuts in any gardener’s experience. We will show you how to sharpen your garden tools so that they work like new again!
Before you proceed with sharpening however, you will need to apply a WD-40 or a similar lubricant to all the moving parts of your garden tools. This will help to protect them from rust and corrosion.
WD-40 is a lubricant, penetrant and water displacement spray. It’s great for WD-40 is a lubricant, penetrant and water displacement spray. It’s great for cleaning garden tools because it can help remove rust, dirt and grime. WD-40 can also help protect your tools from corrosion by creating a barrier against moisture.
Wipe away the dirt, grime and rust with a clean cloth. Rinse the area with clean water to remove any residue.There are a few different ways that you can sharpen your garden tools. You can use a honing stone, a power drill, or a file. Whichever method you choose, make sure to read the instructions carefully before getting started.
A honing stone is the most common way to sharpen garden tools. First, wet the stone with water or oil. Then, hold the tool at a 20-degree angle to the stone and sharpen the blade in a back-and-forth motion. You’ll need to do this for both sides of the blade.
If you’re using a power drill, you’ll want to attach a sharpening stone to the drill bit. Again, wet the stone with water or oil. Then, put the drill on low speed and hold the tool at a 20-degree angle to the stone. Sharpen the blade in a back-and-forth motion. You’ll need to do this for both sides of the blade.
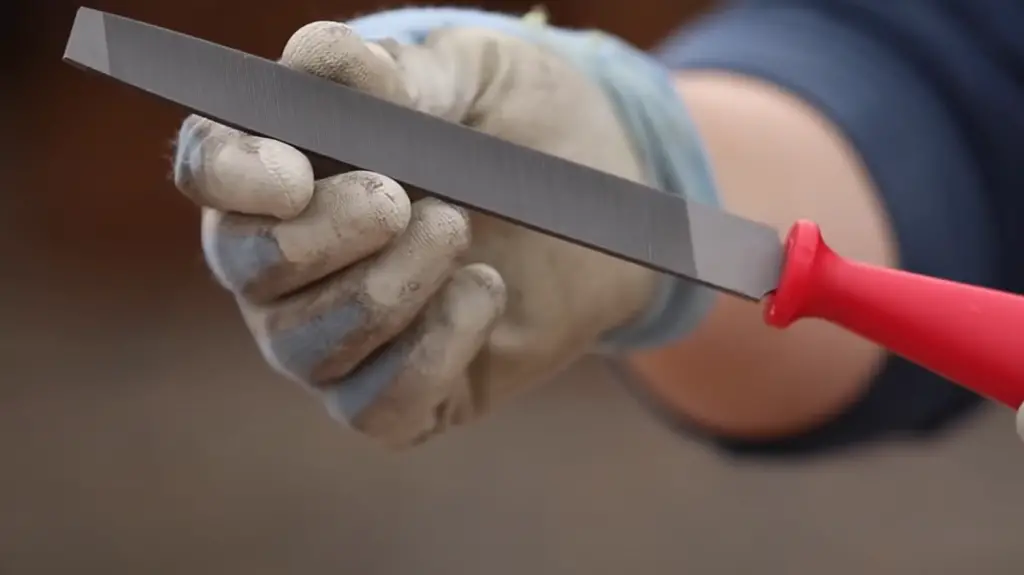
A file is another option for sharpening garden tools. First, find a file that’s slightly smaller than the width of your tool’s blade. Second, hold the file at a 20-degree angle to the blade and sharpen in a back-and-forth motion. You’ll need to do this for both sides of the blade.
Once you’ve sharpened your garden tools, it’s important to clean them. This will remove any dirt or debris that could dull the blades. To clean your tools, use a brush and soapy water. Rinse the tools with clean water and dry them before storing. [1],[4]
Oil moving components
Tools like pruners, shears, and loppers all have moving components that need to be oiled periodically.
Oiling moving components is easy, simply apply a drop or two of machine oil or WD-40 to each joint. Wipe away any excess oil with a clean cloth and reassemble your tool. For the better result, you may want to rub a little bit into the moving part to ensure the oil gets into all nooks and crannies.
It’s also a good idea to oil garden tools after you use them, especially if you live in a humid climate. This will help prevent rust and keep your tools working like new for years to come. Thanks for reading! We hope this guide was helpful. If you have any questions or comments, please feel free to reach out to us at any time. Until next time, happy gardening!
If you don’t oil the moving parts of your garden tools, they will eventually rust and seize up. By taking a few minutes to oil them on a regular basis, you can extend the life of your tools and keep them working like new. [1]
Oil and sand wooden handles
Garden tools usually have handles made of wood. Over time, these handles can become dry, cracked, and splintered. Not only does this make the tools difficult to use, but it can also be dangerous.
This will help protect the wood from moisture and prevent the handles from becoming damaged.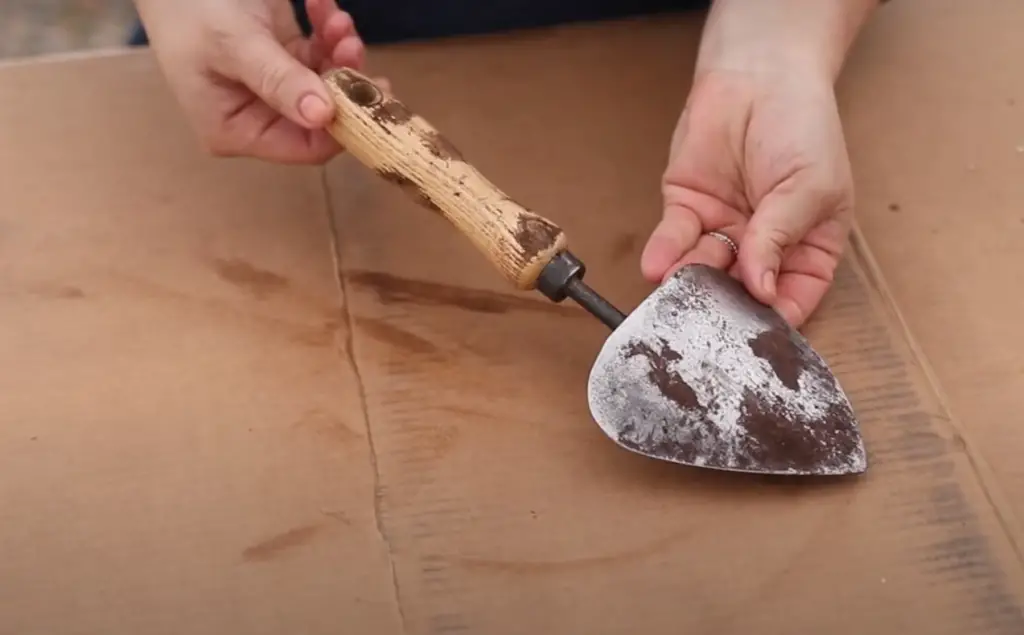
Here’s a step-by-step guide on how to sand and oil garden tool handles:
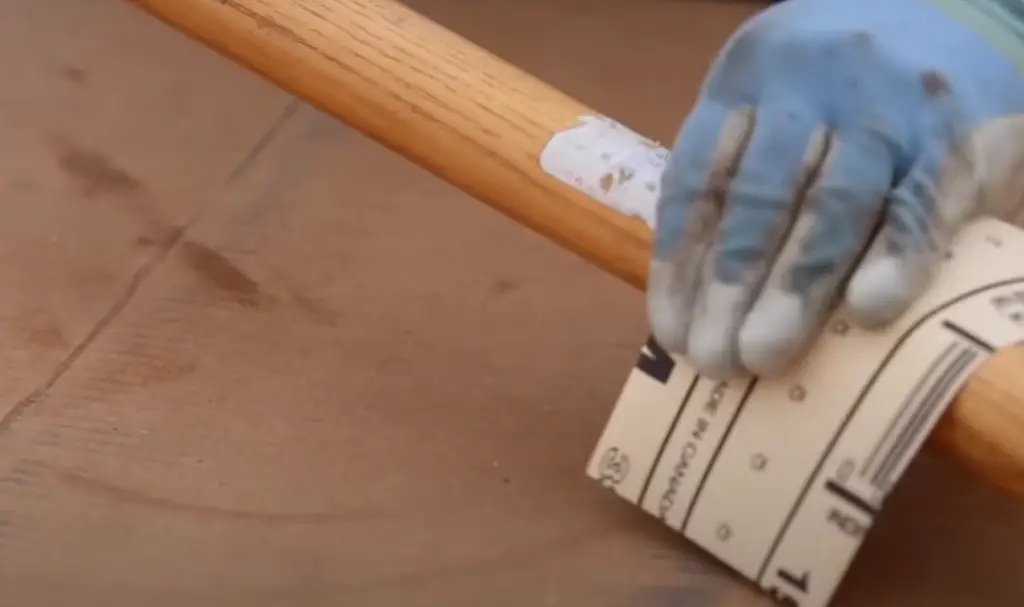
- Step One: Start by sanding down the handle with medium-grit sandpaper. Be sure toSand in the direction of the grain to avoid damaging the wood.
- Step Two: Once you’ve finished sanding, wipe down the handle with a damp cloth to remove any dust.
- Step Three: Apply a generous amount of oil to the handle, using a clean rag. You can use any type of vegetable oil, such as linseed oil.
- Step Four: Allow the oil to soak into the wood for at least an hour before wiping off any excess.
- Step Five: Repeat this process on a monthly basis, or as needed, to keep your garden tool handles in good condition. Thanks for reading! I hope this guide was helpful. [1]
Store your tools properly
One of the best ways to take care of your garden tools is to store them properly. This means keeping them clean and dry when you’re not using them.
If you have a shed, this is the ideal place to store your garden tools. But if you don’t have a shed, you can also keep your tools in the garage or in a storage closet inside your house. Just make sure they’re stored someplace where they won’t get wet or dirty.
It’s also important to clean garden tools before you store them for the winter. This will help prevent rust and other damage that can occur during storage.
Another important part of storing your garden tools properly is to put them away when you’re done using them. This seems like a no-brainer, but it’s easy to leave your tools lying around in the yard after you’ve finished working with them. [1],[2],[3]
FAQ
What should I use to clean garden tools?
The best way to clean garden tools is to use a putty knife and an old toothbrush. You can also use a wire brush, but be careful not to damage the metal. If your tools are extra dirty, you can soak them in a bucket of soapy water for a few hours before scrubbing them clean. For rust spots, you can rub them with steel wool or sandpaper. If the rust is really bad, you might need to replace the tool.
Can you use WD-40 to clean garden tools?
Yes, you can use WD-40 to clean garden tools. However, it is important to note that WD-40 is a petroleum-based product and should be used in well-ventilated areas. In addition, WD-40 should not be used on painted surfaces or on electrical components.
To clean garden tools with WD-40, simply spray theWD-40 onto the tool and wipe it off with a clean cloth. For best results, let theWD-40 sit on the surface for a few minutes before wiping it off.
How do you clean garden shears?
To clean garden shears, first remove any dirt or debris by wiping them down with a cloth. Next, disinfect the blades by soaking them in a solution of one part bleach to ten parts water for five minutes. Finally, dry the blades completely and oil them before storing.
Can you clean garden tools with vinegar?
Yes, you can clean garden tools with vinegar. Vinegar is a natural disinfectant and will kill bacteria and fungi. It is also effective at removing dirt and grime. To clean garden tools with vinegar, simply soak the tools in a solution of one part vinegar to ten parts water for thirty minutes. Then, scrub the tools with a brush to remove any residue. Rinse the tools off with water and dry them before storing.
Useful Video: How to Clean Garden Tools and Pruning Shears
Conclusion
Keeping your garden tools clean will not only make them last longer, but it will also make your gardening experience more enjoyable. Thanks to this article, you should now have a better understanding of how to clean garden tools. Cleaning your garden tools on a regular basis will not only help them last longer but it will also keep your plants healthy. You should not only scrub off the dirt and grime after each use, but you should also disinfect your tools to prevent the spread of disease. We hope that this guide was helpful and that you will now be able to keep your garden tools in tip-top shape. Don’t forget to oil and sharpen them on a regular basis as well! With a little bit of care, your garden tools can last for many years. Thanks for reading!
References:
- https://www.thespruce.com/how-to-clean-garden-tools-4799140
- https://www.mydomaine.com/cleaning-garden-tools-5185784
- https://www.gardenbetty.com/clean-garden-tools/
- https://www.gardensillustrated.com/garden-equipment/sharpening-garden-tools/