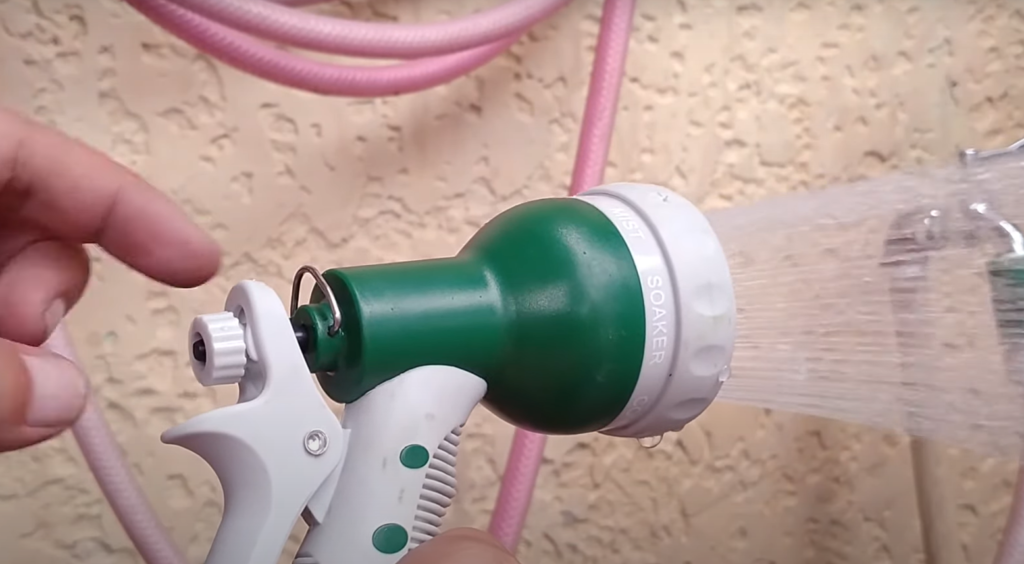
Garden hose spray nozzles are a common household item, but they can often become clogged or damaged. If your garden hose spray nozzle isn’t working properly, don’t worry – there is usually an easy fix!
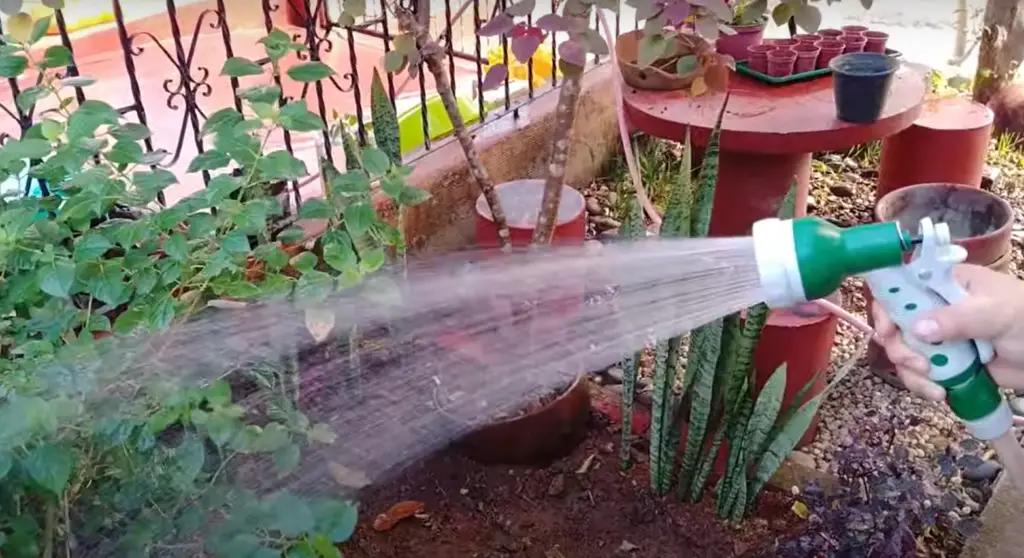
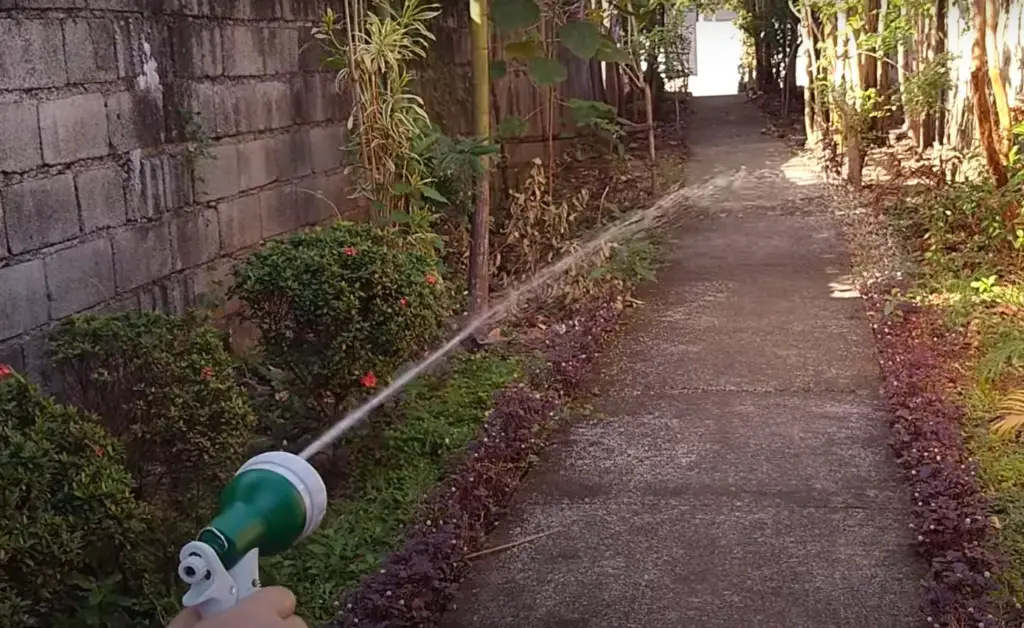
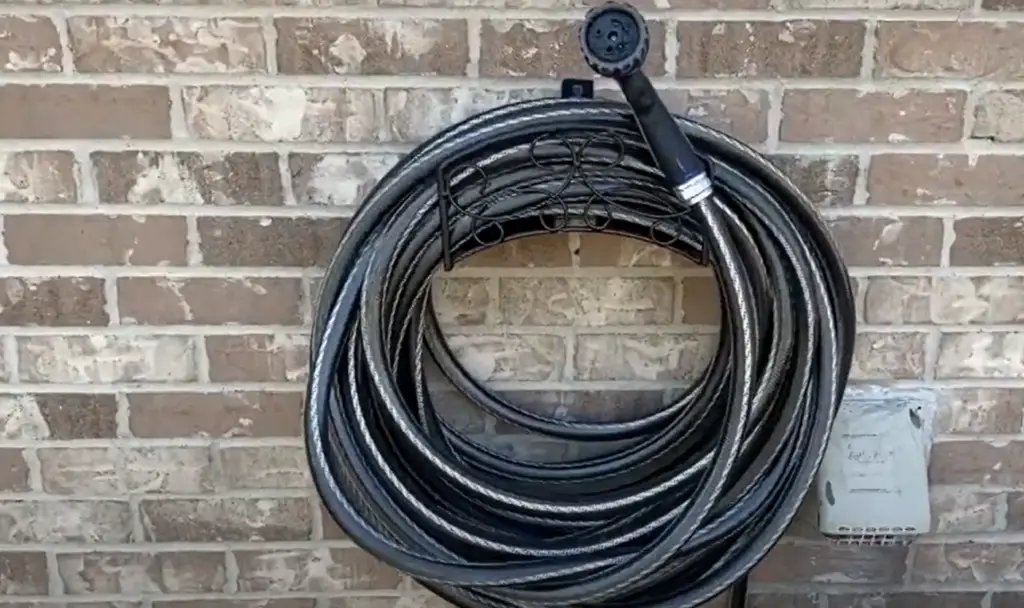
When it’s functioning properly, your garden hose is an important tool in your garden. It makes sure that your plants and grass are well-hydrated and allows you to clean your deck efficiently. Hoses can also be used for a variety of tasks, including watering the lawn or cleaning windows.

If you accidentally stand on the end of your hose or do anything else that might cause minor damage, a broken nozzle is likely.
In this blog post, garden experts will walk you through the steps to take to repair your garden hose spray nozzle.
How To Fix A Leaking Spray Nozzle:
1) Turn Off The Water
The first step is to turn off the water at the spigot. For an outdoor hose, this will be easy to find. Simply locate the knob or handle near where the hose enters your home and turn it clockwise until it won’t turn anymore. This will stop the flow of water into your hose and prevent any further leaking [1] .
If you can’t find the shut-off valve, you may need to cut off the water supply at the main shut-off valve for your home. This is usually located in your basement or garage.
2) Twist The Nozzle
Once the water is turned off, it’s time to remove the faulty nozzle. To do this, simply grasp the nozzle tightly in one hand and twist it counter-clockwise. It should come right off with a little effort.
3) Remove The Nozzle
If the nozzle is stuck, try using a pair of pliers or a wrench to loosen it.
Once the nozzle is removed, take a look at the O-ring inside. This is a small rubber ring that helps create a watertight seal between the sprayer and hose. If this O-ring is damaged or missing, it can cause leaks.
4) Inspect The Hose Threads
Again turn the water off. Once the water is turned off, remove the nozzle and inspect the threads on both the hose and nozzle. If these threads are damaged or stripped, they won’t create a watertight seal and will need to be replaced.
To replace the threads, you’ll need to cut off the damaged portion of the hose with a utility knife. Make sure to leave enough room so you can screw on a new connector. You can then screw on a new connector (available at any hardware store) and reattach your nozzle.
5) Use A Plumber Tape
If the threads on your hose and nozzle are in good shape, you can try using a plumber’s tape. This is a special type of tape that creates a watertight seal and can be found at any hardware store.
To use the tape, simply wrap it around the threaded portion of the hose (make sure to go in the same direction as the threads). Then screw on your nozzle and turn on the water to test for leaks.
6) Thread The Nozzle Again
If the plumber’s tape doesn’t work or you don’t have any on hand, you can try threading the nozzle back onto the hose without it. To do this, simply screw on the nozzle and turn it clockwise until it’s tight. Then, use a pair of pliers to give it an extra quarter turn. This will help create a watertight seal.
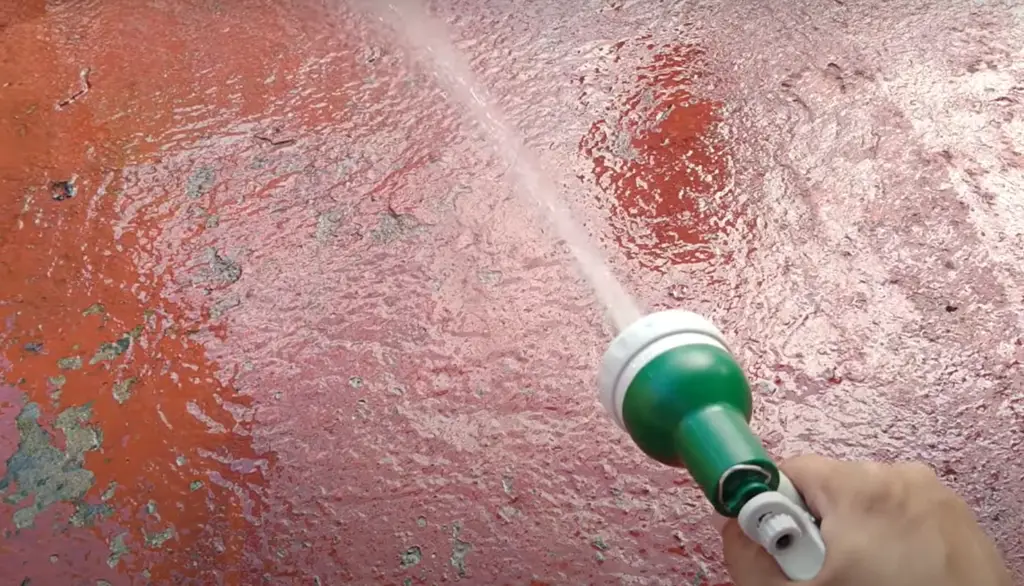
7) Perform Quick Water Tests
- Once you’ve reattached the nozzle, it’s time to turn on the water and check for leaks;
- First, turn on the water at the spigot and let it run for a few minutes;
- Then, turn off the spigot and disconnect the hose;
- Next, hold the hose up to your ear and have someone else turn on the water at the spigot. If you hear any hissing or dripping, that’s a sign of a leak;
Solving A Leaky Hose Problem The Easy Way
If there is rust or debris at the end of the hose connection, this might be causing the leak. To remove any corrosion that may have gathered around the fitting after you unscrew it, softly hit it with a hammer once you’ve removed it.
Hoses are prone to corrosion if they are exposed to water on a regular basis. It might cause your connection to come loose. Don’t pound the fitting too hard, as this can cause it to fall out [2] .
Use a spray cleaning solution within the hose if you’re having trouble removing debris. If there’s any debris or corrosion building up on your hose, use a tiny brush to remove it. If you’re not getting a solid connection, try applying a little heat to the base of the garden hose and fitting. You’ll need to change the hose head before doing this, and please use caution when using a hairdryer around water.
Apply it to the threads of the garden hose spray nozzle connection. It may also aid in the removal of any undesired objects. Before you give up and throw away your hose, be sure it has been completely drained of lubricant for at least 24 hours.
When To Replace A Hose End?
If your garden hose nozzle is constantly leaking, then it’s time to replace the hose end. You can usually find replacement hose ends at your local hardware store.
If you know how to repair a broken hose or spray nozzle, it will last considerably longer. Replacing the rubber washer before replacing the entire nozzle is a fantastic method to extend your hose’s life. The replacement rubber washer will make the hose end change go in smoother.
To make sure the new replacement washer sits flat against the threads, carefully push it into the nozzle base after removing the old washer. If there is a lot of resistance, you can use a simple flat-end screwdriver to pry it back in place [3] .
Protect Your Hose From Future Damage
When you are not using your hose, be sure to drain it completely and then store it in a cool, dry place. If possible, avoid leaving your hose outdoors during freezing weather conditions.
If you use your hose a lot and don’t want to replace it or have nozzles delivered in the mail every few weeks, it’s vital to understand how to repair a garden hose nozzle. The first step is simply storing your hose in a safe place out of the reach of anything that might harm it [4] .
Hoses that are constantly exposed to high heat or low temperatures will leak more quickly. If you don’t want your hose to blow out, store it in a shed when not in use.
Comparing Garden Hose Spray Nozzle Fixing Methods
When your garden hose spray nozzle starts acting up, there are various methods you can employ to fix the issue. This table compares different indicators of common fixing methods to help you choose the right approach for your situation.
| Fixing Method | Level of Difficulty | Materials Required | Effectiveness | Cost |
|---|---|---|---|---|
| Tighten Loose Parts | Easy | Wrench, Pliers | Moderate | Low |
| Clean Nozzle Holes | Easy | Brush, Vinegar | High | Low |
| Replace Washer | Moderate | New Washer | High | Low |
| Repair or Replace Trigger | Moderate | New Trigger, Screwdriver | High | Medium |
| Install New Nozzle | Easy | New Nozzle | Very High | Medium |
Explanation:
- Tighten Loose Parts: This method involves using a wrench or pliers to tighten any loose components in the spray nozzle. It’s an easy fix and moderately effective, with low cost implications.
- Clean Nozzle Holes: Cleaning clogged nozzle holes with a brush and vinegar is an easy method that has a high effectiveness rate. It’s a low-cost solution that can significantly improve spray performance.
- Replace Washer: If the nozzle is leaking, a worn-out washer could be the culprit. Replacing the washer is moderately difficult but highly effective, and it comes with a low cost.
- Repair or Replace Trigger: Fixing or replacing the trigger mechanism may require a bit of effort and a screwdriver. It offers high effectiveness and falls in the medium-cost range.
- Install New Nozzle: Installing a completely new nozzle is easy and highly effective. While it comes with a medium cost, it can drastically enhance spray performance and durability.
Consider these indicators when deciding which method to use for fixing your garden hose spray nozzle. The level of difficulty, required materials, effectiveness, and cost will guide you in making the right choice for your specific situation.
FAQ
How do you fix a broken hose sprayer?
If your hose sprayer is leaking or not working properly, there are a few things you can do to fix it:
- First, check to see if the nozzle is clogged. If it is, clean it out with a wire brush or other sharp object;
- Next, check the O-ring and make sure it is seated properly. If not, replace it with a new one;
- Finally, tighten all of the connections on the sprayer to make sure they are secure;
If your hose sprayer still isn’t working after following these steps, you may need to replace it entirely. Fortunately, hose sprayers are relatively inexpensive and easy to find at most hardware stores.
How do I fix a leaky spray nozzle?
If your garden hose spray nozzle is leaking, there are a few things you can do to try and fix it:
- First, check to see if the O-ring is damaged. If so, you can try replacing it;
- Another potential cause of a leaky nozzle is a cracked or damaged washer. You may be able to find replacement
- washers at your local hardware store;
If neither of these solutions works, you may need to replace the entire spray nozzle.
Why does my spray nozzle leak?
One of the most common reasons a garden hose spray nozzle leaks is because the O-ring that seals the nozzle to the hose is damaged or missing.
If you can see that the O-ring is damaged, simply replace it with a new one. If the O-ring is missing, you may be able to find one at your local hardware store.
How does a hose spray nozzle work?
A hose spray nozzle is a simple device that screws onto the end of a garden hose and regulates the flow of water through the hose. The nozzle has a trigger that, when squeezed, opens a valve inside the nozzle and allows water to flow out. Releasing the trigger closes the valve and stops the flow of water.
Most hose nozzles also have a dial or lever that controls how wide the spray pattern is. Turning the dial clockwise will create a narrower spray pattern while turning it counterclockwise will create a wider spray pattern. Some nozzles also have a setting for misting or showering plants gently with water.
When you close the spigot, it jams or falls off easily so that water continues to flow out and flood your house indefinitely. Look for a valve that’s well made, firmly attached, and completely stops the flow of water when in the “Off” position [5] .
How do you attach a garden hose sprayer?
There are a few ways to attach a garden hose sprayer. The most common way is to simply screw the sprayer onto the end of the hose.
Another way is to use a quick-connect coupling. Quick-connect couplings have a male and female side. The male side attaches to the hose, while the female side attaches to the sprayer.
How do high-pressure hose nozzles work?
High-pressure hose nozzles work by using a simple pump to force water through a small opening at high speeds. This high-pressure stream of water can then be used to clean surfaces or irrigate plants.
However, sometimes the nozzle can become blocked or damaged, which can reduce the pressure of the stream and make it difficult to use.
How do you attach a nozzle to a water hose:
- The first step is to remove the old nozzle from the hose. To do this, unscrew the nozzle from the hose end. If the nozzle is stuck, you may need to use a pair of pliers to loosen it. Once the nozzle is removed, inspect the threads on both the hose and nozzle. If there are any cracks or damage, you will need to replace either the hose or nozzle;
- Next, take a new garden hose nozzle and screw it onto the end of the hose. Hand-tighten only until snug. Be careful not to over-tighten as this can damage both the threads on the hose and nozzle. Test out the new garden hose sprayer by turning on the water at full pressure. Slowly squeeze the trigger to see if the water sprays evenly from the nozzle. If it does not, you may need to adjust the nozzle settings;
There are several different types of garden hose nozzles on the market, so be sure to choose one that best suits your needs.[6]
For example, if you have a large yard, you may want a nozzle with multiple settings so that you can control the amount of water being released.
If you have a smaller yard or garden, a single-setting nozzle should suffice.
Whichever type of nozzle you choose, make sure it is durable and easy to use so that you can enjoy gardening for many years to come!
How should you troubleshoot a garden hose spray nozzle?
If your garden hose spray nozzle is not working properly, there are a few things you can do to troubleshoot the issue:
- First, check to see if the nozzle is clogged. If it is, cleans it out with a small wire or toothpick;
- Next, check to see if the O-ring seal is damaged. If so, replace it with a new one;
- Finally, make sure that the nozzle is screwed on tightly. If none of these solutions work, you may need to buy a new garden hose spray nozzle;
Is it easy to fix a garden hose spray nozzle for beginners?
In most cases, yes. A beginner can easily fix a garden hose spray nozzle by following a few simple steps.
The first step is to identify the problem. Is the nozzle leaking? Is it not spraying water? Or is the sprayer pattern not working correctly?
Once you have identified the problem, the next step is to find a replacement part. You can usually find these parts at your local hardware store or online. Make sure to get the right size and model for your garden hose spray nozzle.
The third step is to install the new part. This usually involves unscrewing the old part and screwing in the new one. Be careful not to over-tighten the new part, as this could damage it. Once you have installed the new part, turn on your water supply and test out your garden hose spray nozzle.
If your garden hose spray nozzle is still not working correctly, you may need to contact a professional for help.
Why is my garden hose spray nozzle not producing a strong stream of water?
If your garden hose spray nozzle isn’t producing a strong stream of water, it could be due to a clog or blockage in the nozzle. Remove the nozzle and soak it in a mixture of warm water and vinegar to dissolve any mineral deposits. Use a small brush or toothpick to clear any debris from the nozzle holes.
What should I do if my garden hose spray nozzle is constantly dripping water?
A constantly dripping garden hose spray nozzle is often caused by a worn-out or damaged washer. Unscrew the nozzle from the hose and check the washer inside. If it’s cracked or deteriorated, replace it with a new washer of the appropriate size. Reattach the nozzle tightly to prevent leaks.
How can I fix a garden hose spray nozzle that is stuck in the “on” position?
If your garden hose spray nozzle is stuck in the “on” position and won’t shut off, the trigger mechanism may be jammed. Disassemble the nozzle by removing any screws or clips, and then carefully inspect the trigger mechanism for debris or obstructions. Clean and lubricate the trigger assembly, and reassemble the nozzle.
My garden hose spray nozzle is spraying water in multiple directions. How do I fix it?
If your garden hose spray nozzle is spraying water in multiple directions or unevenly, the nozzle’s internal components might be misaligned. Take apart the nozzle and check for any loose or misaligned parts. Adjust them as needed to ensure proper alignment, and then reassemble the nozzle securely.
Why is my garden hose spray nozzle making a hissing noise?
A hissing noise from your garden hose spray nozzle could indicate a damaged or worn O-ring. Disassemble the nozzle, locate the O-ring (usually found near the connection point), and inspect it for cracks or deformities. Replace the O-ring with a new one and reassemble the nozzle tightly.
How do I fix a garden hose spray nozzle that is difficult to adjust?
If your garden hose spray nozzle is hard to adjust between different spray patterns, it might be due to mineral buildup or debris affecting the adjustment mechanism. Soak the nozzle in a vinegar solution to dissolve mineral deposits, and then use a soft brush or cloth to clean the adjustment area. Rinse thoroughly and test the nozzle’s adjustability.
What should I do if my garden hose spray nozzle is leaking from the connection to the hose?
If your garden hose spray nozzle is leaking from the connection to the hose, it could be due to a damaged or worn-out rubber gasket. Unscrew the nozzle from the hose and inspect the gasket for signs of wear or damage. Replace the gasket with a new one and ensure a tight connection when reattaching the nozzle.
How can I prevent my garden hose spray nozzle from getting clogged in the future?
To prevent your garden hose spray nozzle from getting clogged, it’s important to regularly clean and maintain it. After each use, disconnect the nozzle, run clean water through it to flush out any debris, and allow it to dry before storage. Periodically soak the nozzle in a vinegar solution to dissolve mineral deposits and maintain clear nozzle openings.
Useful Video: Garden Hose Spray Nozzle Assembly (Garden Hose Quick Connect System) | Garden Hose Setup
References:
- https://trimthatweed.com/how-to-fix-garden-hose-spray-nozzle/
- https://homeandstyle.co.uk/how-to-fix-a-garden-hose-nozzle/
- https://homeandstyle.co.uk/how-to-fix-a-garden-hose-nozzle/
- https://www.hoselink.com/pages/spray-nozzle-maintenance
- https://gardeningproductsreview.com/best-garden-hose-nozzles
- https://dengarden.com/gardening/The-Complete-Guide-to-Hose-Fittings