Gardening is a great hobby to have, not only can it bring beauty and life into your outdoor space but there are also many therapeutic benefits associated with gardening. But how do you go about creating the perfect environment for your garden? One of the key steps in achieving this goal is being able to effectively use your tools, such as learning how to shorten a garden hose. Sure it may sound like an easy enough task, however understanding what type of equipment you need and the actual procedure involved can be quite tricky. While there are few different ways that you could tackle this project, in this blog post we’ll be exploring some tried-and-tested methods so that you can easily and safely shorten a garden hose quickly and effectively!
Types of Garden Hoses
Polyurethane Hose
A polyurethane hose is lightweight, durable and flexible. The material is resistant to cracking and breaking, and it is available in various lengths suitable for different purposes. You can use a hacksaw or pipe cutter to shorten this type of hose.
Vinyl Hose
A vinyl hose is heavy duty and highly flexible. It is also resistant to cracking or breaking and comes in a variety of lengths for different purposes. This type of hose can be shortened using a hacksaw or pipe cutter.
Rubber Hose
A rubber hose is the most common type of garden hose in use today. It is lightweight, durable and flexible but prone to cracking or breaking when exposed to extreme temperatures or direct sunlight. A rubber hose can be shortened using a hacksaw or pipe cutter as well as by tying knots along its length at regular intervals. [1]
Polymer Hose
Polymer hoses are a lightweight alternative to traditional rubber or vinyl hoses. They often have the advantage of being more flexible and easier to store, making them ideal for smaller gardens and patios. To shorten a polymer hose, you will need some basic tools such as scissors or shears. First, measure out how much you want to cut off from the hose using a measuring tape. Then, make sure that the area you plan on cutting is firm and flat so that your cuts will be even. Next, take your scissors or shears and cut along the measured line through the material with care. When finished, remove any loose pieces of material left over on the ends.
Expandable Hose
Expandable hoses are a popular choice for many gardeners due to their compact size and ease of use. To shorten an expandable hose, start by measuring how much you want to cut off using a measuring tape. Then, locate the area on the hose that you will be cutting and make sure it is flat and firm. Use scissors or shears to carefully cut through the material along your marked line. Finally, remove any excess pieces from the ends of the hose before reattaching them back together. For both polymer and expandable hoses, make sure to check for signs of wear or damage before shortening as these can weaken or tear the material when manipulating it.
Metal Hose
Metal hoses are the most durable and long-lasting type of garden hose. While they cost more upfront, metal hoses can last several decades if properly cared for and used. When it comes to shortening a metal hose, you will need some basic tools such as pliers, a hacksaw, and clamps. You’ll also need a funnel or a bottle with a narrow neck to help guide the hose through the clamping process.
Start by measuring how much length needs to be removed from the end of the hose using a tape measure. Make sure that you add an extra inch or two in case of any errors. Then mark your measurements on both sides of the hose with chalk or marker so you know exactly where to cut it with a hacksaw. Once the hose is cut, use clamps to secure it in place and use pliers or the funnel/bottle to help guide the ends into the clamp. Finally, check for any leaks along the length of your newly shortened metal hose and make sure everything is properly secured. Your garden hose will now be ready for use!
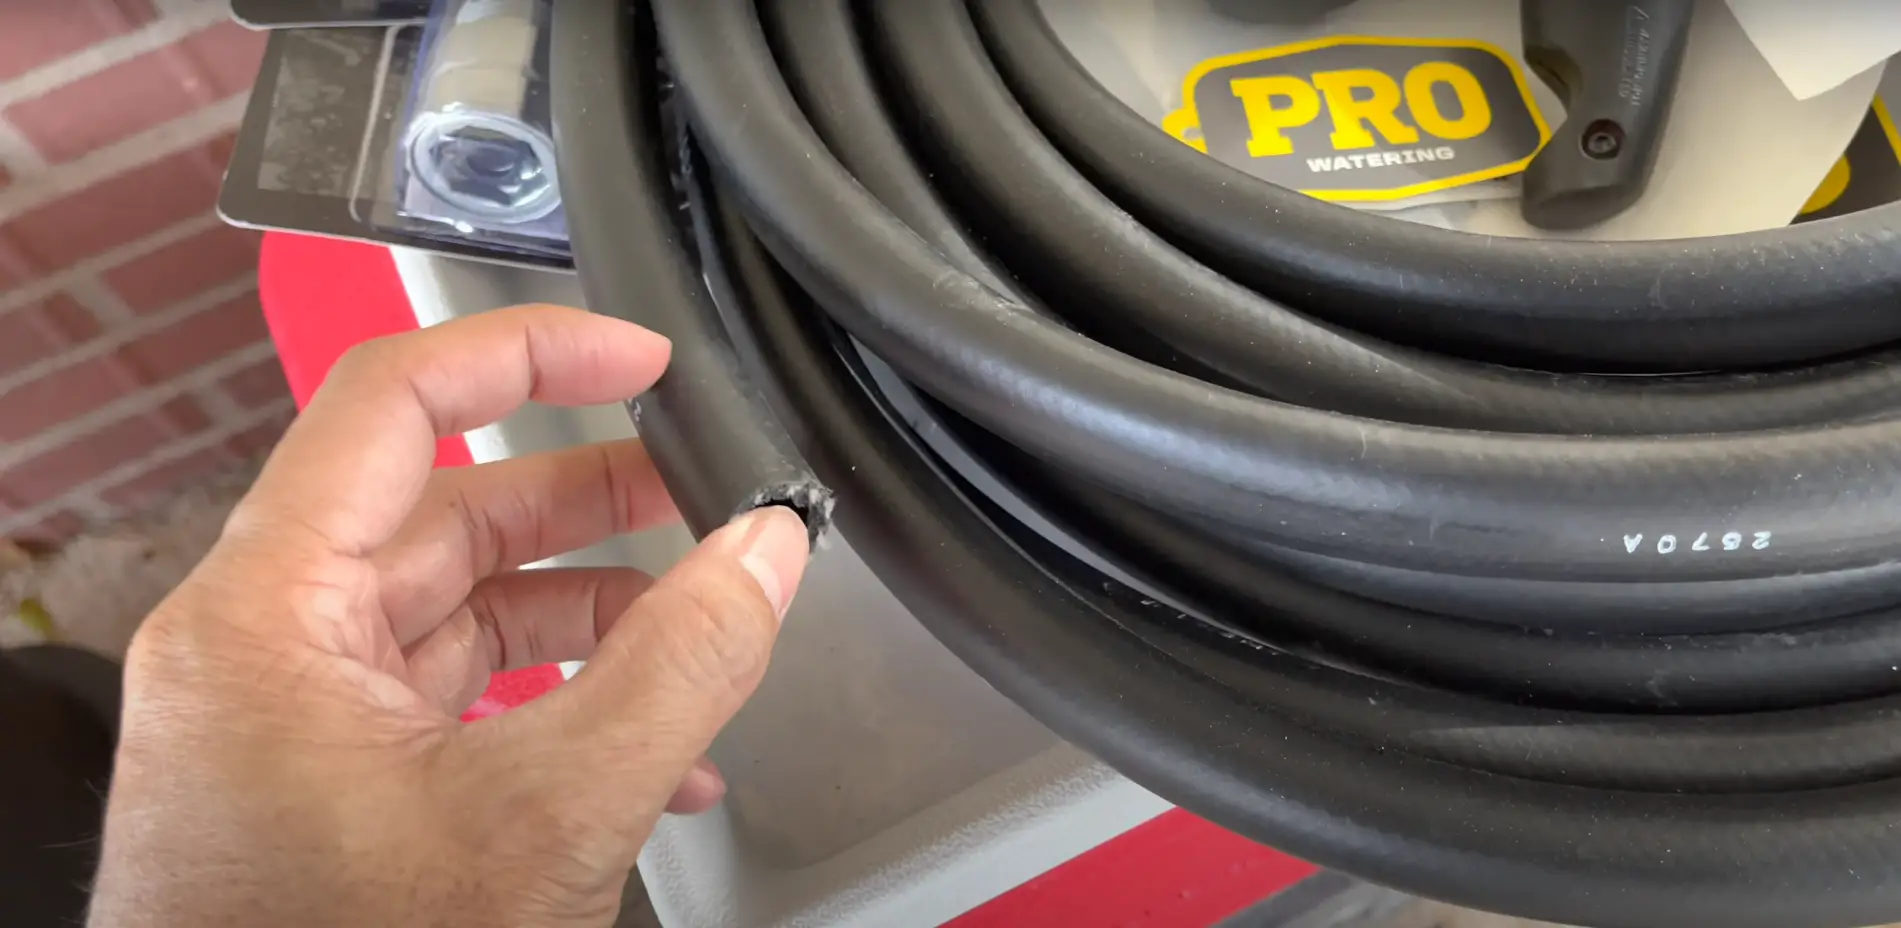
Tools Required for Shortening a Garden Hose
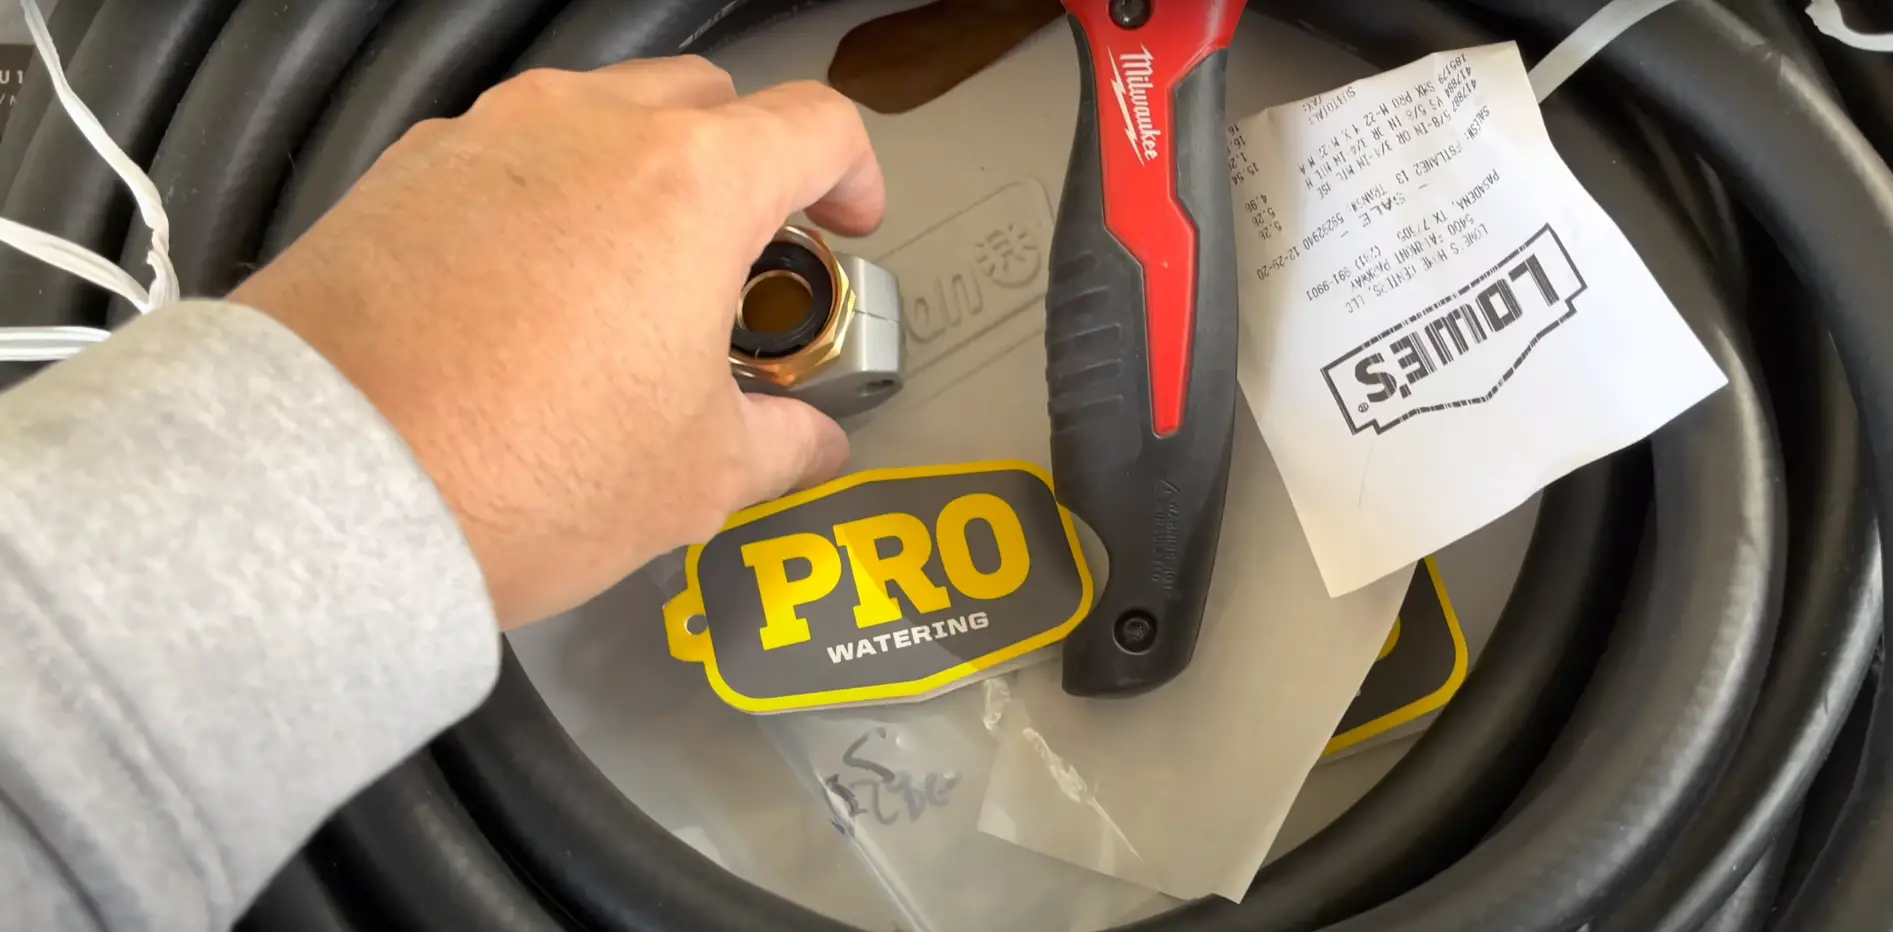
To shorten a garden hose, you will need the following tools: scissors, utility knife, pliers or crimping tool, and a garden hose repair kit. The repair kit should include a replacement piece of hose with couplers that fit your existing garden hose’s diameter and threading type. [2]
Once you have gathered all the necessary tools, it is time to get started!
How to Shorten a Garden Hose: Step-by-Step Guide
Measuring the Desired Length
Begin by measuring the desired length of your hose. You can do this by wrapping a tape measure around the circumference of the hose and marking off where you want to cut it.
Marking the Cutting Line
Once you have determined how long you would like your garden hose, mark the cutting line with a permanent marker.
Cutting the Hose
Once you have accurately marked the length of your garden hose, it is time to cut off the excess. Safety glasses are recommended as the cutting process can generate small fragments of debris that can be hazardous. Using a sharp utility knife or a hacksaw will help make a clean cut on the hose. If using either of these tools, take caution and ensure proper safety protocol is followed.
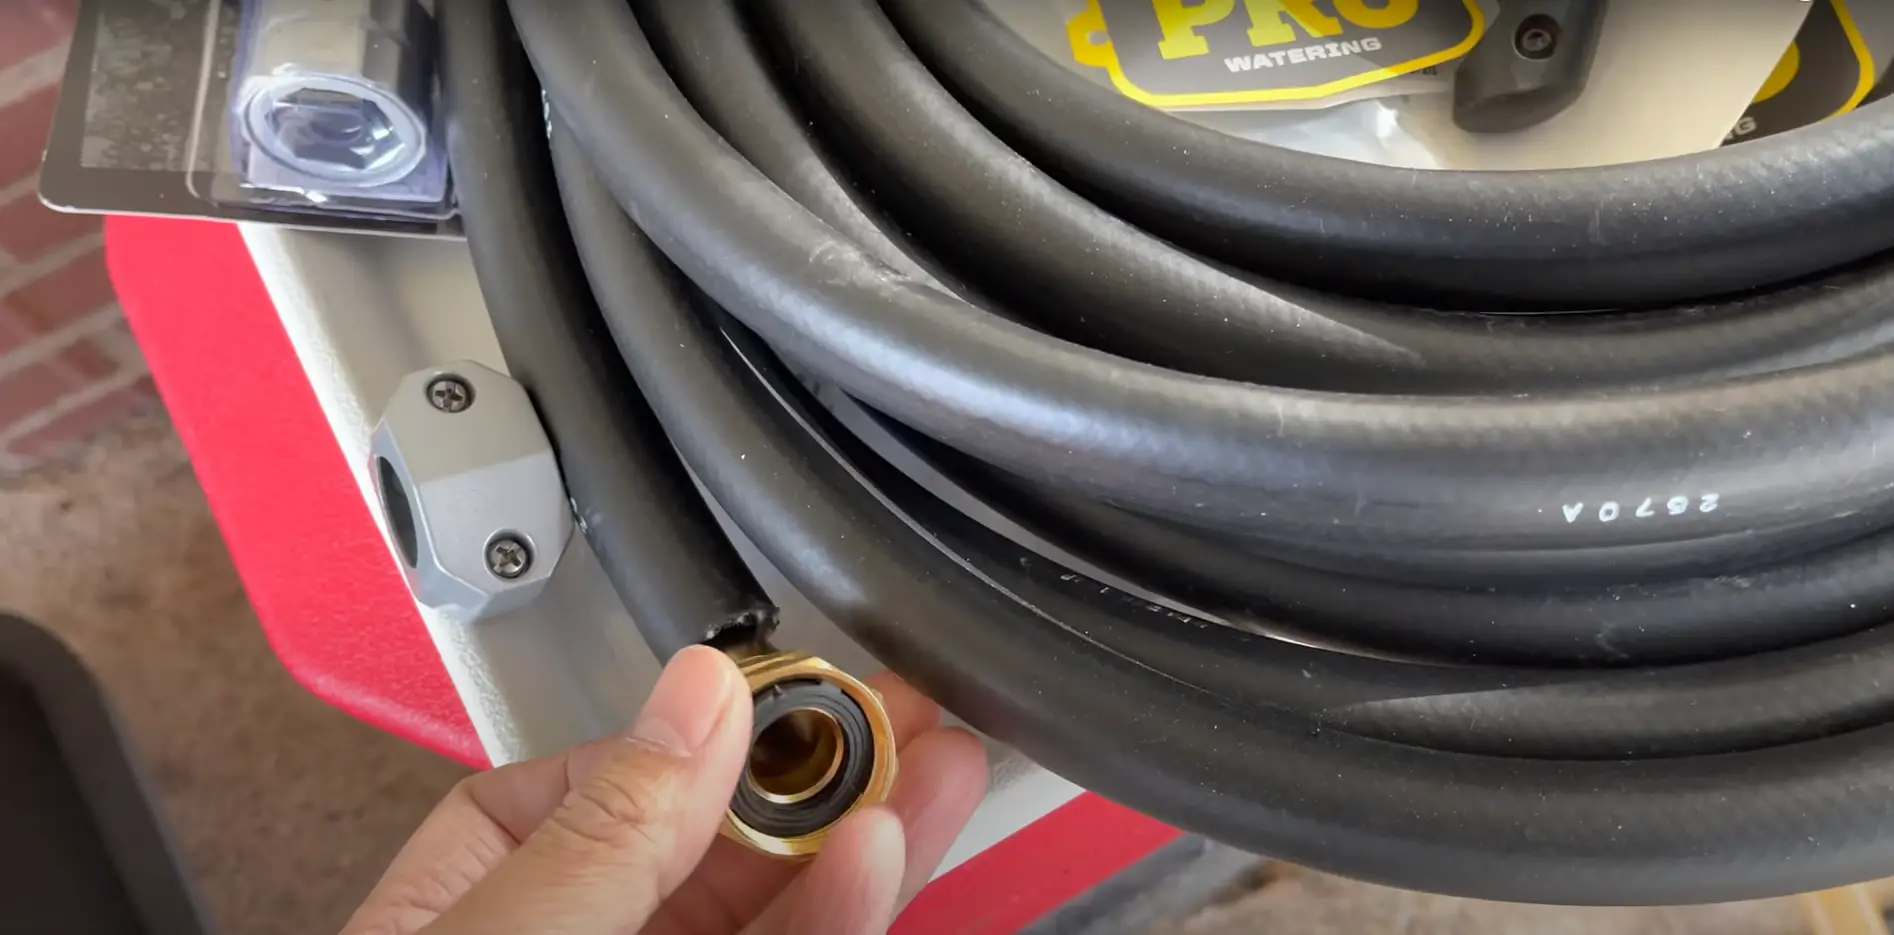
Removing Old Fittings
If your hose has any old fittings, such as a nozzle or shutoff valve, in place you will need to remove them prior to shortening the hose. A pair of pliers or adjustable wrench should do the trick and allow you to easily twist off the fittings from either end of the hose.
Adding New Fittings
Replacing the fittings is probably the most time consuming part of this process as it requires great care and precision. To ensure a proper seal, make sure that all new fittings are screwed on snugly without over tightening. If possible, use thread tape to create an additional barrier against leaking water at the connection points. Once all new fittings have been added you can go ahead and reattach the hose to your outdoor faucet.
Change Your Gaskets
In some cases, garden hoses come with gaskets attached to the end of their fittings. If your hose has these gaskets, they will likely need to be switched out after cutting and reattaching the new fittings. This is a very important step as any faulty gasket can cause an improper seal and lead to water leakage.
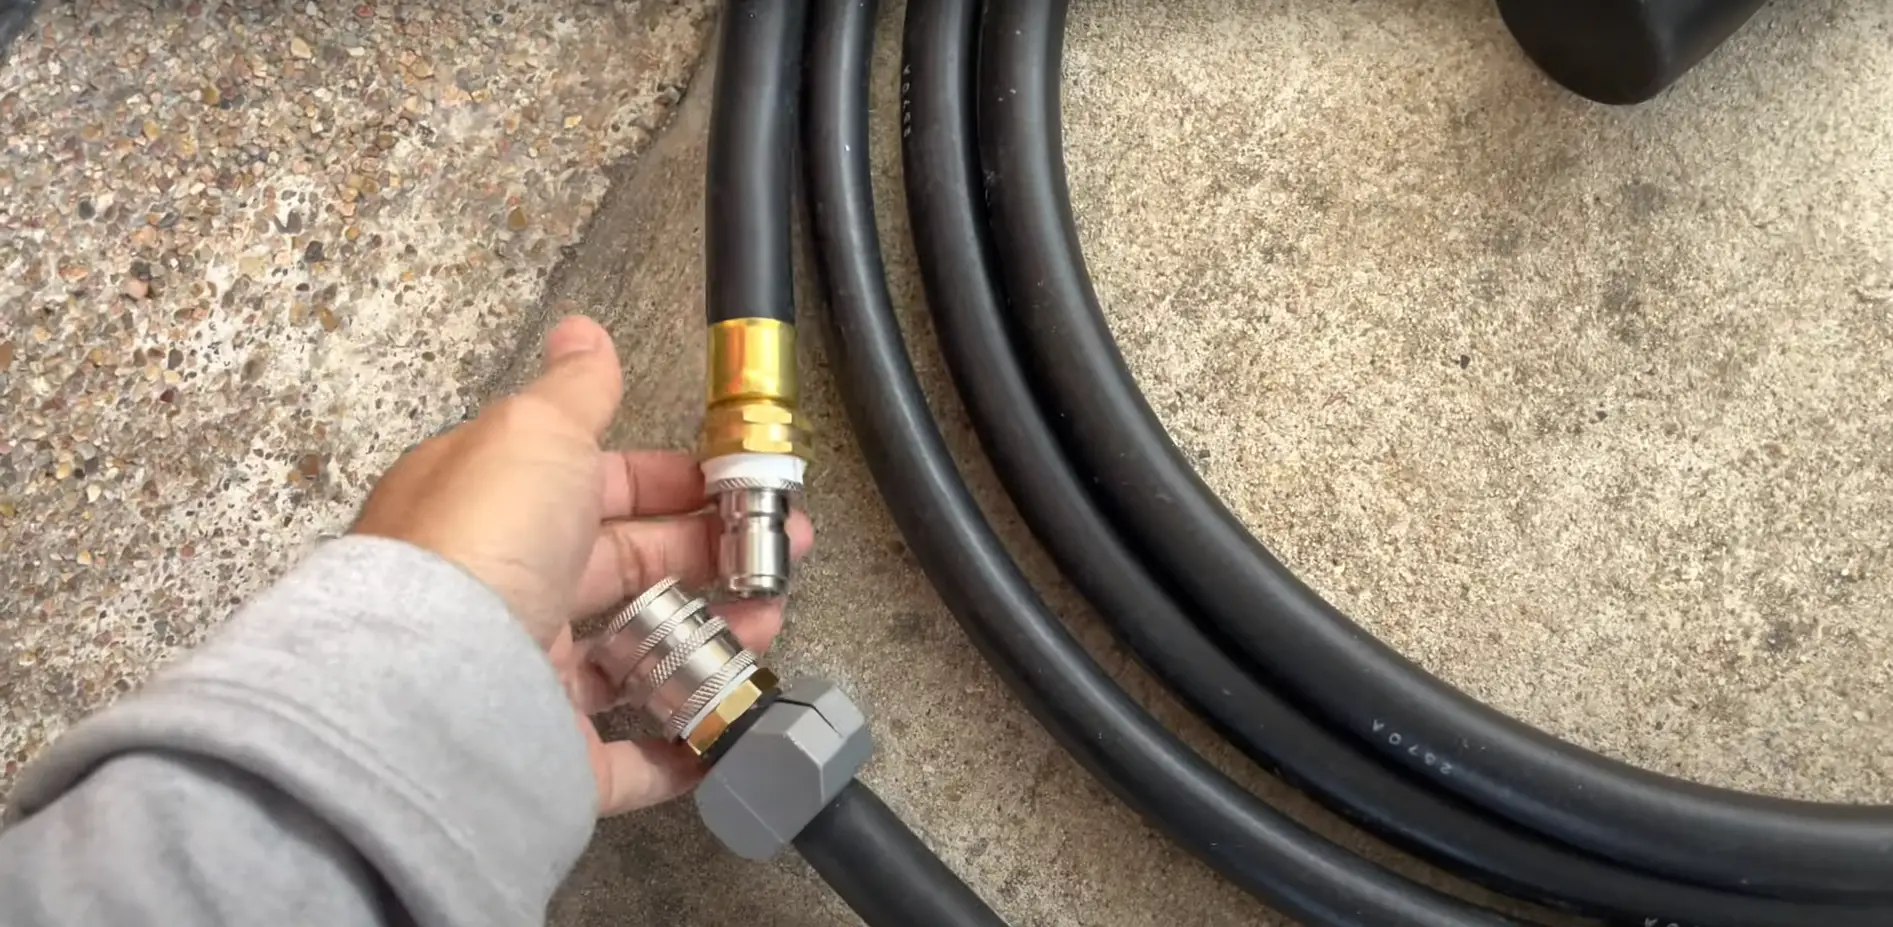
Testing Your Hose
After your newly shortened hose is all connected up you should do a quick test run before calling it complete. Turn on the spigot and check for any leaks or weak spots in the connection points that may need additional tightening or further sealing. Once everything looks good you are ready to go! [3]
Congratulations! You have just successfully shortened your own garden hose. Now you can enjoy your newly compact and efficient yard watering solution!
Potential Challenges with Shortening a Garden Hose
Shortening a garden hose can become tricky and may require more than just one tool to get the job done. The most common challenge is cutting the hose in an even manner. It’s important to have a sharp blade on your cutter so the edges are clean and free of fraying. Cutting the hose too short or crooked will leave you with uneven ends, which could lead to leaks when attaching fittings.
The last common challenge is the use of different types of fittings and adapters. While most hoses are designed for standard-threaded connectors, some may require specialty fittings that need to be purchased separately. In addition, it’s important to purchase the correct size hose in order to ensure a proper fit with the connectors you have on hand.
By taking your time and following these steps carefully, you can save yourself from future headaches while shortening your garden hose. With this knowledge under your belt, you should feel confident tackling any garden hose repair job! [4]
Pros and Cons of a Garden Hose
A garden hose is a useful and versatile tool for the garden. However, there are pros and cons to using a garden hose that should be taken into account when deciding whether or not it is the right option for your needs.
The main advantage of a garden hose is its flexibility. Garden hoses are easy to move around and can reach difficult places that other watering tools may miss. A garden hose also has the ability to reach long distances, allowing you to water large areas with ease.
One way to combat the cons of a garden hose is to shorten it, which can be done in several different ways depending on your preferences and needs. One method of shortening a garden hose involves using a pair of heavy-duty scissors or shears to cut off the desired length from the end.
Another option is to purchase special adapter kits that allow you to easily join two sections together, reducing the total length while still maintaining water pressure. Shortening a garden hose offers many advantages, such as making it easier to transport and store, as well as increasing water pressure when reaching longer distances.
However, there are some downsides to shortening your hose too much. For example, if you shorten the hose too much, it will reduce water pressure and can affect how efficiently you can water your plants. Additionally, if the cut end of the hose isn’t completely sealed off, water may leak out and cause a mess in your garden. In summary, there are pros and cons to using a garden hose that should be taken into account before deciding whether or not it is right for you.
Shortening a garden hose offers many advantages, but make sure not to shorten it too much as this can reduce water pressure and cause leaks. With a bit of research and careful consideration, you can find the best solution for your gardening needs. [5]
FAQ
How do you cut a rubber garden hose?
Cutting a rubber garden hose is fairly simple. Using a strong pair of scissors or pruners, you can make a clean cut through the hose. Make sure the edges are smooth and even so that your fitting will fit properly on both ends. If needed, you can also use a sharp knife to make a more precise cut.
How do I shorten a flexible garden hose?
Shortening a flexible garden hose is similar to cutting rubber hoses – simply measure and cut it with either scissors or pruners. It may help to coil up the length of hose before marking where you need to cut it to ensure an even line for both ends of your final piece. After cutting, affix fittings onto each end in order to use the shortened hose.
Is there a safe way to shorten a metal garden hose?
Yes, it is possible to safely shorten a metal garden hose. First, you will need to gather the right materials – measuring tape, wire cutters, and adjustable pliers. Begin by measuring where you would like your cut line to be on the metal hose. With the help of an adjustable plier, make small bends in the hose until you have formed a straight line up to where you want it to be cut off.
How do you put a long hose away?
There are several ways to shorten a garden hose. One option is to use a hose clamp, which is designed specifically for this purpose. It clamps around the end of the hose, allowing you to turn it and create a shorter length. Another option is to simply tie off the ends of the hose in loops that can be easily undone when needed. This method works well for hoses without rigid connectors at each end. Finally, if the hose has rigid couplings on each end, you may have success using a special device called a “hose rewind” that wraps up excess hose and clips onto both ends. By spinning it around its axle as you wind, it will create neat coils of shorted lengths of your hose.
How do you join two hose pipes together?
Joining two hose pipes together is a fairly simple process that requires a few basic tools. All you need is a set of adjustable pliers, some Teflon tape, and the correct size connector for your hoses. Begin by turning off the water supply to both hoses, then use the pliers to loosen the connection at one end of each hose. Wrap several layers of Teflon tape around the threads on both connectors before screwing them together firmly but not too tightly. Finally, turn on the water supply and test for leaks. If everything looks good, your two hose pipes are connected!
Can a garden hose be too long?
Yes, a garden hose can be too long. This is especially true if it needs to be stored in a small space or carried by one person. Long hoses are also more prone to kinking and tangling, which can make them difficult to manage. For most applications, it’s best to choose a hose that is the appropriate length for the job at hand. It will save time and energy in the long run.
What are the challenges of shortening a garden hose?
Shortening a garden hose is not always an easy task and comes with its own set of challenges. One of the most common issues people have when shortening a garden hose is getting the cut end to stay in place. Garden hoses are often made from various materials, including rubber, vinyl, or sometimes a combination of both. These materials can be tricky to work with and require special attention when cutting to ensure that the cut end does not unravel or come apart.
Another issue people face when shortening their garden hoses is finding the right tool for the job. Standard scissors are not usually suitable for cutting through thicker plastic-based hoses and may result in an uneven cut or frayed edges. If you are using a rubber hose, you will need a special knife or razor blade to get a clean cut.
Finally, you may also encounter some resistance when shortening the garden hose. This is especially true with rubber hoses as they often have interior layers that can be difficult to cut through. If this happens, it is best to take your time and go slowly in order to make sure that you get a nice, even cut.
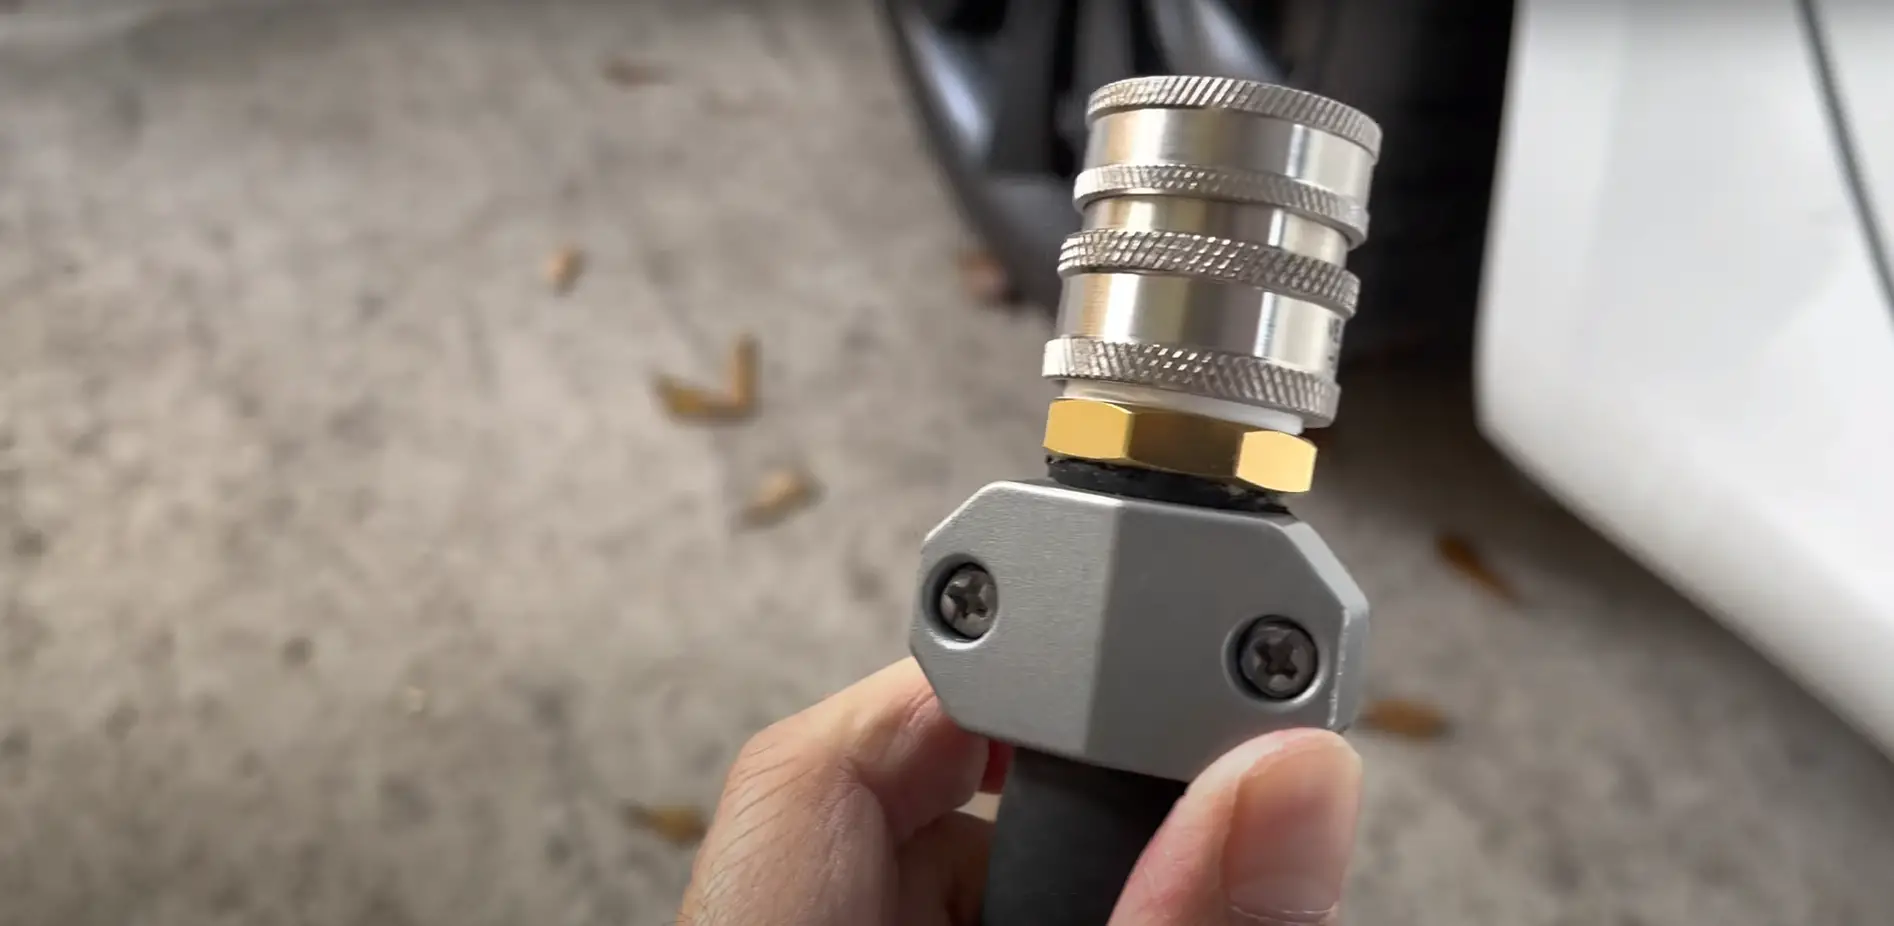
Useful Video: How to Custom Length or Repair Your Garden Hose | MTM Quick Disconnect
Conclusion
Shortening a garden hose is a relatively simple process. It can be done with basic tools and requires minimal time and effort. All that is needed is a sharp knife or scissors, some tape and patience. While it might take some practice to get the desired results, shortening a garden hose is an easy task that can make watering your plants much easier. With proper care and maintenance, you’ll be able to enjoy your shortened hose for years to come. So don’t wait any longer – start shortening your garden hose today!
References:
- https://homeandgardentalk.com/can-a-garden-hose-be-shortened/
- https://www.gardenbloggers.com/how-to-shorten-a-garden-hose/
- https://www.instructables.com/Garden-Hose-Repair/
- https://www.familyhandyman.com/project/how-to-repair-a-garden-hose/
- https://gilmour.com/garden-hose-repair-how-to



Leave a Reply
View Comments