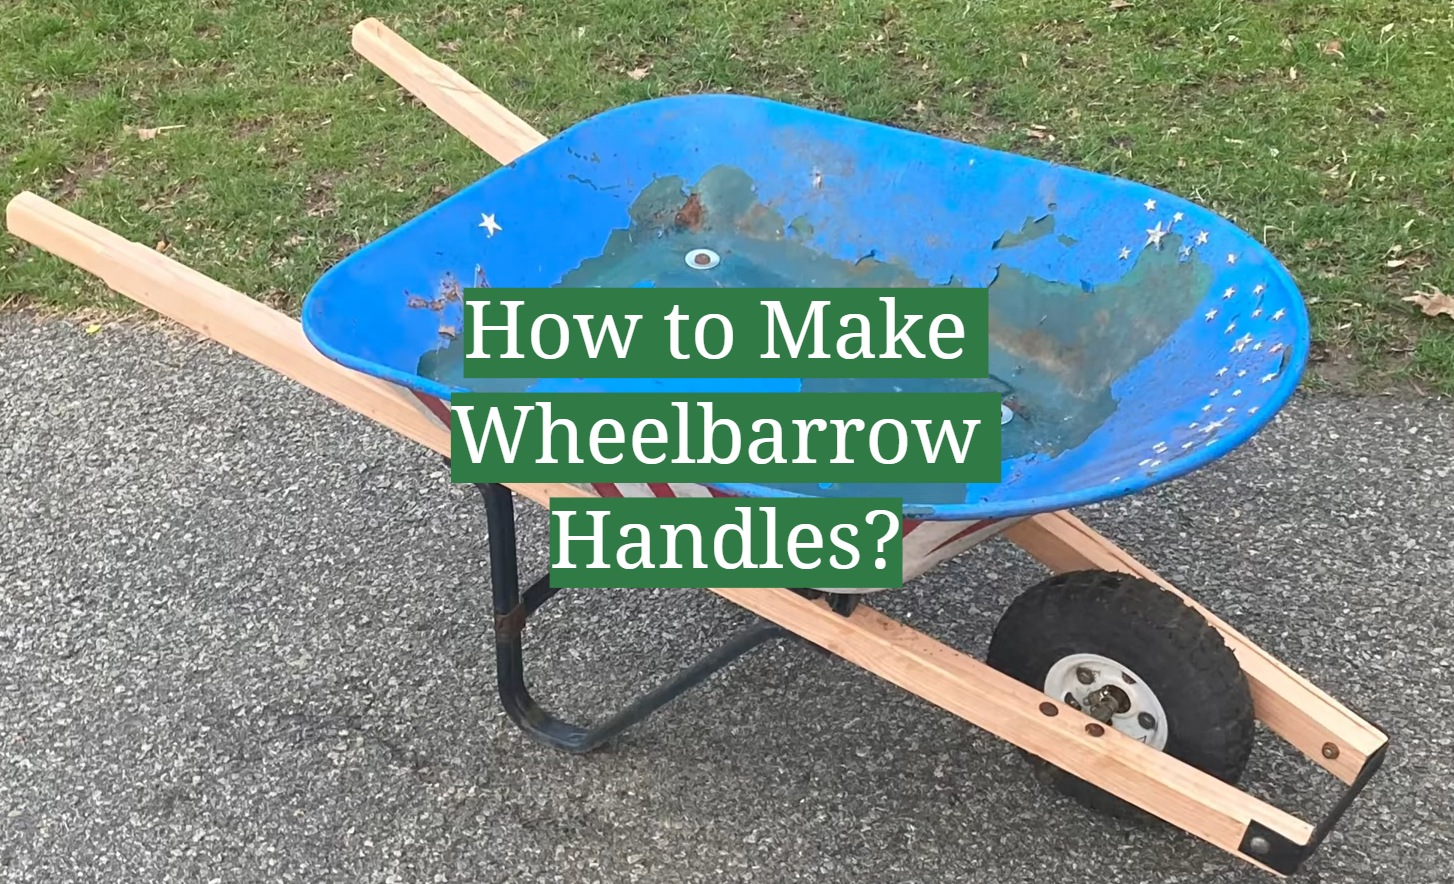
There are many ways to make a wheelbarrow handle. Some people might use wood, while others might use metal. In this article, we will discuss the best way to make a wheelbarrow handle using metal. We will also answer some of the most frequently asked questions about making wheelbarrow handles. So, whether you are a beginner or an expert, this guide is for you!
Tools
The first thing you will need to make a wheelbarrow handle is a few tools. You can use any type of metalworking tools, such as clamps, drill bits, and saws. Make sure that all the tools are clean before starting your project. [2]
Materials
You will need some materials to make wheelbarrow handles. These include:
- PVC pipe, at least 6 feet long and 1 inch in diameter;
- Hacksaw;
- Metal ruler;
- Sandpaper or a file;
- Drill machine and drill bit;
- Nuts and bolts;
- Masking tape or duct tape [2];
Step 2: Wheelbarrow Handles Replacement Kit
If you’ve decided to go with the kit option, you’ll need to pick up a replacement wheelbarrow handle kit. These kits are usually easy to find in most hardware stores or online. You’ll want to make sure that the kit includes all the necessary components (such as brackets, screws, and handles) for replacing your existing ones. It’s also helpful if it comes with some instructions on how to assemble everything properly. [1]
Step 3: Cleaning and Brushing Off Debris
When making wheelbarrow handles, it is important to make sure the material used is clean and debris-free. Abrasive brushes such as wire brushes should be used for removing any dirt or rust from the metal parts. This will ensure that nothing sticks to the handles when they are being used. Additionally, you can use a damp cloth to wipe off any dust or dirt on the wood pieces of your wheelbarrow before beginning assembly. Be sure to let all materials air dry completely before attaching them together. [1]
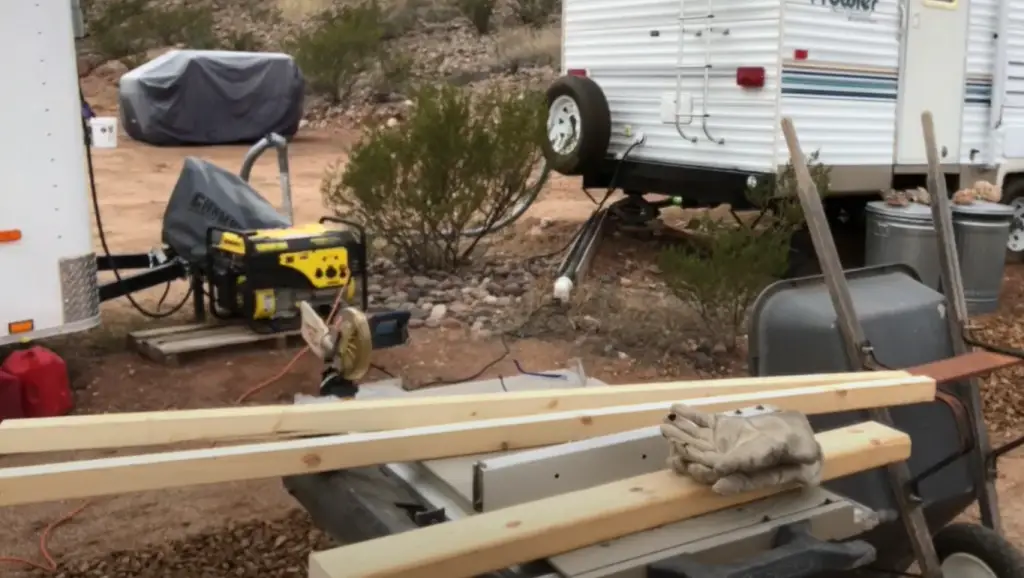
Step 4: Adjust the Table Saw
Now that your handle pieces are cut to the correct length, it’s time to adjust the table saw for cutting. When you do this, always wear safety goggles and make sure that the blade is secured firmly in place.
Before you start, make sure to set the height of the blade so it will be halfway between the two ends of your handles. This will ensure a consistent width throughout your wheelbarrow handles’ run. Then, adjust the angle of the blade according to what type of design you want on your handle – whether it be straight or curved. Make sure to double-check these measurements before turning on the saw. [1]
Step 5: Cut the Wood
Now that you have the measurements for your wheelbarrow handles, it’s time to cut the wood to size. You’ll need a saw for this process. If you don’t have one, you can use a hand saw or an electric circular saw.
When cutting your wood, make sure you measure and mark each piece before making a cut. This will help ensure that all pieces are the same length and shape. Additionally, wear protective eyewear while cutting as flying wood chips can cause injury. [1]
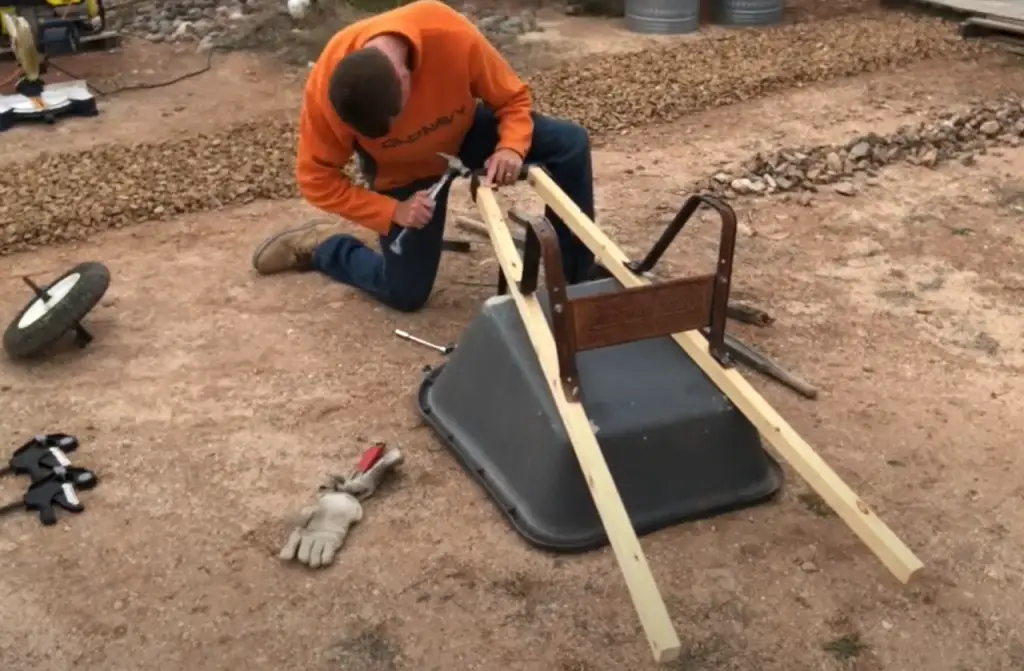
Step 6: Align the Handles
Next, you need to align the handles. For this step, use a hammer or mallet and carefully tap the ends of each handle until they are aligned correctly. Be sure that both handles are level and pointing in the same direction.
You can also use clamps to hold the handles in place while tapping them into position. This will help ensure that your wheelbarrow handle is secure and won’t come apart easily when it is being used. [1]
Step 7: Drill the Holes
Now that you have the board cut to size, it’s time to drill some holes. You’ll need two 3/8-inch holes in each end of the handle. These holes should be 6 inches apart and perpendicular to the length of the board. Make sure they are level with each other and aligned with the center of the handle. [1]
Step 8: Align the New Handles
Once the handles have been cut and sanded, you will want to ensure that they are properly aligned with the wheelbarrow. To do this, place the new handle upright on a flat surface and use a level to make sure it is straight. Once you’ve done this, measure the distance between each end of the handle and mark it on either side of the wheelbarrow frame. This will give you some points for reference when securing the handle in place. [1]
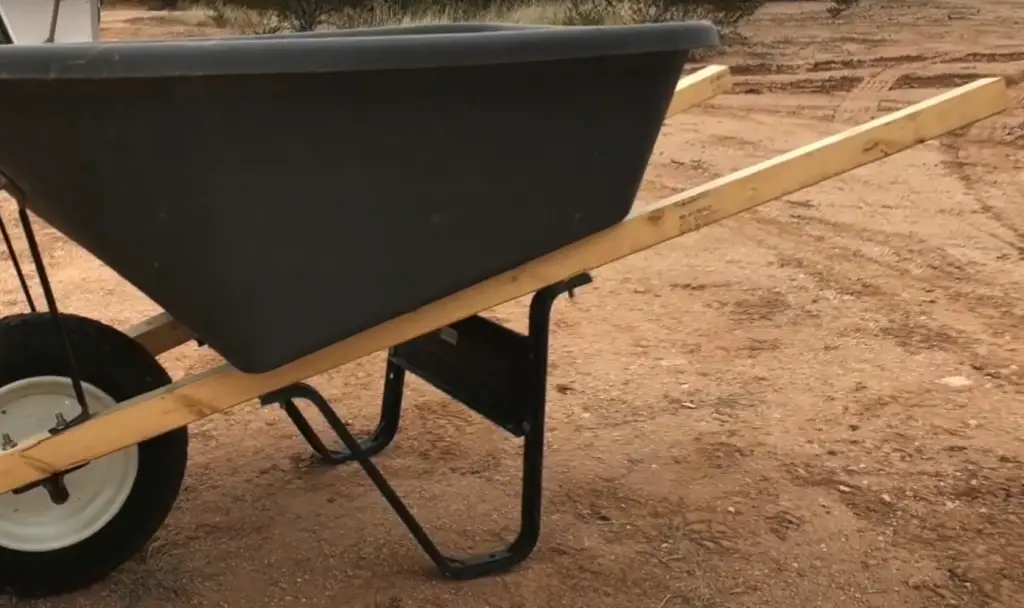
Step 9: Reattach the Wheel Assembly
The final step in making wheelbarrow handles is to reattach the wheel assembly. This can be done by using screws or nuts and bolts, depending on the type of wheelbarrow you have. Before attaching the wheels, make sure they are properly lubricated – this will help reduce wear and tear on the handles over time. Once the wheels are securely attached, your new wheelbarrow handles are ready for use! [1]
Step 10: Finish the Handles
To finish the handles, you will need to sand them down. Start by using a medium-grit sandpaper and work up to a finer one as you go. This will help give your wheelbarrow handles a smoother feel when they are being used. Make sure to get into all the crevices and corners so that no splinters or rough edges remain.
Once you have finished sanding, apply a coat of paint or sealant for added protection against the elements. If you want your handles to the last longer, consider adding a layer of polyurethane for an extra layer of defense. Once the paint is completely dry, attach it to the wheelbarrow using screws and washers at either end. [1]
FAQ
What are the dimensions of wheelbarrow handles?
The ideal dimensions of a wheelbarrow handle depend on the size and weight of the wheelbarrow. Generally, handles should measure between 36-48 inches, with a width of 1-1.5 inches at their thickest point.
What is a wheelbarrow handle made of?
Wheelbarrow handles are typically made of steel or aluminum. Steel is more durable and can handle heavier loads, whereas aluminum is lighter and better suited for smaller wheelbarrows.
Can you replace the wheelbarrow handles?
Yes, it is possible to replace wheelbarrow handles. You can purchase new handle assemblies from most local hardware stores or online retailers. The assembly includes the two handles as well as all the necessary fasteners and screws.
What kind of plastic is used in wheelbarrows?
How do you preserve wheelbarrow handles?
The best way to preserve wheelbarrow handles is to regularly check and tighten the fasteners that hold them in place. You should also clean the handles with a mild soap and water solution, and then dry them thoroughly before storing your wheelbarrow in a cool, dry location. Additionally, you can apply a coat of rust-resistant paint or sealant to protect against corrosion. This will help ensure that your wheelbarrow’s handles last for many years to come!
What can I use for wooden tool handles?
For wooden tool handles, use hardwood such as oak or hickory. These woods are strong and durable, and they can withstand heavy use. You’ll also want to make sure the wood is properly sealed to protect against moisture damage. A good sealant will help keep the handle from cracking or warping over time.
What can I use for garden tool handles?
For garden tool handles, use durable hardwood such as oak or hickory. You’ll also want to make sure the wood is properly sealed to protect against moisture damage. A good sealant will help keep the handle from cracking or warping over time. Additionally, you may want to add a rubber grip for better comfort and control when using your tools.
Is linseed oil good for wood handles?
Yes, linseed oil is an excellent choice for wood handles. It helps to seal and protect the wood from moisture damage, as well as giving it a nice shine. Be sure to apply a few coats of linseed oil onto the handle and let it dry completely before using your tool. This will help ensure that your wooden tool handles last for many years.
Useful Video: New Wheelbarrow Handles
Conclusion
Making your own wheelbarrow handles can be a relatively easy and cost-effective way to replace old, broken handles. With the right tools and materials, it’s surprisingly simple to create sturdy and durable wheelbarrow handles that will last for years. You may even find that you enjoy this creative project as much as we did! Best of luck with your custom wheelbarrow creations.
If you have any questions about how to make wheelbarrow handles or want to share pictures of your finished product, feel free to reach out on our social media pages. We love seeing what our customers come up with!
References:
- https://www.instructables.com/How-to-Make-Wheel-Barrow-Handles/
- https://homegardenscare.com/how-to-replace-wheelbarrow-handles/