
Do you love spending time outdoors surrounded by beautiful plants and flowers? If so, then you will want to consider adding a rock garden border to your landscaping plans. A rock garden border can add interest and texture to any yard, and it’s surprisingly easy to create using some basic supplies and a little bit of elbow grease. This blog post will show you how to build a rock garden border in simple steps!
Why do you need a Rock Garden Border?
A rock garden border is a great way to spruce up your garden or landscape. They add definition and create an eye-catching focal point in any setting. Rock borders are usually built in a curved pattern and can be used to encircle flower beds or provide a neat perimeter around shrubs, trees, and other plants.
Finally, rock borders bring a bit of natural beauty to any outdoor space and can be a great conversation piece for visitors. Rock gardens are easy to install and maintain, making them an attractive addition to any landscape design. With the right materials and a little creativity, you can create an attractive rock garden border that adds character to your yard or garden.
So, if you’re looking for a unique way to enhance your outdoor living space, consider adding a rock garden border! It’s sure to make your property look more polished while also providing practical benefits. Plus, it’s an affordable and eco-friendly landscaping solution that will last for years to come [1].
Tools Required for Building a Rock Garden Border
Building a rock garden border requires a variety of tools to get the job done. A list of common tools needed includes:
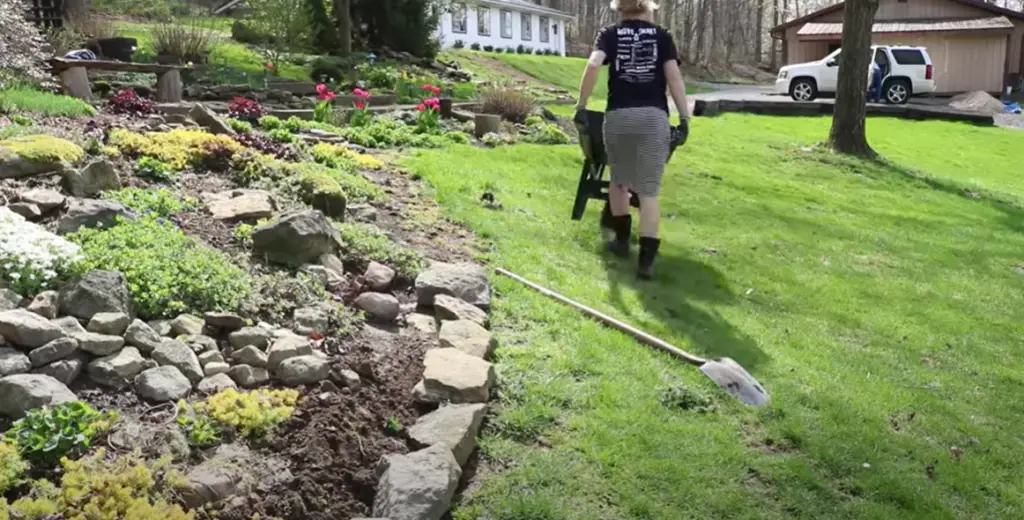
Shovel: Used for digging out soil, leveling the area, and creating pathways.
Wheelbarrow or garden cart: Used for carrying rocks and other materials as you build your rock garden border.
Level: Used to make sure everything is even and level before setting stones or rocks into place.
Tape measure: Especially useful when using larger pre-cut stone pieces to ensure that they fit properly in the space allocated.
Chisel and Hammer: Used for carving out spaces within rocks so that smaller stones can be added for greater detail.
Torch or Weed burner (optional): Can be used for heating up rocks so that they can be shaped and molded as desired.
Protective gear: When performing more intense tasks, protective gear such as gloves, goggles, and masks should be worn.
Wheeled stone cutter (optional): Used when cutting large stones into smaller pieces. Great for customizing the shape of your rock garden border.
Garden hose or sprayer: Used to ensure the stones fit together properly by spraying them down with water before placing them into their positions in the border.
Weed barrier material: Laid down before laying out your stones to help prevent weeds from growing through your rock garden border.
Polymeric sand: Added between the joints of each stone to give a more complete and secure look.
Decorative gravel (optional): Used to enhance the rock garden border by adding color and texture.
Rocks for your border: These should be chosen carefully to ensure that they fit with the style of your garden as well as being able to handle the weight of larger stones if needed.
Masonry adhesive (optional): If you choose to use mortar or concrete instead of sand, this can help hold each stone in place more securely.

7 Steps to Build a Rock Garden Border
Choose Your Rocks
The type of rock you select will depend on the look and feel you are hoping to achieve with your rock garden border. Rocks come in many sizes, shapes, and textures. You can choose from smooth river rocks or large boulders; whichever best suits your design theme. To create a uniform look, try using rocks that are similar in shape and texture, like round river stones or rough granite cobbles.
Decide Where Your Rock Garden Border Will Go
A rock garden border should be placed around flower beds, pathways, and other areas of your yard to add definition and dimension. Choose an area near the plants that need protection so that the rocks can help keep them safe by creating a barrier between them and anything else (like pets or kids) that could potentially harm them.
Gather Your Materials
Once you’ve chosen where and what type of rocks you will use, it’s time to gather your materials. You will need a shovel, rake, level, trowel, gravel, or sand for drainage (if needed), and edging material such as metal or plastic edging strips.
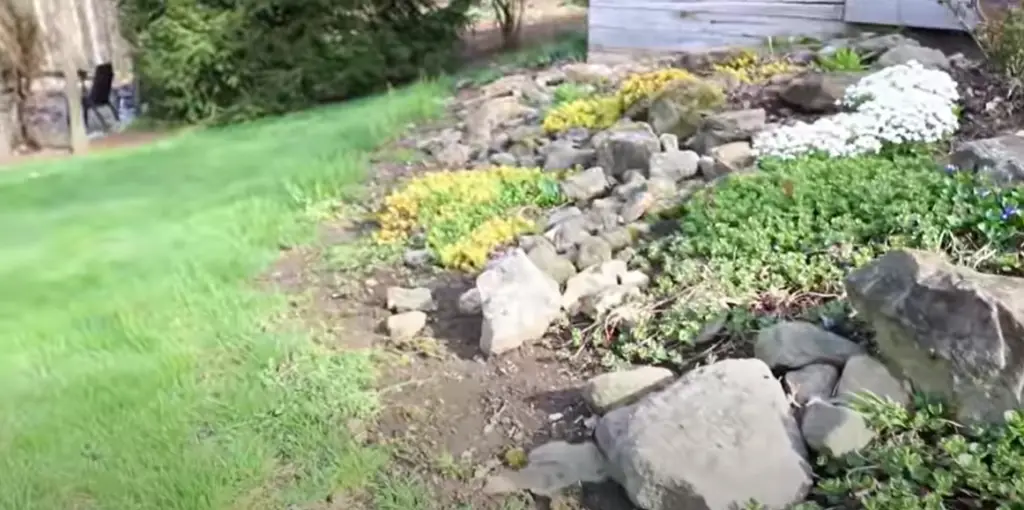
Dig Your Border Trench
Using the shovel, dig a trench around the area you have chosen for your rock garden border. The trench should be about four inches deep and six to eight inches wide. Make sure it is level by using the rake or level.
Lay a Weed-Stopping Barrier
Once the trench is dug, lay a weed-stopping barrier in it. This barrier should consist of heavy plastic sheeting, landscaping fabric, or gravel that has been spread out evenly. This will help keep weeds from growing in your rock garden border and ruining its look.
Fill In Your Border With Rocks
Now that you have prepared the area for your rock garden border, it’s time to fill it in with rocks. Place your chosen rocks into the trench and use the trowel to fill in any gaps between them with sand or gravel for extra stability. You can arrange the rocks however you like; just make sure they are placed securely so they don’t move when people or pets walk on them.
Make Sure Your Border Stays Put
Your rock garden border should now be all set. To ensure that it stays put, use metal or plastic edging strips placed around the outside of the rocks to keep them in place. This will also help prevent weeds from growing between your rocks and ruining their look. And there you have it! You now know how to build a beautiful rock garden border for your yard. With some creativity and planning, you can create a unique look that adds character to any outdoor space [2].
How to Maintain a Garden Rock Border?
A garden rock border can add an attractive and interesting accent to your outdoor space. Rock borders are easy to maintain, but they do require some upkeep to ensure they look their best. Following these simple steps can help keep your rock border in top condition:
- Remove weeds from the area around the rocks, as well as any debris or grass that may be growing between them. If you have a bigger weed problem, you may need to apply a weed killer before removing them.
- Make sure water is draining properly away from the rock border by adding gravel or mulch around it if necessary. Poor drainage can cause erosion and destroy the rocks over time.
- Inspect the rocks for any signs of damage or wear. If any of the rocks have become loose, use a hammer and chisel to reset them.
- Apply a sealant to the rocks every two years or so to protect against weathering and keep them looking their best.
- Add mulch around the border if desired, but make sure you don’t cover the rocks too much as this can cause them to rot.
- Re-align the rocks occasionally if they shift out of place due to wind, rain, or other factors. This will help keep your rock border looking neat and organized.
Following these steps can help ensure that your garden rock border looks great all year round! With just a bit of upkeep and maintenance, your rock border can be a beautiful and long-lasting feature in your outdoor space [3].
How to Decorate Rocks as a Garden Border?
- Gather your supplies: rocks, a drill, masonry bit, rubber mallet, hammer, and chisel. You’ll also need a stencil of the design you want to make on your rock or paint colors if you plan on free-hand painting.
- Choose the right spot for your rock border. It should be in an area that won’t be significantly affected by changes in soil moisture levels due to rainfall or irrigation.
- Place the first few rocks in their desired locations using a rubber mallet to tap them into place. Make sure they are level with each other and at least 6 inches apart from one another so that you can fit more stones around them later on.
- Drill holes into the rocks that match your stencil design. Use a masonry bit and be sure to wear safety goggles while drilling.
- Chisel away any excess material around the holes, then use a hammer to flatten them out if necessary.
- Once you’ve finished preparing your rocks, it’s time to start decorating! You can either paint your designs onto the rocks with acrylic paint or you can use pre-made stencils and spray paints for more intricate designs.
- Place each decorated rock in its designated spot along the border and tap lightly with a rubber mallet to secure them in place.
- Finally, add some finishing touches such as mulch, soil, or gravel to complete your rock border. And you’re done! With a little bit of time and effort, you now have a beautiful rock border to add some character to your garden.
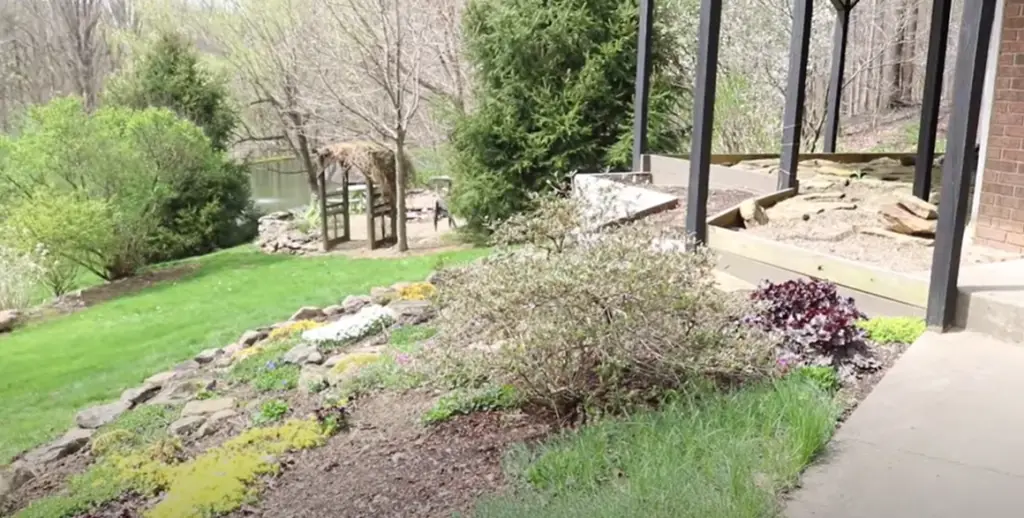
Other uses of rocks in the garden
Rocks can also be used to create pathways, terraces, and walls in the garden. Pathways can be lined with rocks in various sizes and shapes to add interest and texture. Terracing a sloping garden provides an eye-catching feature as well as helping with drainage.
Finally, rocks can be used to create focal points or add interest and texture to flower beds. There are a variety of shapes and sizes available that will allow you to create stunning displays in your garden.
FAQ
What is the best edging for a rock garden?
The best edging for a rock garden is made of stone, bricks, or concrete. Each material has its advantages and disadvantages. Stone is the most natural option and gives a classic look to your garden. Bricks provide an elegant but solid edge that can match different styles of landscaping. Finally, concrete edging provides the most durable solution but may not be suitable for all gardens. Ultimately, it’s up to you to decide which type of edging will work best for your specific needs.
What kind of plants should I use in a rock garden?
Rock gardens are perfect for drought-tolerant plants such as succulents, cacti, sedums, and more. These types of plants are designed to survive on very little water and can withstand the harsh conditions of a rock garden. Additionally, you can also use other types of groundcovers such as conifers, ferns, and grasses. Be sure to use plants that suit your climate and soil type to ensure they thrive in your rock garden.
How do I make a simple garden border?
A simple garden border can be made using pieces of bricks or stones. If you’re using brick, place the bricks flat side up and dig a shallow trench along the edge of your landscaping area. Fill in the trench with soil and gently press down each brick as you go. For stone borders, use large pieces of flagstone or slate and lay them out around the perimeter of your garden bed. Make sure to level each piece as you go to create an even edge all around.
What is the best way to keep weeds out of my rock garden?
The best way to keep weeds out of your rock garden is by installing a barrier between your rocks and soil. This can be done with edging material such as landscape fabric. Lay the fabric down and cut it to fit the size of your garden bed, then secure it with stakes or rocks. This will help prevent weeds from growing in between the rocks and keep your rock garden looking neat.
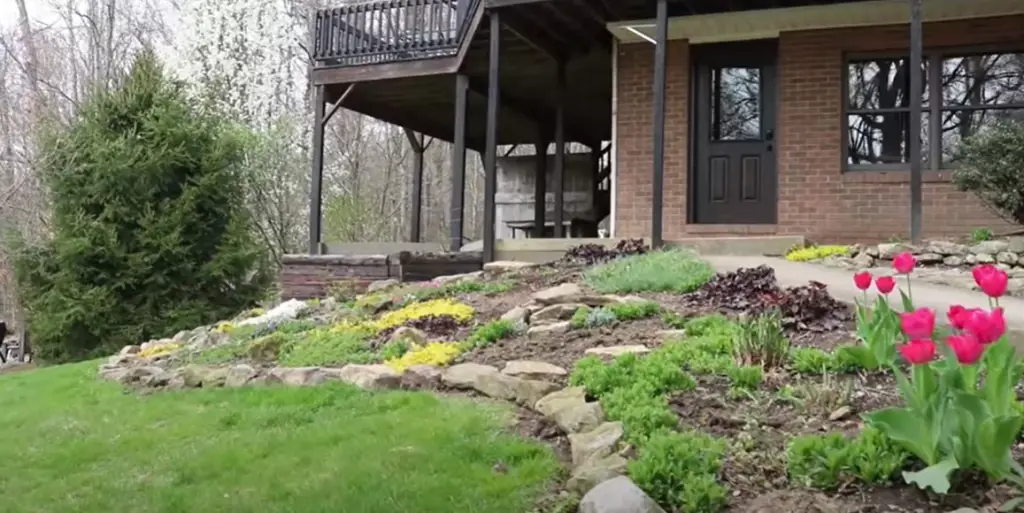
How do you make a rock border around your house?
Creating a rock border around your house is relatively easy. Start by outlining the area you’d like to enclose with rocks. Dig out the soil inside the outline and fill it with layers of gravel or sand, then start placing your rocks along the perimeter. Make sure each rock is level and secure them in place with landscaping adhesive or mortar mix if needed. Once all of the rocks are in place, backfill the area with soil or mulch to finish off your rock border.
What do you put under a rock border?
The best material to put under a rock border is a layer of gravel or sand. This will help support the rocks and keep them from shifting over time. It also helps with drainage so that water can flow freely away from your house. If you would like an extra layer of protection, you can also lay down landscape fabric before adding the gravel or sand. Finally, make sure to fill in any gaps between the stones with soil or mulch to give your rock border a finished look.
What is the cheapest rock to use for landscaping?
The cheapest rock to use for landscaping is river rocks. These can be found at most home improvement stores and come in a variety of sizes, shapes, and colors. River rocks are an inexpensive option that can make a big impact on any landscape design. They are easy to install and have great drainage properties, making them ideal for rock gardens or water features.
What type of soil should I use for my rock garden?
The best type of soil for a rock garden is a well-drained mix of organic material such as compost or peat moss mixed with sand or gravel. This combination will help ensure your plants receive enough moisture without becoming waterlogged. It’s also important to make sure your soil has the right pH level for the plants you choose to use in your rock garden. Test your soil and adjust the pH as needed before planting.
What are the benefits of rock borders in the garden?
Rock borders have several benefits in the garden. They provide a neat way to define different areas of your landscape, such as flower beds or pathways. Rock borders can also be used to contain soil and keep weeds from spreading into other parts of your yard. Finally, rock borders are an attractive addition to any garden, adding texture and visual interest to the landscape.
How do you structure a garden border?
To structure a garden border, start by outlining the area you’d like to enclose with bricks, stones, or another type of edging material. Dig out the soil inside the outline and fill it with layers of gravel or sand, then place your chosen edging material along the perimeter. Make sure each piece is level and secure them in place with landscaping adhesive or mortar mix if needed. Finally, backfill any gaps between the pieces with soil or mulch to give your border a finished look.
What is the best size for a garden border?
The best size for a garden border depends on the space it is intended to enclose. Generally, you should use edging that is at least 4 inches wide and 6 inches deep. This will provide enough stability to contain soil and keep weeds from spreading into other parts of your landscape. You may need to adjust the dimensions depending on the size of your garden bed or pathway.
Useful Video: How To Make a STONE LANDSCAPE BED BORDER | Step-by-Step Process
Conclusion
Building a rock garden border is a great way to add a unique and beautiful design element to your outdoor space. With the right planning, materials, and tools, anyone can turn their ordinary yard into an attractive rock garden border that will last for years. Not only is it aesthetically pleasing, but it also helps keep soil in place and reduce erosion. Not to mention, you’ll have fun creating your one-of-a-kind garden feature! So get creative and start building your very own rock garden border today!
References:
- https://www.allgreen.com.au/garden-advice/how-to-use-landscaping-rocks-in-your-gardening
- https://peppershomeandgarden.com/build-rock-garden-border/
- https://www.msisurfaces.com/blogs/post/2021/06/22/how-to-create-and-maintain-a-garden-rock-border.aspx