
The garden hose connector is the most important feature of your garden hose. It allows you to quickly and easily attach and detach your hose from a faucet or spigot. The problem with this type of connection is that it can be difficult to remove, especially if there’s some dirt or gunk in the way. Luckily, we have a few tricks for how to remove a garden hose connector!
Why Garden Hose Connectors Get Stuck
There are a few reasons why garden hose connectors get stuck:
- Material Type
- Overtightening
- General Damage
- Corrosion
- Dirt
- Shrinking
The first one is material type. Different materials are better for different tasks. For example, brass is obviously not the best choice for a garden hose connector because it corrodes too easily and quickly becomes stuck over time due to oxidation. Instead of cheaping out with brass connectors (or any other cheaply made material), go ahead and invest in stainless steel or another metal that won’t rust or degrade as fast—but will also provide you with years of trouble-free use.
Overtightening is another common reason why garden hose connectors get stuck; this can cause damage on both ends of your connection point (the male end and the female end). Make sure you aren’t overtightening anything during the installation process! If you’re having issues removing a water hose from its connection, then try loosening it up a bit before applying too much force.
General damage can also occur to your garden hose connectors, such as dents, nicks, and other forms of wear and tear. In most cases, these can be repaired but they may cause the connector to become stuck over time. Make sure you’re taking care of your connectors by storing them in a safe place when not in use—and avoid banging them around unnecessarily.
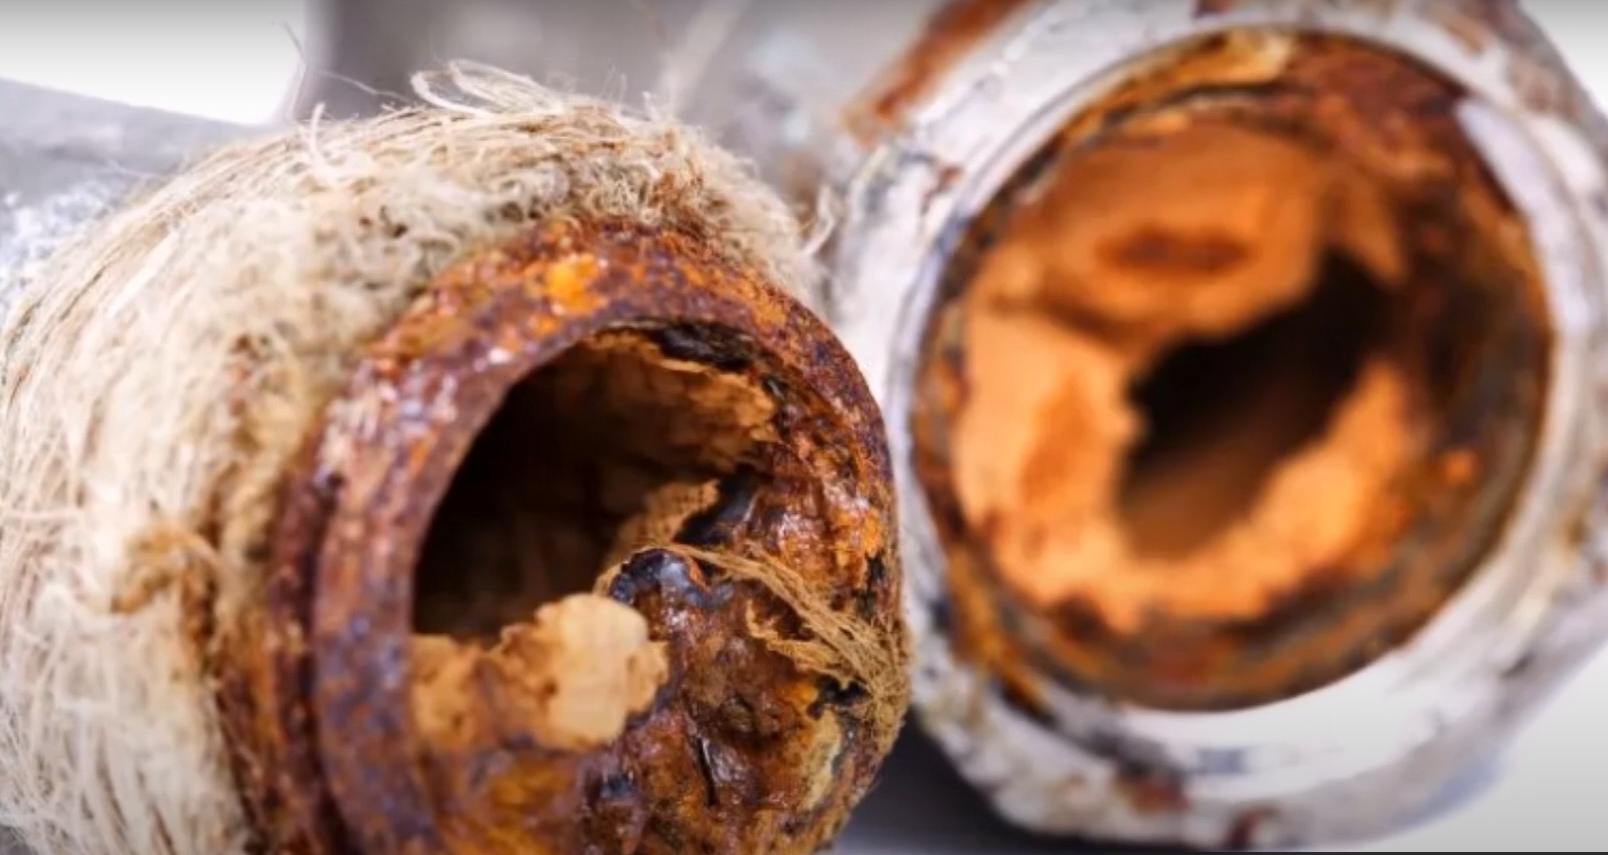
Corrosion is a huge problem with older connectors and hoses; if there’s any rust on either end of the connection (or anywhere in between), then it will be very difficult to remove the hose without damaging it. Prevention is key in this case! Regularly inspect your garden hose connectors for any signs of corrosion and take care of it ASAP before the problem spreads.
Dirt can also cause connectors to become stuck, particularly if it accumulates over time. Make sure you’re cleaning your connectors regularly (or at least every few months) to prevent any build-up from occurring.
Shrinking is a less common but still possible issue with garden hose connectors. If the plastic tubing starts to shrink for some reason, then it will be more difficult to remove the connector without damaging it. In this case, you may need to replace the entire connector or hose.
Here’s What You Need to Get Started
There are a few things you’re going to need before you start:
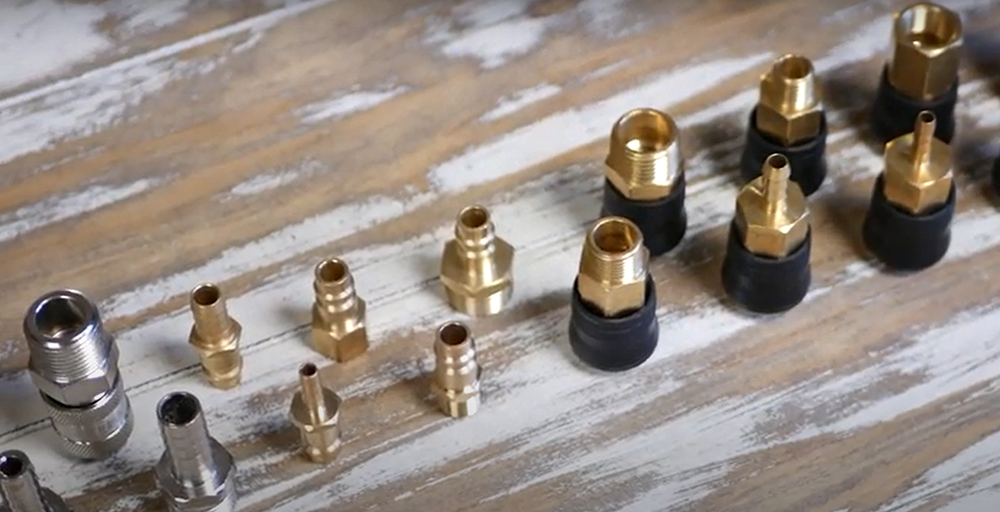
- Garden hose connector
- Flathead screwdriver
- A wrench
- Flathead screwdriver
These are the basics. You can get by without them, but it’s going to be harder than it needs to be.
Now that you have everything you need, let’s get started!

How to Remove a Stuck Garden Hose Connector
This is a step-by-step guide on how to remove a stuck garden hose connector.
Remove the Metal Hose Connector: You will need pliers and something small and pointy like an ice pick or screwdriver. To do this, turn off the water supply and make sure it is completely dry.
Place the end of your instrument in either side of one of the tabs, push down hard enough so that you pry it open slightly but not too much where you break it off completely. (If this doesn’t work, keep trying.) Once there is space between both sides, start twisting back and forth until it comes loose from its socket.
Or you can use a hacksaw if there are no bolts or screws holding it in place. Remove any visible dirt that has built up around the area before starting cutting with the saw to avoid breaking blades on stubborn connections. If your garden hose was made of metal then all you have to do is unscrew it using pliers but if it’s plastic just pull it carefully until it comes out from its base along with any rust build-up attached to it.

Then wrap some sandpaper around a screwdriver for rougher surfaces or anything else suitable like a wire brush for more delicate ones where blades might break easily at their edges while cleaning the connector.
If by chance all else fails just use some WD-40 spray into each slot then let sit for about thirty minutes before using your tool again. After loosening try pulling straight up while at the same time pushing down on the hose. If there is enough of a grip you should get it off with just your hands, then finish cleaning up by running some water through to clear out any debris leftover from the removal process.
This process assumes that the metal garden hose connector is what is stuck. If it’s the plastic one then all of these steps still apply but use a screwdriver instead of pliers to pry open the tabs on either side. And if worst comes to worst and neither of those work then go ahead and cut off the connector with some sturdy scissors—just make sure there’s nobody nearby when you do!

After that, take a wire brush and give it a good clean before reassembling everything back in place. Make sure to tighten all screws or bolts firmly so there are no leaks when you turn the water back on!
There’s also another way of disconnecting your garden hose without any tools- using your hands only! Just grab the connector with one hand and twist it in opposite directions until it comes off. This does require some strength though, especially if there’s rust build-up present.
Once again if all else fails don’t be afraid to use WD 40 and give yourself plenty of time so that it can do its job properly. Just remember not too much or you’ll have a mess on your hand!
Another way to remove a stuck garden hose connector is to take the top off of the faucet and use a wrench or pliers. This will give you more space to work with and make it easier to remove the connector.
If all else fails, call a professional!
How to Replace a Garden Hose Connector

Replacing a garden hose connector is the most common task for homeowners who want to fix their irrigation system. Replacing or removing this component can affect how well your sprinkler performs and what type of water flow you get from it. If you have an irrigation system that is older than five years, it’s likely the connector has begun to degrade and will need replacing.
If your hose connection leaks or sprays water all over the place when trying to use it, then it’s time for a new one! Not only can clean-up be frustrating but also costly in terms of wasted water. When removing connectors, always turn off the water supply leading into your sprinkler first so as not to cause any damage from pressure build-up. Then take note of how well the old connector came apart before attempting this project again with a replacement part:
The first step – Removing Hose Connector: Gently loosen and unscrew both ends of rubber tubing using pliers and push them out of the connector. If there is any dirt or residue on either end of the tubing, clean it off using a rag and some soapy water.
Besides, you may be interested in removing corrosion from a garden hose or know how to heat water from a garden hose.

The second step – Installing New Hose Connector: Push both ends of rubber tubing firmly into the new connector until they snap into place. Screw-in both hose connectors tightly by hand until snug. Do not use tools to tighten as this may damage the connector. Turn on your irrigation system to check for leaks before installing back onto the hose.
Finally: Turn off the water supply and test your irrigation system for leaks before re-hanging on to your hose or sprinkler.
How to Prevent Hose from Getting Stuck
If you find that your garden hose connector gets stuck frequently, there are a few things you can do to prevent this from happening:
- Use a larger diameter hose connector. A smaller connector creates more pressure and resistance on the way out, which can cause it to get stuck. To prevent this from happening, you should choose one that is at least ¾ of an inch in width for your average garden hose size (which ranges between ½ and ⅝ of an inch).
- Apply lubricant. Silicone spray or WD-40 can help to loosen the connector and make it easier to remove. spraying this on the threads of the connector before attaching will help reduce friction and make disconnecting much simpler.
- Try different types of connectors. There are many different types of hose connector options on the market, and some have more ridges than others in order to provide a better grip when connecting or disconnecting it from your garden hose spigot. If you find that yours is particularly difficult to remove, try looking for one with deeper ridges so that it creates less resistance.
- Use a wrench. If you have a wrench that is specifically designed for garden hose connectors, using it can save you some time and hassle when trying to remove them. The size of the wrench should correspond with the size of your connector- so if you have a ¾ inch connector, use a ¾ inch wrench.
- Grip the connector. Finally, if you’re still having trouble disconnecting your garden hose from its fitting, try holding it with a rag and using pliers to grip onto the head of the connector. This will give you more leverage while turning and make removing much easier.

- Be patient! It may take a little bit of wiggling and twisting to get the connector free, but if you’re careful and take your time, you shouldn’t have any trouble.
Removing a garden hose connector can seem like a daunting task, but with these tips, it doesn’t have to be! Following these simple guidelines will help make the process easier and prevent your hose from getting stuck in the future.
Tips
- Tighten the connector by hand. If it doesn’t budge, apply more force and use a wrench to turn harder. The hose will then be easier to remove because of the increased leverage that comes from using a tool.
- If the connector is corroded and won’t budge, spray it with penetrating oil like WD-40 to help loosen it up. Allow the oil to soak in for a few minutes before trying again.

- If all else fails, cut the hose above the connector using a sharp knife or scissors. Be careful not to damage the pipe below the connector when doing this. Once it’s been cut, you can pull the connector off easily.
- If you are still having trouble removing the connector, cut it off with a hacksaw or bolt cutter. Just be sure to remove any remaining pieces of hose from the connectors before reconnecting them.
- Hose connectors can be attached and removed using hand tools, such as wrenches.
Comparison of Methods to Remove Garden Hose Connector
When it comes to removing a garden hose connector, there are several methods you can try. Each method has its advantages and disadvantages. In this table, we compare various indicators of these methods to help you choose the one that suits your needs best.
| Method | Difficulty Level | Time Required | Tools Required | Effectiveness |
|---|---|---|---|---|
| Method 1: Twisting | Easy | 5 minutes | None | Low (may not work on tightly stuck connectors) |
| Method 2: Hot Water Soak | Easy | 15 minutes | Bowl of hot water | Moderate (helps loosen the connector) |
| Method 3: Pliers | Moderate | 10 minutes | Pliers | High (provides a strong grip for turning) |
| Method 4: Lubricant Spray | Easy | 5 minutes | Lubricant spray | Moderate (reduces friction for easier removal) |
| Method 5: Wrench | Difficult | 15 minutes | Adjustable wrench | High (provides strong leverage for stubborn connectors) |
Explanation of the table:
- Difficulty Level: This indicator represents the level of difficulty associated with each method. A higher difficulty level indicates that the method might require more effort or skill to execute.
- Time Required: The approximate time each method would take to remove the garden hose connector.
- Tools Required: The tools or materials needed to carry out each method successfully.
- Effectiveness: This indicator measures how effective each method is at removing the garden hose connector. A higher effectiveness rating means the method is more likely to succeed, especially for tightly stuck connectors.
Please note that the effectiveness of each method may vary depending on factors such as the age and condition of the connector, as well as the material it’s made of. It’s essential to choose the method that suits your specific situation and exercise caution while attempting to remove the connector to avoid any damage or injury.
FAQ
How do you remove a cross-threaded hose?
If the hose connector is cross-threaded, you can try to remove it by using a wrench. If that doesn’t work, you may need to cut the connector off with a hacksaw. Be sure to use caution when cutting the connector so that you don’t damage the hose itself. Once the connector is cut off, you can use a hose clamp to secure the hose to the faucet.
Which way do you unscrew a spigot hose?
There are two ways to remove a spigot hose. One way is to hold the fitting with one hand and unscrew it with your other hand, counterclockwise. Another method is to use pliers or an adjustable wrench, turning them clockwise while holding onto the faucet itself so that you don’t damage the fixture itself.
How do you separate two garden hoses?
To separate two garden hoses, you can use a rubber mallet to strike the hose fittings until they are released. You may need to twist them back and forth as well before striking them with the mallet in order for this method to work. If that doesn’t work, simply cut off one end of each hose using a hacksaw, and attach the fittings to each hose.
Is garden hose water pressure strong?
Yes, garden hose water pressure is very high. It only takes a few minutes for the water to reach its full potential once you turn on your faucet’s spigot. This makes it quite easy to wash away dirt and grime using nothing but water pressure alone.
How do I remove a garden hose connector from the spigot/faucet?
To remove a garden hose connector from the spigot or faucet, simply twist it counterclockwise. Most connectors are threaded in this direction, so turning it counterclockwise will loosen and detach the hose.
What if the garden hose connector is stuck and won’t come off?
If the garden hose connector is stuck and won’t come off, try using a pair of pliers or adjustable wrench to provide extra leverage. Grip the connector firmly and turn it counterclockwise to break the resistance. Additionally, spraying some lubricant like WD-40 around the threaded area may help loosen the connector.
Can I reuse the garden hose connector after removal?
Yes, in most cases, garden hose connectors can be reused after removal. Check the connector for any damage or wear. If it appears to be in good condition, you can reattach it to another hose or the same one.
What should I do if the garden hose connector is leaking?
If the garden hose connector is leaking, make sure it is securely attached and properly threaded onto the spigot. If it still leaks, inspect the washer inside the connector. Over time, washers can become worn or damaged, causing leaks. Replace the washer if necessary, and reattach the connector tightly to stop the leakage.
Is there a specific tool to remove a garden hose connector?
While there isn’t a specific tool dedicated solely to removing garden hose connectors, you can use pliers or an adjustable wrench to help with the process. However, most of the time, a good grip and firm twisting by hand should be sufficient for removal.
Can I remove a garden hose connector with water pressure still on?
It’s generally best to turn off the water supply before attempting to remove a garden hose connector. This ensures there is no water pressure in the hose, reducing the risk of getting sprayed or encountering resistance while unscrewing the connector.
What should I do if the garden hose connector is cracked or broken?
If the garden hose connector is cracked or broken, it is recommended to replace it with a new one. Using a damaged connector can lead to leaks or poor water flow, and it may not attach securely to the spigot. Purchase a compatible replacement connector and follow the manufacturer’s instructions for installation.
Useful Video: Garden Hose Stuck to Spigot? Here’s the Best Way to Remove It!
Final Thoughts
Now that you know how to remove a garden hose connector, the next time it becomes stuck, you’ll be able to free it quickly and easily. Just follow these simple steps, and you’ll be on your way.
Remember, if the connector is really stuck, don’t force it – you could damage the hose or the connector. Instead, try using a wrench or pliers to get a better grip. And if that still doesn’t work, take the hose to a professional for assistance.
We hope this blog post has helped you understand how to remove a garden hose connector. Do you have any questions? Let us know in the comments below!
Happy gardening!