Do you hate coiling up your garden hose after each use? Well, with these five simple steps, you can do it like a pro in just minutes! Not only will this save you time, but it will also help to keep your hose organized and tangle-free. Let’s get started!
What is a Garden Hose?
A garden hose is a long, narrow tube made of flexible material such as rubber or plastic. It is used to carry water from one place to another, often from a faucet or hose bib (an outdoor tap) to a sprinkler, nozzle, or other garden appliance.
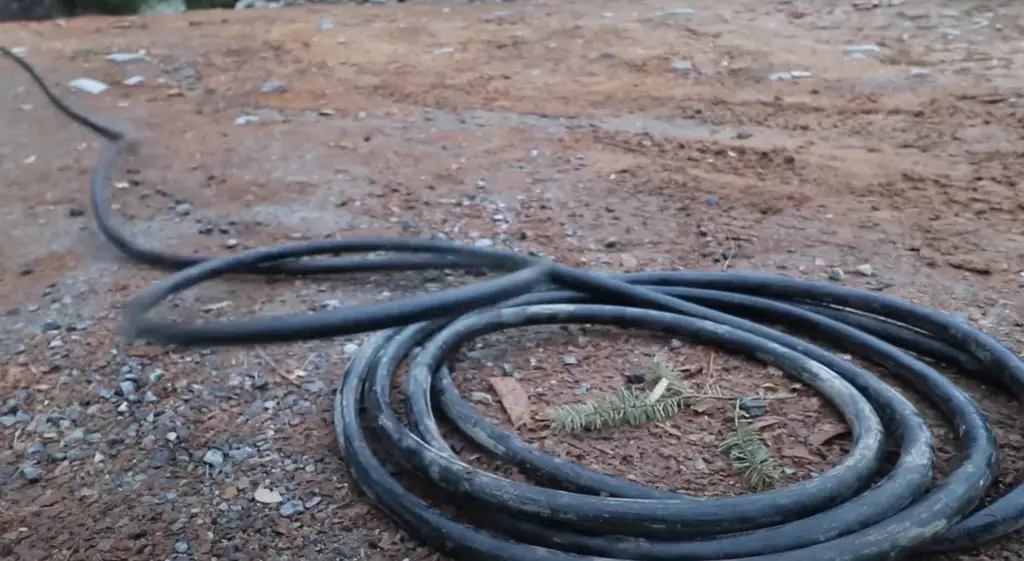
Coiling your garden hose properly will extend its life by preventing kinks and cracks. It will also make it easier to use and store, so you can save time and effort the next time you need it. And let’s face it, a neatly coiled hose just looks better than a tangled mess! [1]
Things to Know Before You Start
Before you start coiling your garden hose, there are a few things you should keep in mind. First, make sure that the hose is completely dry before you start to avoid any mold or mildew buildup. Second, be sure to coil the hose loosely so that water can still flow through it easily. Finally, always store your hose in a cool, dry place when it’s not in use.
Now that you know what to keep in mind before getting started, let’s take a look at the five easy stages for coiling your garden hose like an expert!
How You Should Coil Your Garden Hose
Step One: If your hose has a coupling, disconnect it from the water faucet.
Step Two: Drain all the water from the hose by holding it vertically with the end open and allowing gravity to do its work. For a speedier method, place your thumb over the end of the hose and give it a good shake.
Step Three: Once all the water has been drained, coil one-half of the hose around your arm, making sure to leave enough slack so that you can still move your arm freely.
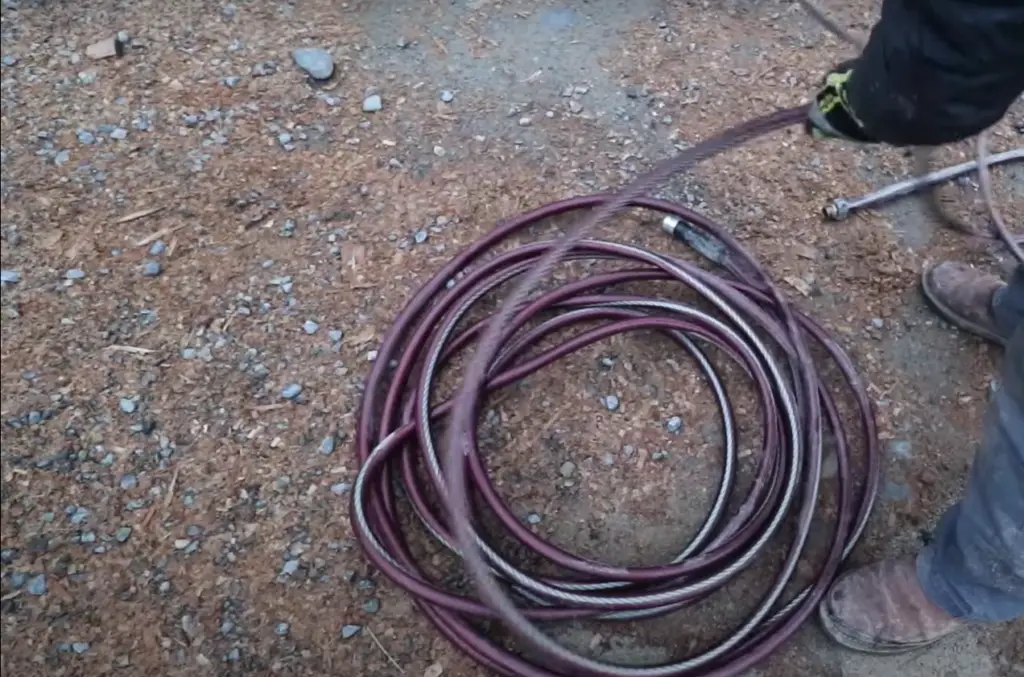
Step Four: Holding that end in place with your hand, take the other half of the hose and coil it around both sections of the hose already on your arm until you reach the end.
Step Five: Hold onto both ends of the hose and give it a good shake to loosen any kinks that might have formed while you wire coiling. There you have it! A perfect coil every time.
Now that you know how to coil a garden hose like a pro, put those skills to use and enjoy your beautifully coiled hose all season long! [2]
Additional Tips and Tricks
To avoid kinks, never coil your hose too tightly.
With these five simple steps, you’ll be coiling your garden hose like a pro in no time! Just remember to take it slow and avoid over-tightening the coils. With a little practice, you’ll have this down in no time! And your hose will thank you for it. [3]
Benefits of Coiling Your Hoses for Gardening
There are many benefits of coiling your garden hose for gardening. For one, it keeps your hose from tangling and kinking.
Finally, coiling your hose helps to evenly distribute the weight of the hose, which makes it less likely to pull or damage delicate plants. [4]
Comparison of Techniques for Coiling a Garden Hose
Coiling a garden hose may seem like a simple task, but different techniques can affect how quickly and easily you can store or use your hose. In this table, we compare three common coiling methods based on factors such as time required and how compact the coiled hose is.
| Coiling Method | Time Required | Compactness of Coiled Hose |
|---|---|---|
| Looping | 2 minutes | Low |
| Figure Eight | 4 minutes | Medium |
| Over-Under | 6 minutes | High |
The table compares three common techniques for coiling a garden hose: Looping, Figure Eight, and Over-Under. Looping involves simply making large loops with the hose, while Figure Eight involves crossing the hose over itself in the shape of a figure eight. Over-Under involves alternating the direction of each loop over the previous one, similar to how cables are coiled.
Based on our comparison, Looping is the fastest method, taking only 2 minutes to complete. However, the coiled hose is not very compact, which may make storage more difficult. Figure Eight takes twice as long, but results in a more compact coil that is easier to store. Over-Under takes the longest amount of time, but creates the most compact coil, which can be useful if you need to transport or store the hose in a tight space.
Ultimately, the best coiling method for you will depend on your specific needs and preferences. Consider factors such as the size and shape of your hose, how much storage space you have available, and how often you need to move or use the hose.
FAQ
What’s the best way to coil a hose?
There’s no one right way to coil a hose. Some people prefer to start at the faucet end and work their way down. Others like to start in the middle and work their way out. Whichever method you choose, be sure to leave enough slack at the end so that you can easily attach or detach the hose from the faucet.
Here are five simple steps for coiling a garden hose:
Start by coiling the hose around your forearm, leaving about two feet of slack. Continue coiling around your arm, working your way down toward your hand. When you reach the end of the hose, tuck it under the coils on your arm. Use your other hand to hold onto the end of the hose, and begin winding the coils around your other forearm in a figure-eight pattern. 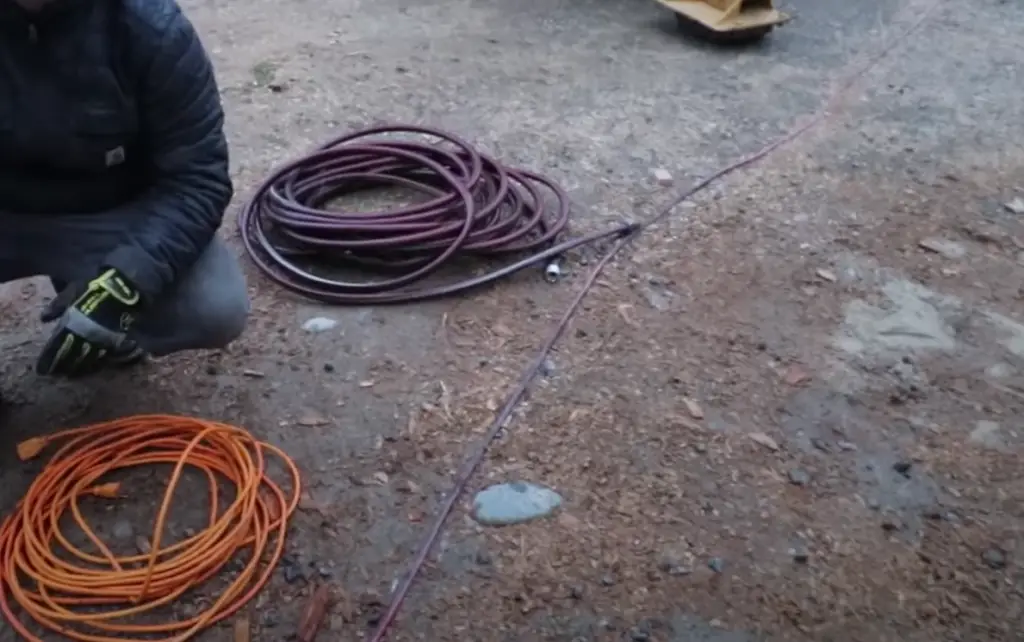 Continue until you’ve reached the desired length or until you run out of the hose. To secure the coil, tuck the end of the hose under one of the loops.
What’s the best way to store a hose?
Hoses can be stored either indoors or outdoors. If you choose to store your hose outdoors, be sure to protect it from sunlight and extreme temperatures, which can cause cracking and premature aging. Hoses should also be protected from pests such as rodents and insects, which can chew holes through them. The best way to store a hose is in a cool, dry place where it will not be exposed to direct sunlight or extreme temperatures.
Do coiled garden hoses work as advertised?
It seems like every time you turn around, there’s a new garden hose on the market. Some of them are even advertised as being able to coil themselves! But do they really work?
The short answer is: yes and no.
There are a few different types of coiled hoses on the market, and some work better than others. The key is to find one that suits your needs and then follow the manufacturer’s instructions carefully.
Here are a few tips to help you get started:
- Choose a hose that is specifically designed to be coiled. These hoses usually have a thicker wall that helps them hold their shape better. – Make sure the hose is clean and dry before you start coiling it. This will help prevent it from kinking.
- Start by coiling the hose loosely. Once you have a few coils, you can start tightening them up.
- Be careful not to coil the hose too tightly. This can damage the hose and make it difficult to use.
- When you’re finished, secure the end of the hose with a twist tie or similar device.
With a little practice, you’ll be able to coil your garden hose like a pro in no time! Just remember to take your time and follow the manufacturer’s instructions carefully. With a little care, your coiled garden hose should give you years of trouble-free use.
How do you soften up a brand-new garden hose?
How do you make sure it doesn’t get kinks and tangles? And how do you keep it from taking over your entire yard? With a few simple steps, you can have your hose coiled up like a pro in no time!
First, start by unwinding your hose. If it’s brand new, this will help to soften it up so that it’s more pliable. Once it’s fully extended, give it a good shake or two to loosen any knots or tangles.
Next, find a spot in your yard where you’d like to coil the hose. You’ll want to leave enough slack so that you can easily reach all areas of your garden, but not so much that the hose becomes a trip hazard.
Now, begin coiling the hose by wrapping it around your hand. Start from the end that’s attached to the faucet and work your way down. Wrap the hose tightly around your hand, making sure to overlap each layer as you go.
As you coil, keep an eye on the direction of the spiral. You want it to be nice and tight so that water can flow freely through it when you’re using it. Once you’ve reached the end of the hose, tuck in any loose ends and give it a final pat-down.
And there you have it! A perfectly coiled garden hose that will make watering your plants a breeze.
How can I prevent my garden hose from kinking?
One of the best ways to prevent your garden hose from kinking is to coil it properly. Here are five simple steps on how you can do it like a pro:
First, make sure that there are no knots or tangles in your hose before you start coiling it. This will make the process a lot easier and will help avoid any potential kinks.
Next, begin coiling the hose starting from the end that is attached to the water source. Wrap the hose around your arm, making sure that each loop is snug against the one before it.
Continue coiling until you reach the other end of the hose. Then, secure the coils with a clip or tie so they don’t come undone.
Finally, give the hose a good shake to loosen any coils that may be too tight. This will help prevent kinking and will make it easier to use the hose next time.
How do you undo a hose?
The answer is actually quite simple – all you need is a little elbow grease and a few minutes of your time. Here’s how to do it:
First, find the end of the hose that’s closest to the faucet. This is usually where the hose is kinked or bent.
Next, grab hold of the hose about two feet from that end, and start slowly unrolling it while keeping tension on the hose. As you unroll, move your hand closer to the end of the hose so that it stays tight.
Once you’ve reached the other end of the hose, start coiling it around your arm, making sure to keep each coil tight against the one before it. Start with about three coils, then add more as needed.
Finally, use a twist-tie or zip tie to secure the hose in place. And that’s it – you’re done!
Is there a specific way to coil a garden hose?
Yes, there is a specific way to coil a garden hose. The first step is to gather the end of the hose in your hand and hold it close to the faucet. Next, start winding the hose around your other hand, working your way down the length of the hose. Once you reach the end of the hose, tuck it under the coils and secure it with a twist-tie or similar object. Finally, give the entire coil a good shake to loosen any kinks or knots.
If you’re looking for a more decorative option, you can also purchase a garden hose reel. These come in a variety of styles and can be mounted on walls or posts. Simply thread the garden hose through the reel and wind it up. When you’re finished, the hose will be neatly stored away until next time.
What are some tips for coiling a garden hose?
- Start by holding the hose in one hand near the end of the spigot.
- With your other hand, start at the opposite end of the hose and begin to coil it around your first hand.
- As you coil, keep the coils loose so that water can easily flow through them.
- Once you reach the end of the hose, secure it with a twist tie or velcro strap.
Coiling a garden hose may seem like a simple task, but if not done properly, it can be frustrating and time-consuming. By following these tips, you can ensure that your hose is coiled correctly and efficiently. With a little practice, you’ll be able to coil your hose like a pro!
Why do some people coil their garden hoses in circles and others in spirals?
It all has to do with the shape of the hose. A round hose will coil in a circle while a flat hose will coil in a spiral. The reason for this is that it takes less effort to coil a hose in a spiral than it does to coil it in a circle.
When you are coiling a garden hose, you want to start at the end closest to the faucet. This will give you more control over the hose as you are coiling it. If you start at the other end, the weight of the hose can make it difficult to control.
To coil a garden hose in a spiral, start by making one loop around your arm. Then, take the end of the hose and wrap it around the loop. Continue wrapping the hose around the loop, making sure to keep the coils tight. Once you reach the end of the hose, tuck the end under one of the coils.
If you are coilin a garden hose in a circle, start by making a small loop. Then, take the end of the hose and wrap it around the loop. Continue wrapping the hose around the loop until you reach the end. Tuck the end under one of the coils so that it doesn’t come undone.
Will coiling a garden hose in a certain way have an impact on its performance?
The answer is no. There is no single “correct” way to coil a garden hose. Ultimately, it comes down to personal preference. Some people like to coil their hoses in a figure-eight pattern, while others prefer to coil them in a spiral pattern. There is no right or wrong way to do it.
That said, there are a few things you should keep in mind when coiling your garden hose. First, make sure that the hose is completely dry before you start coiling it. If the hose is wet, it will be more difficult to coil and may result in kinks or tangles. Second, be careful not to overtighten the coils. This can damage the hose and make it more difficult to use. Finally, when you’re finished coiling the hose, make sure to secure the end with a hose clamp or tie. This will prevent the hose from unraveling.
How can I coil my garden hose without kinks or knots?
The answer is actually pretty simple – all you need is a little practice. Before you start, make sure your hose is empty of water and give it a good shake to get rid of any residual water droplets. Once that’s done, follow these steps:
- Start by holding the end of the hose in one hand, leaving enough slack to work with.
- With your other hand, make a loop about 12 inches from the end of the hose.
- Continue making loops, working your way down the length of the hose until you reach the end.
- To secure the coil, tuck the end of the hose under one of the loops.
And that’s it! With a little bit of practice, you’ll be coiling your hose like a pro in no time.
What is a self-coiling hose?
A self-coiling hose is a type of hose that is designed to automatically retract or coil itself up when not in use. This feature can be extremely helpful in keeping your yard or garden tidy and organized, as well as preventing tangles and knots in the hose itself.
There are a few different methods that you can use to coil a self-coiling hose, but the most important thing is to start with a clean, dry hose. If your hose is dirty or wet, it will be more difficult to coil and may end up with kinks or knots. Once you have your clean, dry hose, follow these simple steps:
Start by unwinding the hose from its storage position. If it was tightly wound, you may need to give it a little shake or tap to loosen it up.
Next, hold onto one end of the hose and let the other end fall to the ground.
Now, start coiling the hose around itself, working from the end that is on the ground up. As you coil, be sure to keep the coils loose – if they’re too tight, they will put stress on the hose and may cause kinks.
Finally, once you’ve reached the end of the hose, tuck in any loose ends and secure with a rubber band or clip.
How do you roll a garden hose with a reel?
There are a few ways you can coil your garden hose with a reel. The most important thing is to make sure that the end of the hose is securely fastened to the reel. This will prevent the hose from uncoiling as you wind it.
One method is to start at the end of the hose and wind it around the reel in a clockwise direction. Make sure that each loop is snug against the previous one. You can also coil the hose around your arm before winding it onto the reel. This will give you more control over the process and help to prevent tangles.
Another option is to lay the hose out straight on the ground. Then, start at one end and spirally wrap it around itself until you reach the other end. Once again, make sure that each loop is snug against the previous one. This method can be a bit more time-consuming, but it will result in a neater coil.
How does a retractable hose reel work?
If you have ever used a hose reel before, you know that they can be a bit tricky to use. The general idea is that you pull the hose out to the desired length, then rotate the handle to wind the hose back onto the reel. But how does the hose actually get wound onto the reel?
There are two types of retractable hose reels: those with an enclosed cassette and those with an exposed spool. Enclosed cassettes have a spring-loaded mechanism inside that helps to tension the hose as it’s being pulled out and also winds it back up when you start rotating the handle. Exposed spools work similarly, but instead of having a spring-loaded mechanism, they rely on friction from contact between the hose and the spool to tension the hose and help it wind back up.
So, next time you are trying to use a retractable hose reel, remember that it’s all about finding the right balance of tension and friction. If you can do that, you’ll be able to coil your garden hose like a pro!
How do you fix a retractable hose that won’t retract?
If your hose won’t retract, it’s likely due to a blockage in the line. To clear it, extend the hose fully and then disconnect it from the water supply. Next, use a pair of pliers to grab onto the end of the hose and pull it outwards while holding down on the button that controls retraction. Doing this should clear any debris that was blocking the line. If your hose still won’t retract after doing this, you may need to replace the inner tube.
Another common issue is that the spring inside the housing has become damaged or dislodged. To fix this, first extend the hose completely and then unscrew the end cap. Inside, you’ll see a spring attached to a metal rod. If the spring is damaged, you’ll need to replace it. If it’s just dislodged, you can try to put it back in place and screw the end cap back on.
If your hose is still giving you trouble, there are a few other things you can try. One is to use a lubricant like WD-40 on the moving parts of the housing. Another is to check for leaks in the hose itself by disconnecting it from the water supply and then holding it up to see if water drips out anywhere.
Useful Video: How to coil a hose LIFEHACK Coiling a hose
Conclusion
Now that you know the five simple steps to coiling a garden hose like a pro, put them into practice the next time you need to use one. With a little bit of practice, you’ll be able to coil and uncoil your hose with ease!
If you have any tips or tricks on how to coil a garden hose, please share them in the comments below! We would love to hear from you!
If you liked this post, please share it with your friends or family who might find it helpful! Thanks for reading and happy gardening!
References:
- https://www.gardeningknowhow.com/garden-how-to/tools/using-hoses-in-gardens.htm
- https://seasonalpreferences.com/coil-a-garden-hose/
- https://www.finegardening.com/article/clever-storage-for-coiled-hoses
- https://www.guiyo.com.tw/recoil-hose.htm





I’ve never been a fan of spiral garden hoses. I find that they’re always getting tangled and wrapped up, which makes them a pain to use. They always seemed so flimsy to me. I always worried that they would kink or tear easily. I always found them to be a pain to coil up and store away. Plus, they can be pretty expensive compared to traditional garden hoses. I much prefer the traditional option for my garden needs.