Looking for a way to protect your valuable tools and items in a shed from the extreme temperatures and weather that can wreak havoc on them? Insulating your shed is an effective solution to ensuring protection against the elements. In this blog post, you’ll learn about insulation options for sheds of all sizes, as well as instructions on how to properly insulate a shed according to your particular climate’s needs. Whether you are looking for ways to save energy or just want more control over the temperature within the shed, insulating it will provide excellent results regarding both! We hope by taking time now with our detailed guide, we can help ensure that you’re set up correctly while avoiding any potential problems; making sure whatever contents stay safe inside your insulated walls. So let’s get started!
Why Insulate Your Shed?
Insulating your shed can be beneficial in a variety of ways. It will help keep the temperature inside more consistent, reducing the amount of energy needed to heat or cool it and making for a more comfortable work environment. Insulating your shed also reduces moisture buildup and condensation, preventing mold and rot from developing.
Additionally, insulation helps soundproof the area so you don’t need to worry about outside noise interrupting your work.
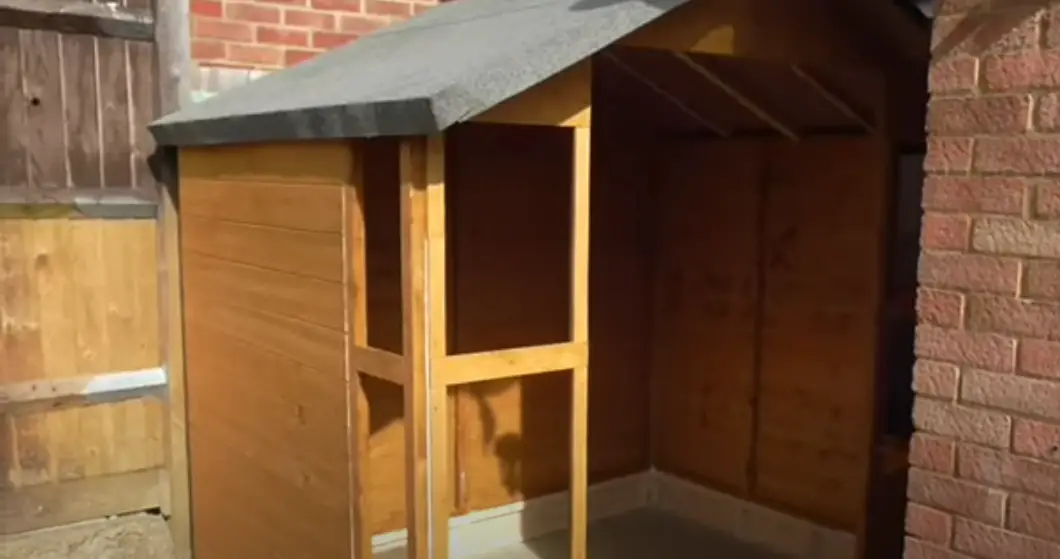
Finally, insulating your shed can help protect stored items from extreme temperatures and humidity by acting as an extra barrier against the elements. All of these reasons make insulating a shed essential if you want it to last longer and function better over time. [1]
What to Consider Before Insulating a Shed?
Before you start to insulate your shed, there are several factors that you should consider. To begin, you should determine the amount of insulation required and its appropriate location. Consider the size of the shed and how insulated it currently is. If there are any drafts or gaps in the structure, these will need to be addressed before insulation can be installed.
Additionally, you need to factor in the cost of the insulation materials and any necessary tools for installation. This will help ensure that you stay within your budget and get the most out of your investment. If you are unsure how to properly install the insulation, it is recommended that you hire a professional who can advise on the best approach.
Finally, it is important to remember that adequate ventilation is required in an insulated shed. Proper air circulation helps to maintain a steady temperature inside while also preventing moisture buildup which could lead to mold growth. Installing vents and fans can help with this as well as controlling humidity levels in damp climates.
What is the R Factor of Insulation?
The R Factor of insulation is a measure of how effective it will be at resisting the transfer of heat. The higher the R Factor, the better the insulation. For sheds, you should aim for an R Factor between 13 and 19. These numbers indicate how many times more resistant to heat transfer your insulation is than standard fiberglass insulation with an R Value of 3.5.
When choosing the right type of insulation for your shed, consider not only its thermal resistance but also its ability to resist moisture or water vapor. This can be done by looking at factors such as permeability ratings and air-sealing potential.
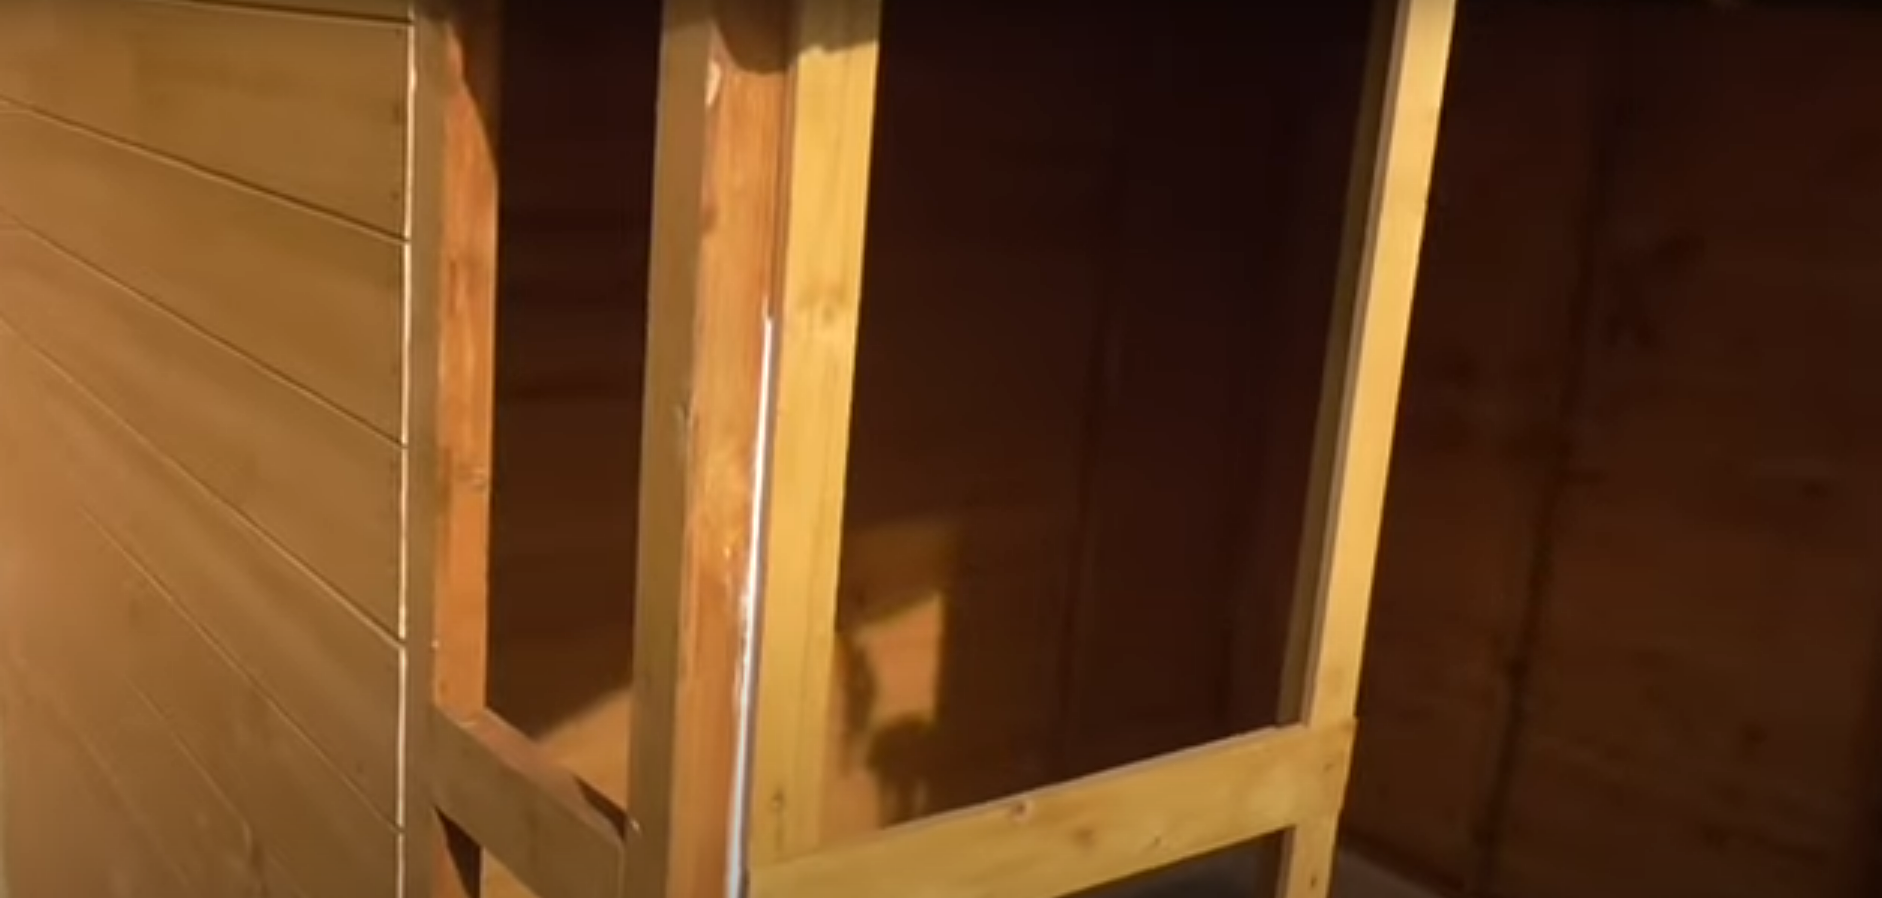
Different Types of Insulation
Foam Board Insulation
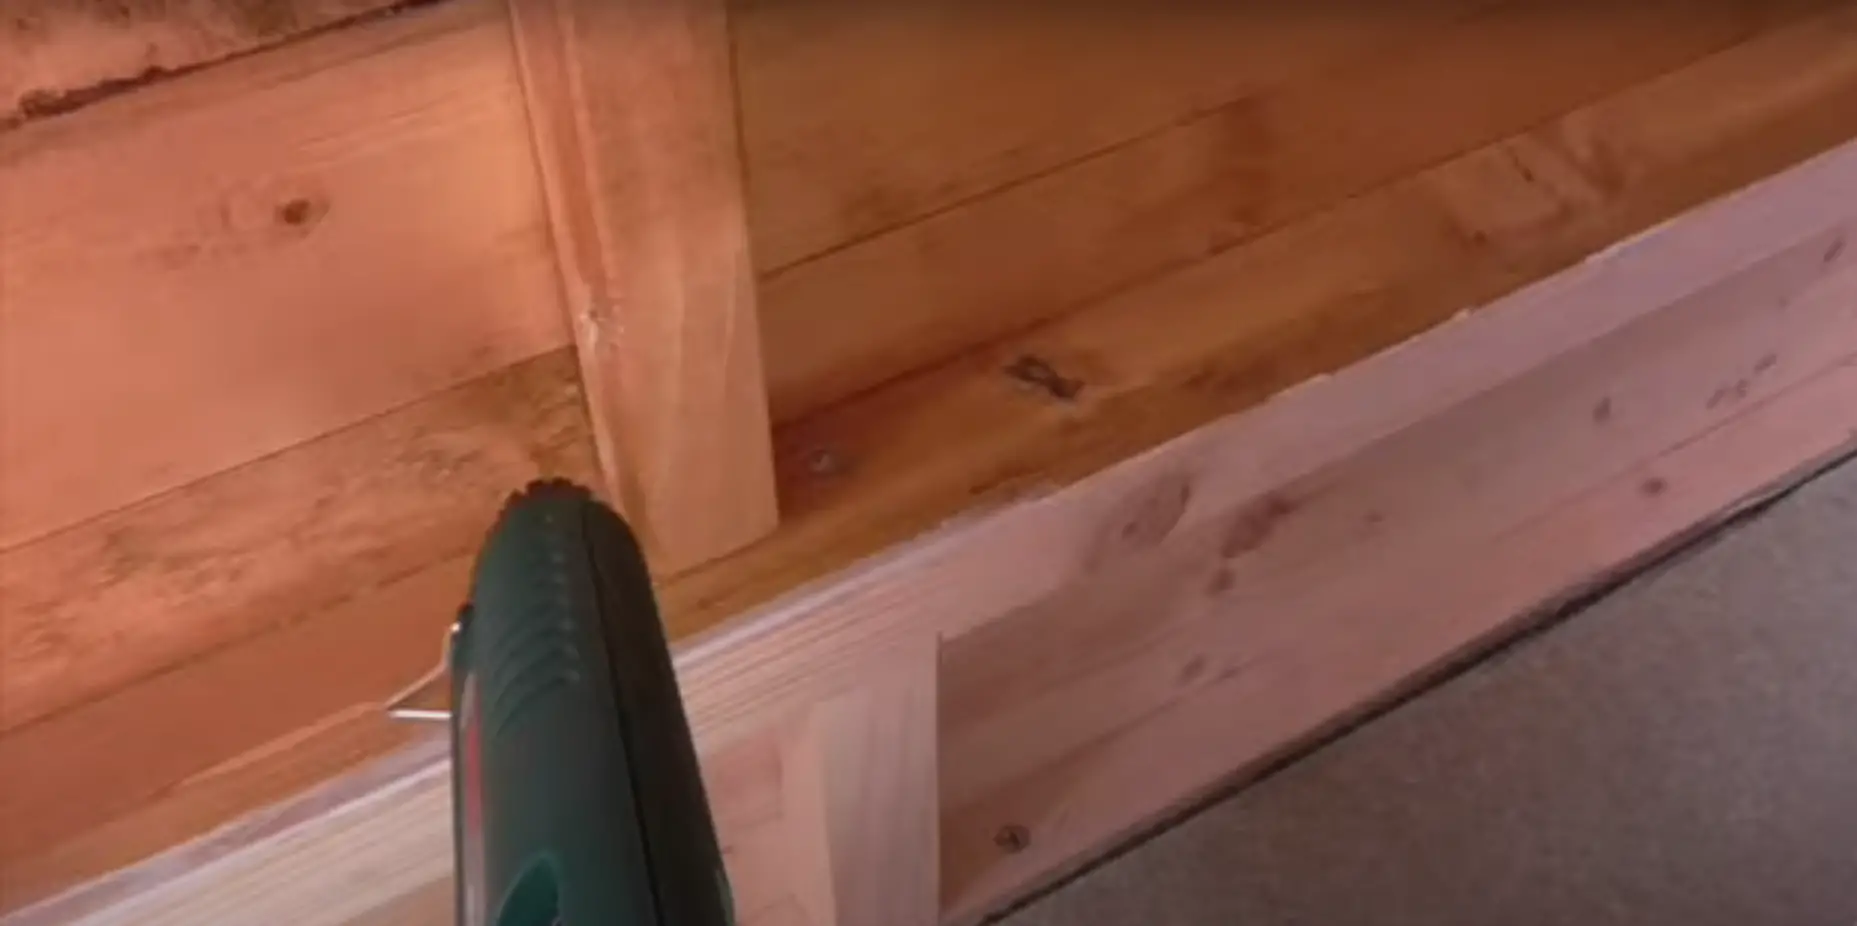
Many people choose foam board insulation as their preferred option when insulating a shed. It can be installed easily and provides great protection from both cold and heat. Foam board insulation comes in various sizes and forms, so it’s important to select the right type for your needs. For instance, if you’re looking for an effective solution to air leakage then rigid foam boards are ideal as they form a complete barrier that prevents air from entering or exiting the shed. [2]
Spray Foam Insulation
Spray foam insulation is another excellent option for insulating a shed. This type of insulation has two main components: closed-cell foam and open-cell foam. Both offer efficient thermal protection; however, closed-cell foam is better at blocking air and moisture. It can also be used to seal any cracks or joints in the shed’s structure.
Fiberglass Batts
Fiberglass batts are a fairly simple solution for insulating a shed. They come in pre-cut sizes, making it easy to install them into walls, floors and attics. This type of insulation isn’t as effective as some other materials, but it’s relatively inexpensive and provides decent protection from heat loss.
Cellulose Insulation
Cellulose insulation is made up of recycled paper fibers that have been treated with an adhesive binder and flame retardant material. It’s generally considered to be more efficient than fiberglass batts, and is also a good option for reducing noise levels within the shed. Additionally, cellulose insulation has excellent fire-resistant properties, making it an ideal choice if you’re looking for added protection.
Mineral Wool
Mineral wool is another type of insulation material that offers great thermal protection. It consists of strands of recycled glass or rock fibers, and can be used in both walls and attics. Mineral wool is more expensive than other types, but it provides excellent protection from the elements.
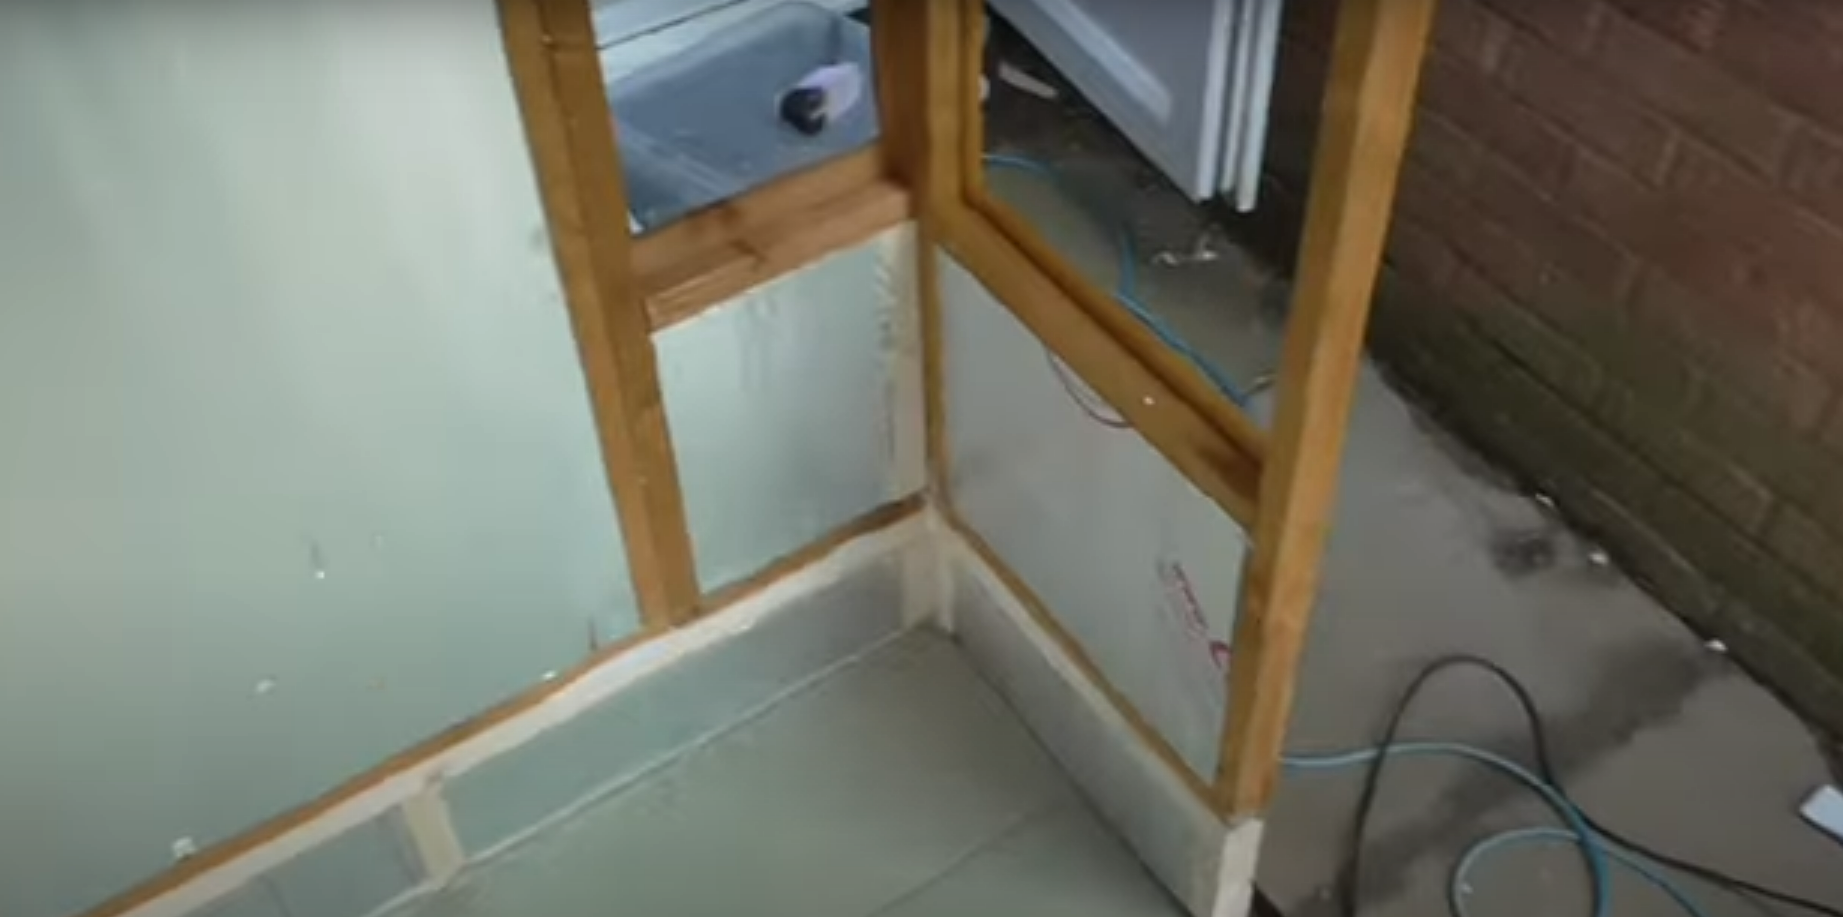
No matter which type of insulation you opt for, make sure it’s properly installed to ensure maximum efficiency. With the right materials and a bit of know-how, you can easily insulate your shed in no time!
Checking Air Tightness
Once you have the insulation in place, it is important to check that the shed is air-tight. This means sealing any gaps and cracks with a caulking gun or expanding foam sealant.
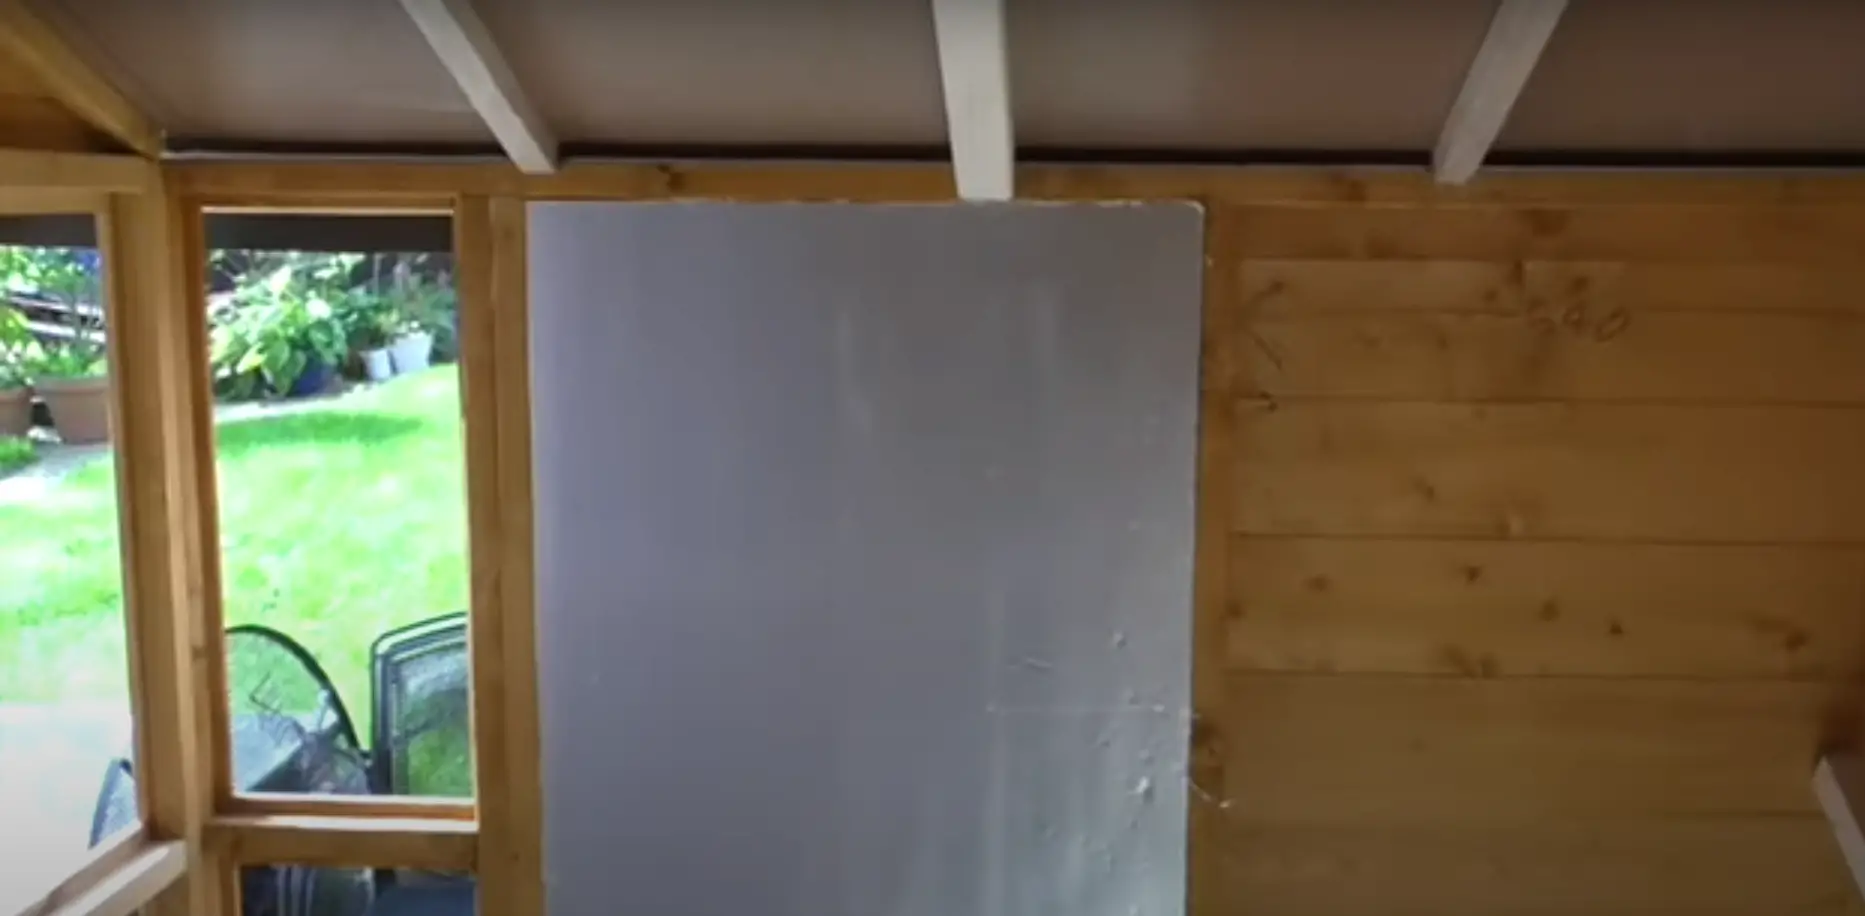
Additionally, make sure that any doors and windows are properly sealed around their frames. If there are door sweeps present, replace them if they’re worn out. [3]
Finally, install weatherstripping to ensure an airtight seal for your doors and windows. By doing these steps you will be able to keep more of the warm air in during the winter months, which will provide better energy efficiency for your shed and help reduce your energy bills.
Moisture Control
Poor moisture control in a shed can be just as damaging to the structure and contents as poor insulation. To reduce condensation, it’s important to allow air to circulate within the shed and this can be achieved with vents or an extractor fan. If you are replacing existing windows in your shed, double glazing is a good option as it will help keep internal temperatures more constant throughout the year. Additionally, if you have warm air from inside circulating around the walls of your shed, it should help prevent draughts.
With these tips, your shed should be more insulated and better protected against the elements all year round. Not only will it look great but you also won’t have to worry about condensation or air leakage causing damage to the shed or its contents. With all of these steps in place, you can rest assured that your shed is ready for whatever weather comes its way! [4]
Vapor Barriers
The final step in insulating your shed is to install a vapor barrier. A vapor barrier helps to control the moisture levels inside your shed, which can cause significant damage over time if left unchecked. The best way to install a vapor barrier is to place it between the insulation and the wall of the shed. This will keep water from getting into your insulation and damaging it while still allowing any moisture that does get in to be released outward.
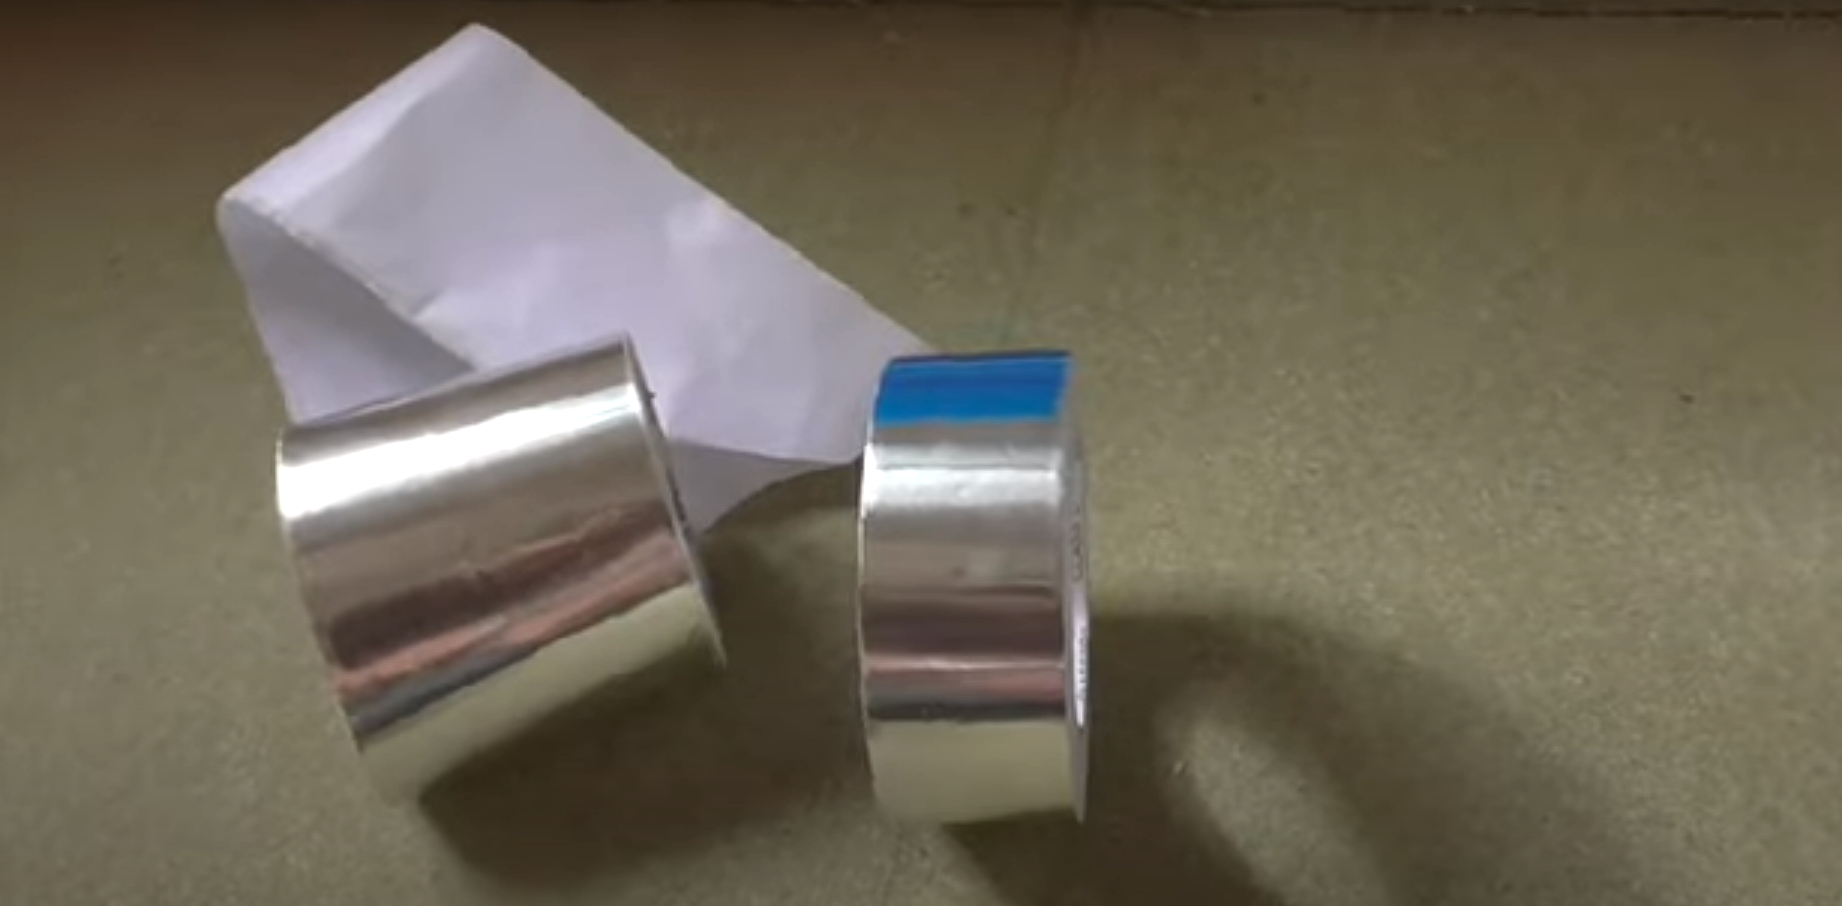
When installing a vapor barrier, be sure to use one that is rated for outdoor use and made of durable material such as polyethylene plastic or aluminum foil-faced paper. Make sure all seams are sealed properly with tape or caulking, so no air or water can pass through them.
Once you’ve installed the vapor barrier, your shed is ready to enjoy. With proper insulation, you can be sure that it will remain comfortable and safe throughout the year. And when it comes time to sell or move, you’ll have an incredibly valuable asset in your shed that can help increase the home’s value.
What Do You Need to Do Before Installing Shed Insulation?
Before you start the installation process, there are a few things that need to be done before you insulate your shed. The first step is to ensure that the walls and floor of the shed are all in good condition. Any holes, cracks or other damage will reduce the efficiency of your insulation. In addition, make sure any ventilation openings have been sealed properly. If not, cold air can escape from outside and warm air from inside can escape reducing the efficiency of your insulation further.
Secondly, if possible it is best practice to add some form of vapor barrier on the inside surfaces of your shed walls and ceiling. This helps prevent moisture buildup within the walls and reduces condensation/rotting issues with wood sheds over time. The vapor barrier should be installed with the shiny side facing inward towards the insulation.
Finally, make sure you have all the materials and tools necessary for installing your shed insulation before getting started. This includes: foam board insulation, a tape measure, saw or utility knife, metal shears (for foil-backed insulation), and caulking gun. It’s also important to wear eye protection when cutting any type of insulation material as small pieces can easily fly off.
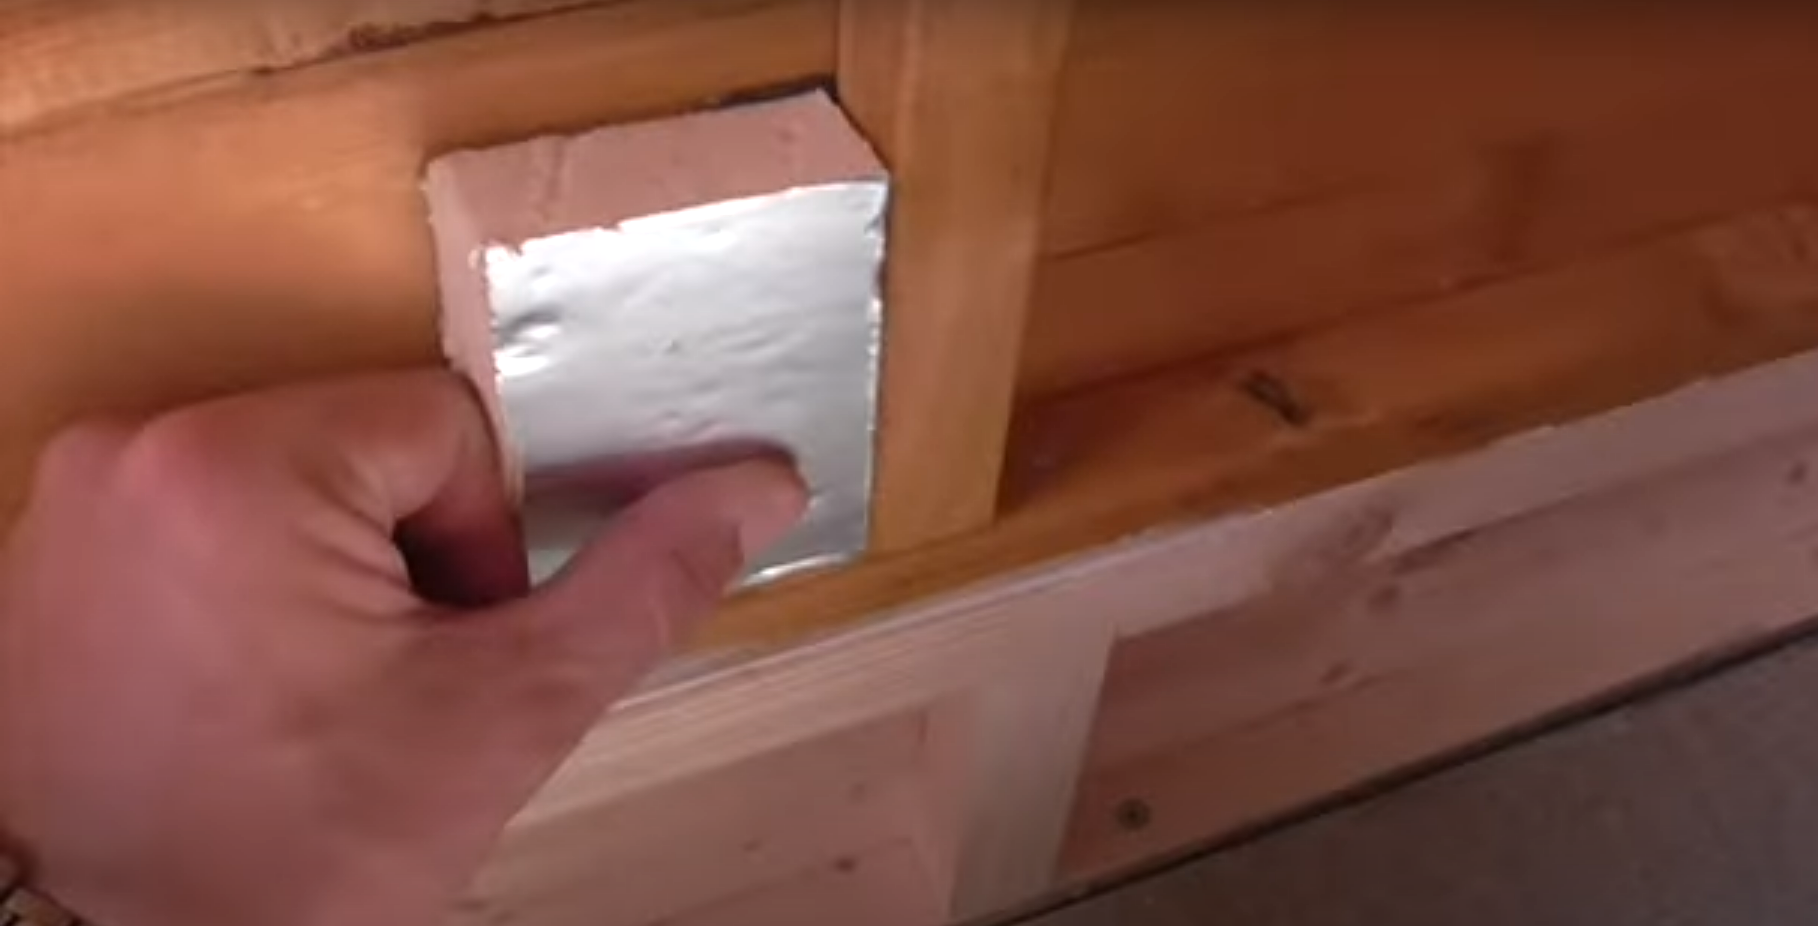
How to Insulate a Shed Floor?
If you want to keep the temperature inside your shed comfortable and consistent, it is important to pay attention to insulating the floor. This task is a bit different from insulating walls and roof as there are several approaches you can take.
One option is to add a layer of rigid foam insulation board directly on top of the floor surface. The insulation board should be cut with an electric saw or shears for friction-fit between joists and around supports. Next, cover the board with a vapor barrier before installing plywood subflooring over it. This will trap heat in wintertime and prevent dampness from rising into the shed during warmer months.
Finally, make sure to use caulk or expanding foam around edges, windows and doors to provide an airtight seal. These steps will help ensure that your shed is not only comfortable but also energy efficient throughout the year! [5]
How to Insulate Shed Walls?
Insulating sheds is an important part of protecting your outdoor space and items from temperature changes and moisture. Insulating walls helps maintain a stable interior temperature that’s more comfortable for people to work or relax in, while discouraging the growth of mold, mildew, and other moisture-friendly organisms. Here are the steps for how to insulate shed walls:
- Measure each wall of the shed, then cut insulation panels accordingly. Make sure to leave enough room for window and door frames.
- Start at the bottom of each wall and start stapling or nailing your insulation panel into place. If you’re using foam board insulation, use construction adhesive instead or tack it in with nails or screws.
- Once the bottom of each wall is done, continue up the sides until you reach the top. Make sure to overlap each panel slightly to ensure complete coverage and seal any gaps with caulk or spray foam insulation.
- Install vapor barriers on all walls, including ceiling, floors and around windows and doors. The barrier helps prevent moisture from entering your shed’s interior and causing damage over time.
- Finally, install a weather stripping product along door frames and window frames to help keep out drafts that could cause temperature changes inside the shed.
How to Insulate a Shed Roof?
To insulate a shed roof, you will need to:
- Measure the span of your roof and cut rolls of insulation accordingly. Make sure to leave enough room for ventilation between each roll. Also, make sure that you measure both sides of the roof separately if they have different lengths or angles.
- Install roof purlins along the top of your rafters if they are not already present by nailing them into place with galvanized nails or screws. This provides support for the insulation materials and helps protect it from wind damage and water infiltration.
- Cover any windows with insulated window blankets or heavy-duty plastic sheeting to help keep warm air inside and cold air out.
- Place the rolls of insulation in between the roof purlins and use galvanized nails to secure them into place.
- Finally, cover the insulation materials with a layer of roofing felt paper to protect them from moisture damage.
By following these steps, you can ensure that your shed will be properly insulated and protected against temperature extremes. This will ultimately help reduce energy costs while keeping your shed comfortable year round! [6]
Windows and Doors
Windows and doors are typically the weakest points of insulation in a shed. It is important to ensure these openings are sealed properly with weather stripping and caulk, as well as insulated with foam board or fiberglass batts. Weather stripping should be applied between the door jamb and the door itself to reduce drafts, while caulk can be used to seal any gaps around the window frames. Foam boards should also be cut to size and installed on both sides of the window or door frame for added insulation.
Additionally, if your shed has exposed walls that are not covered by siding, insulating foam board should be installed directly against them for an extra layer of protection from the elements.
Overall, proper insulation around windows doors is essential for keeping your properly insulated from the elements throughout the year. By taking extra steps to seal up air leaks in these areas, you can ensure that your shed maintains its temperature more efficiently and provides comfortable living or storage space all year round.
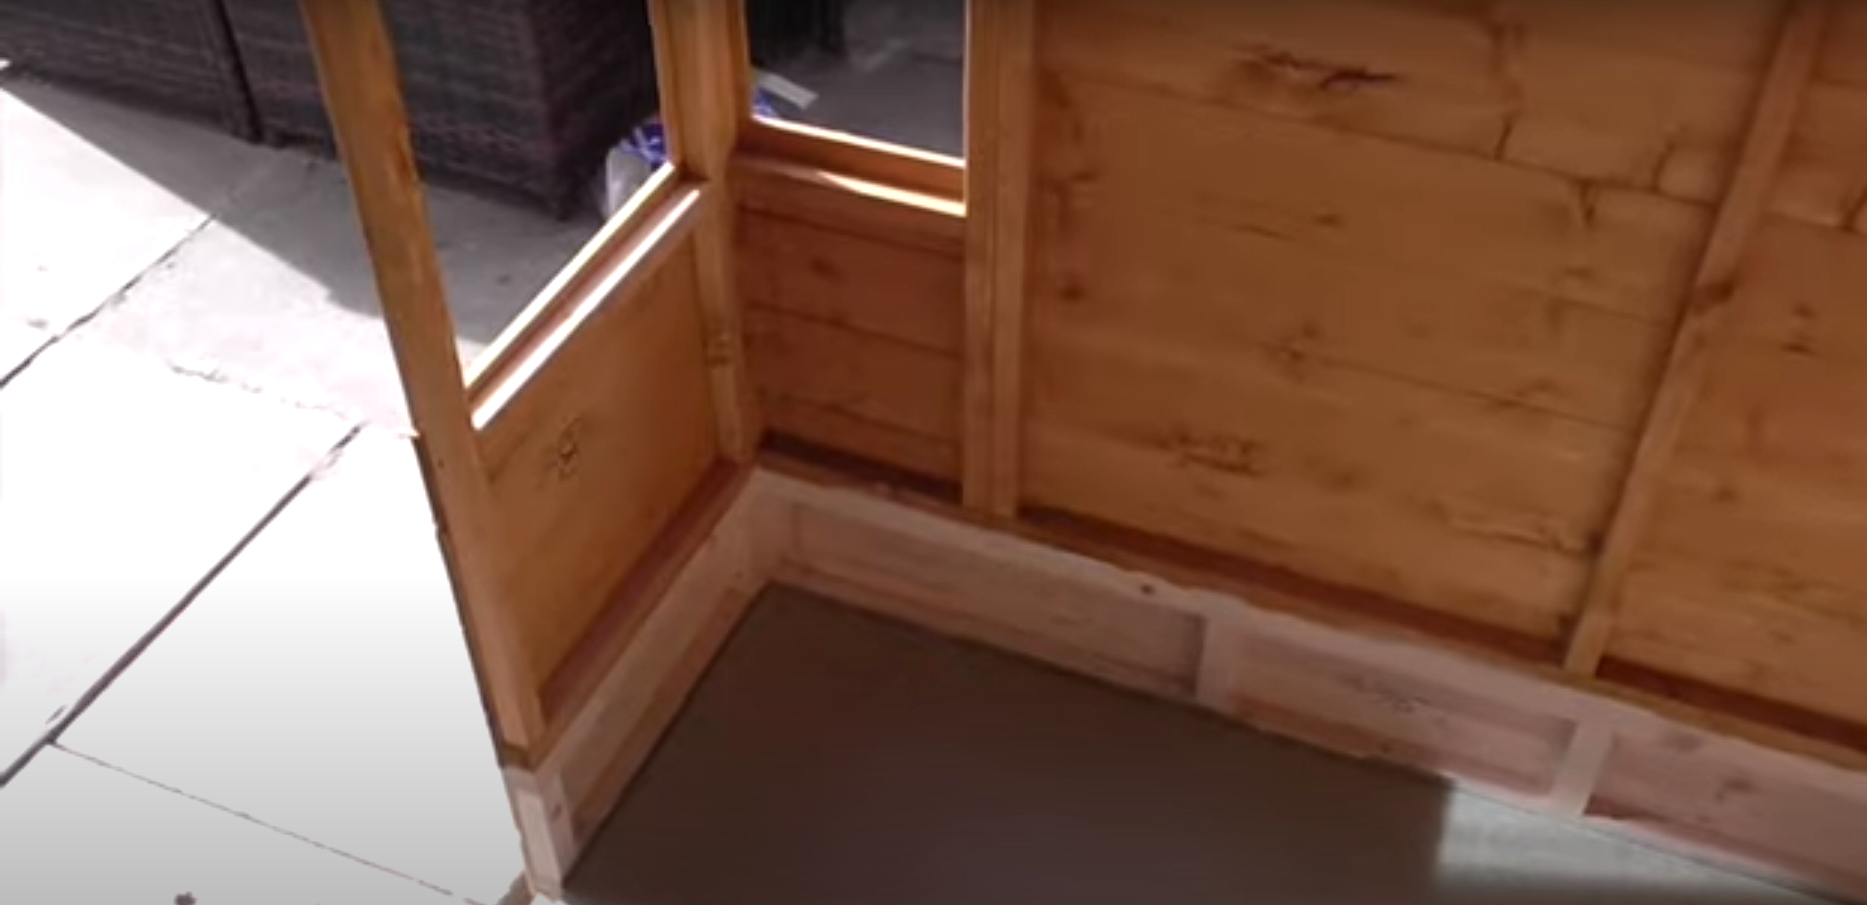
How Much Should You Insulate?
When deciding how much insulation to use, the first step is to determine the climate and weather of your area. Depending on this, you may choose to insulate more or less. It’s important that you make sure there is enough insulation around windows and doors to prevent drafts. Additionally, if your shed will be exposed to more extreme temperatures (such as hot summers or cold winters), you should also opt for higher-density insulation materials.
Once you have determined how much insulation material you need, it’s time to plan where each piece should go. Generally speaking, walls should be insulated from top-to-bottom with a uniform thickness. If any gaps appear in between pieces, use an appropriate sealant to close them off and ensure insulation efficiency. Additionally, the space between the shed’s roof and walls should also be filled with insulation material to protect from heat transfer. Finally, make sure that you seal off any openings around windows and doors to prevent drafts.
Now your shed is ready for use! With proper insulation, you can rest assured that it will stay comfortable all year round no matter the weather outside. Make sure to check in periodically for any leaks or damaged areas in order to maintain the highest level of energy efficiency possible. [7]
Should You Hire a Professional or Do-It-Yourself?
If you are considering insulating your shed, you may be wondering whether you should hire a professional or attempt to do the job yourself. Hiring a professional is usually the best option if you want to ensure that the insulation is properly installed and that it will last for years to come. Professional installers are also able to offer advice about different types of insulation materials as well as appropriate installation methods for your needs. However, if you have experience with DIY projects and feel comfortable tackling the task yourself, then it can certainly be a cost-effective option.
Once you have chosen a suitable insulation material, it is important that it is installed properly to ensure its effectiveness. If installing yourself, be sure to read any instructions provided with the insulation materials carefully and follow them closely. Professional installers may charge more than doing-it-yourself, but they generally guarantee a successful outcome and often offer warranties on their workmanship.
Does a Shed Need Ventilation?
Yes, sheds need ventilation to reduce condensation and moisture build-up. To provide adequate air circulation, you should install vents near the roof or in the walls. These can be either passive (non-powered) vents or powered fans. Your choice will depend on your budget and needs.
You should also consider applying a vapor barrier to the inside walls of your shed — this will help to reduce condensation and protect any insulation you have installed. If you are using batts, make sure that the vapor barrier is against the warm side of the wall (the side facing the room). This will prevent moisture from building up on the cold floors and walls during winter. Additionally, it’s always a good idea to leave some space around furniture, tools, and other items in your shed so air can circulate freely. [8]
Installing adequate ventilation is an important part of insulating your shed properly — not only does it reduce condensation but it also helps maintain a consistent temperature so that there is less chance of frost damage. With the right ventilation, insulation and other protective measures, your shed will be better prepared to withstand both cold and hot weather.
Saving Money Tips for Insulating a Shed
When insulating a shed, there are several tips you can use to save money. It’s important to identify the best materials and techniques that suit your needs while not breaking the bank. Here are some cost-saving tips on how to insulate a shed:
- Choose Affordable Materials – Before starting any project, it’s essential to have an idea of what materials will be needed and their costs. For insulation, look for affordable options such as fiberglass or foam board insulation which is often cheaper than traditional materials like wool or cotton batting. Make sure to buy enough so that there are no gaps or holes in the insulation layer when installing in your shed.
- Use Existing Items – If you’re able to reuse items like old blankets, curtains, or carpets in your shed insulation project it can substantially reduce costs. These materials are typically less expensive than traditional options and can be just as effective when installed properly.
- Insulate Strategically – When insulating a shed, consider where the most heat loss is occurring and focus on that area first. This could save you money by not having to purchase too much material or take more time installing insulation in areas where it may not be necessary.
- Get a Professional Assessment – If you’re uncertain about what type of insulation is best for your needs, consult with an experienced professional who can give sound advice tailored towards your specific situation. This will ensure that you choose the most cost-effective option and maximize the energy savings from your insulation project.
Following these tips can help you save money when insulating a shed and ensure that you get the most bang for your buck. With the right materials, technique, and strategy you can reduce energy costs while still getting quality results. [9]
FAQ
How can I insulate my shed cheaply?
One of the cheapest ways to insulate a shed is to use insulation batting with reflective bubble wrap. This is an inexpensive material that can be easily attached inside the walls or roof of the shed and will help keep the temperature stable. Another option is to line the walls and roof with rigid foam insulation boards, which are more expensive but provide better thermal protection.
What type of insulation should I use for my shed?
The type of insulation you should choose depends on a few factors including climate, budget, and size of your shed. In general, fiberglass batting or flexible foam sheets are most often used in sheds because they provide excellent thermal resistance at a low cost. If you live in extremely cold climates, rigid foam boards may be a better choice since they provide superior insulation and protection from moisture.
What other tips should I keep in mind when insulating my shed?
When insulating your shed, make sure you use the right type of insulation for your climate and budget. Be sure to properly seal the seams between the insulation sheets to maximize efficiency. Additionally, an adhesive caulk or foam tape around any cracks or crevices in the walls or roof to help prevent air leaks. Finally, be sure to check that all windows and doors are properly sealed so cold air doesn’t enter your shed.
Do I need special tools or materials to insulate my shed?
No special tools or materials are required for basic insulation jobs. You will only need some basic items such as a stud finder to locate the studs on the walls, a utility knife for cutting insulation sheets, caulk or foam tape for sealing seams and cracks. Additionally, you may need screws or nails to attach the insulation sheets.
Can I insulate my shed myself?
Yes, you can insulate your shed yourself with some patience and determination. Make sure to plan out your project before starting and read up on safety precautions if you are unfamiliar with working with insulation materials. If in doubt, consult an expert before beginning any work. With the right tools and materials, it is possible to successfully insulate your shed without professional help.
Can you use bubble wrap to insulate a shed?
Yes, bubble wrap can be used as insulation in your shed. It is best to use reflective bubble wrap as it provides an additional layer of protection against heat loss, and is relatively inexpensive compared to other insulation materials. When installing the bubble wrap, make sure it is completely sealed off so that there are no air leaks or gaps where warm air can escape. Bubble wrap is not recommended for extremely cold climates since it does not provide enough thermal resistance.
Useful Video: How to Insulate a Shed
Conclusion
Insulating your shed is a great way to make the most of it, since it helps keep the temperature comfortable and prevents moisture damage. There are several different methods you can use, from using foam boards, to adding insulation batts or rolls, to using spray foam. Whichever option you choose will depend on what materials you have available and how much time and effort you want to spend on insulating your shed. No matter which method you choose for your insulation project, take some time to research the product, plan out the installation process in advance and hire professionals when necessary. With careful planning and proper execution, not only will your shed be warmer and dryer but it will also last longer!
References:
- https://www.diy.com/ideas–advice/outdoor–garden/garden-buildings–fencing/how-to-insulate-your-shed
- https://www.thespruce.com/how-to-insulate-a-shed-7091212
- https://thriftdiving.com/insulate-shed-start-to-finish/
- https://www.realhomes.com/advice/how-to-insulate-a-shed
- https://www.tigersheds.com/blog/how-to-insulate-a-shed/
- https://www.homebase.co.uk/ideas-advice/garden-and-outdoor/how-to-insulate-a-shed/
- https://www.insulationsuperstore.co.uk/help-and-advice/project-guides/insulation/insulating-a-shed/
- https://www.bobvila.com/articles/how-to-insulate-a-shed/






Leave a Reply
View Comments