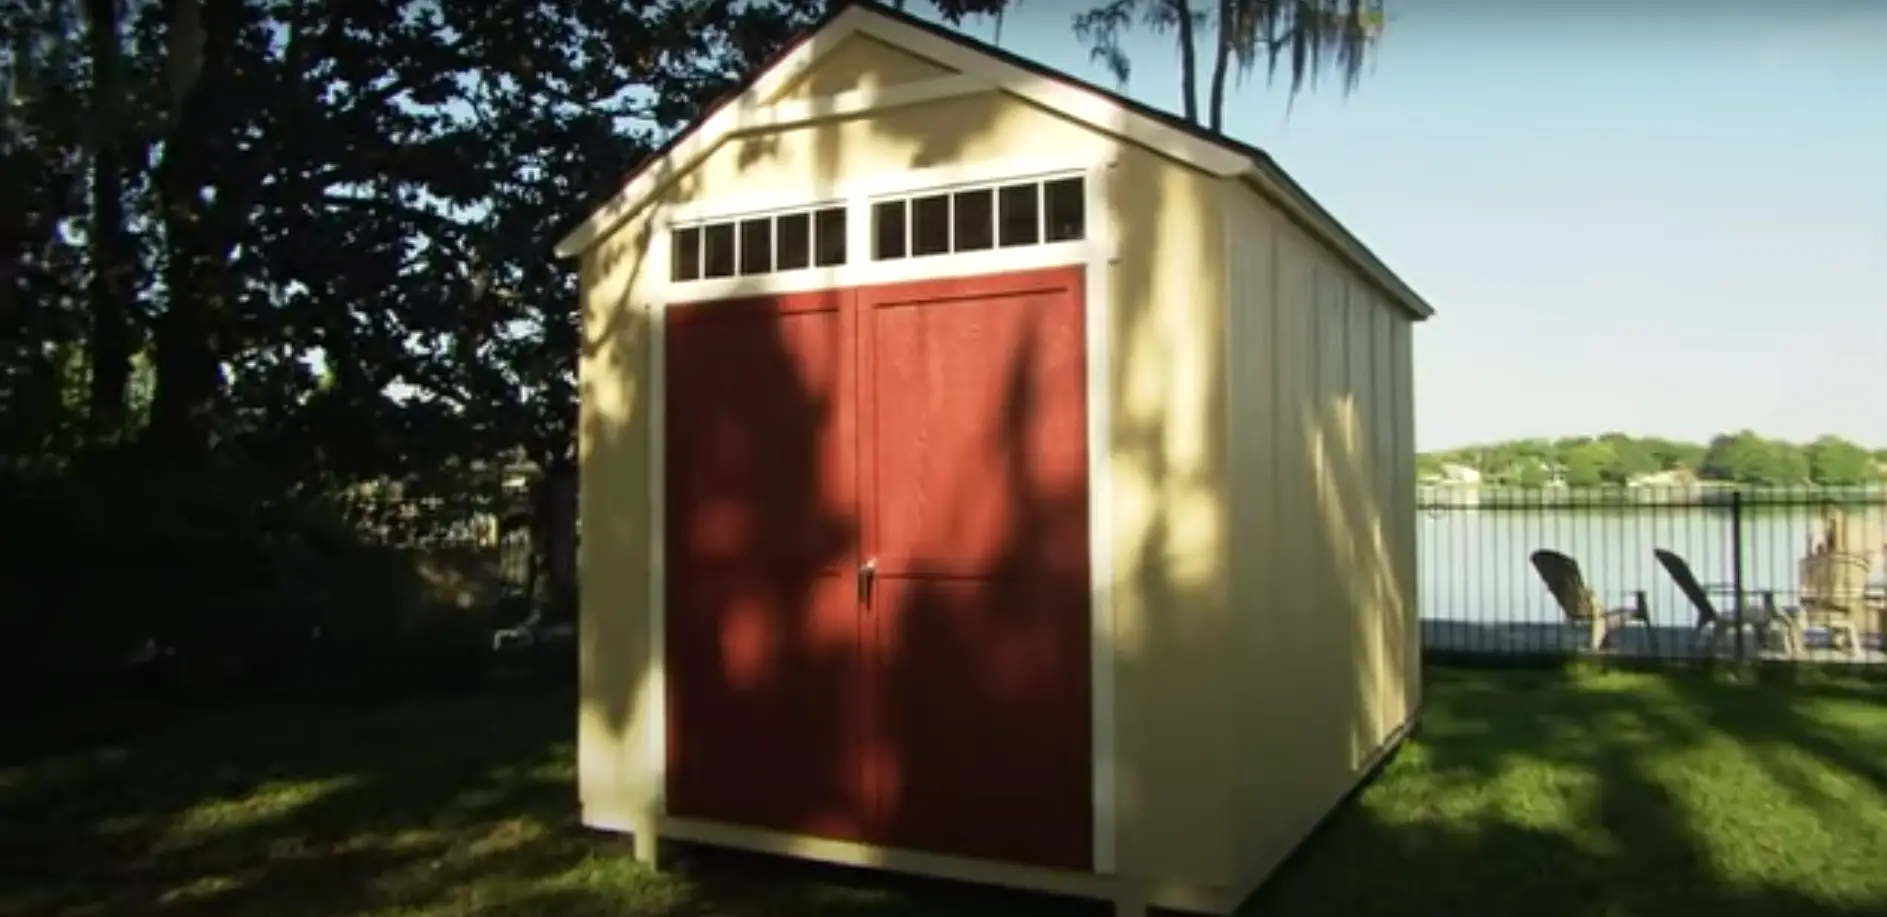
If you’ve decided to take the plunge and build a shed in your backyard, congratulations – you’ve made an excellent choice! However, before you can get started on the construction of your new storage space, there are some necessary preparations that need to be made. Chief among these is leveling out the area where you intend to put it – without doing so first, any attempt at assembly could quickly become futile as your structure starts sinking down into uneven ground. This isn’t something many people know how to do properly and so we want to provide you with all of the information required for having perfectly leveled ground when it comes time for building the shed itself. Read through our post below for tips on making sure that goes off without a hitch!
Why Is It Important To Level The Ground Before Building A Shed?
To ensure the durability and longevity of the shed, it’s crucial to level the ground before starting the construction. When you level the ground, it ensures that the shed’s foundation is built on an even surface. This will prevent it from sinking, settling or shifting over time due to uneven weight distribution. Additionally, properly leveling the ground can help reduce moisture buildup which can cause rot and mold growth in your shed’s walls and framing members.
Furthermore, leveling the ground also allows for easier future maintenance of your shed like cleaning and repairs. Ignoring this important step could lead to costly repairs down the line so make sure to take your time when preparing the area where your shed will be placed.
Do You Need To Level A Shed Base Perfectly?
The answer to this question depends on what you plan to use the shed for. If it is just a storage shed that will not have any weight placed on it, then a simple leveling job may suffice. However, if you are going to put something heavier such as a riding lawn mower or other large pieces of equipment in your shed, then ensuring that your base is perfectly level is essential. A slight incline can cause items stored inside the shed to shift and potentially become damaged over time. [3]
How to Level Ground for a Shed?
Step 1: Choose a Shed Location
1. Check with Your Township
Before you start any construction project, it is important to check with your local authority for any permits or approval you need.
2. Beware of Zoning Requirements
Before beginning any project, it is important to check with your local zoning office to make sure that the planned shed meets all requirements. This includes making sure that you’re building within any set setbacks from your property line as well as looking for other restrictions on size and appearance of outbuildings in your area.
3. Avoid Swampy Areas
It is important to choose an area that will be as level as possible. If the ground is extremely uneven or wet, you may need to use fill dirt to even it out and create a more dry surface. Make sure to avoid areas with potential drainage issues and look for higher points in your yard.
4. Avoid Steep Grades if Possible
If you plan on accessing your shed with a vehicle, such as a lawnmower or tractor, it is important to avoid any steep grades. If there are slopes leading up to the area, try to level them out by using fill dirt. You may also need to create retaining walls if the grade is too steep and cannot be leveled effectively.
5. Watch Out for the Stuff Underground
It’s also important to check for any underground utilities or other items that may be hidden in the ground. Look for power lines, water pipes, and sewer lines before you start digging. If you’re not sure if something is buried beneath the surface, contact your local utility provider just to make sure.
6. Beware of Trees and Roots
Starting a shed project in an area with mature trees can be troublesome. Not only do you have to contend with the additional weight of the trees, but you may also need to dig up roots in order to level the ground. If tree removal is necessary, contact a licensed arborist before starting your project. [4]
7. Make it Easy to Access
Choose an area that is easy to access; it should be close to your house, and preferably near a driveway or walkway. This will make it easier to bring in supplies and also makes for a more convenient storage space.
8. Consider Sun Exposure
If you plan on using your shed for gardening or outdoor activities, make sure to select an area that gets some sunlight. This will help you utilize the space more effectively and allow you to enjoy it longer throughout the year.
9. Pay Attention to Aesthetics
When picking a location, think about how the shed will look in your yard. Will it blend in with the landscaping or create an eyesore? Be sure to consider any nearby trees, plants and other features that you may want to include around the shed.
10. Assess Soil Type
Finally, assess the type of soil so you know what kind of foundation to use for your shed. Sandy soils are prone to shifting and require more reinforcement, while clay soils need more drainage and aeration. Make sure you weigh all these factors before starting your project.
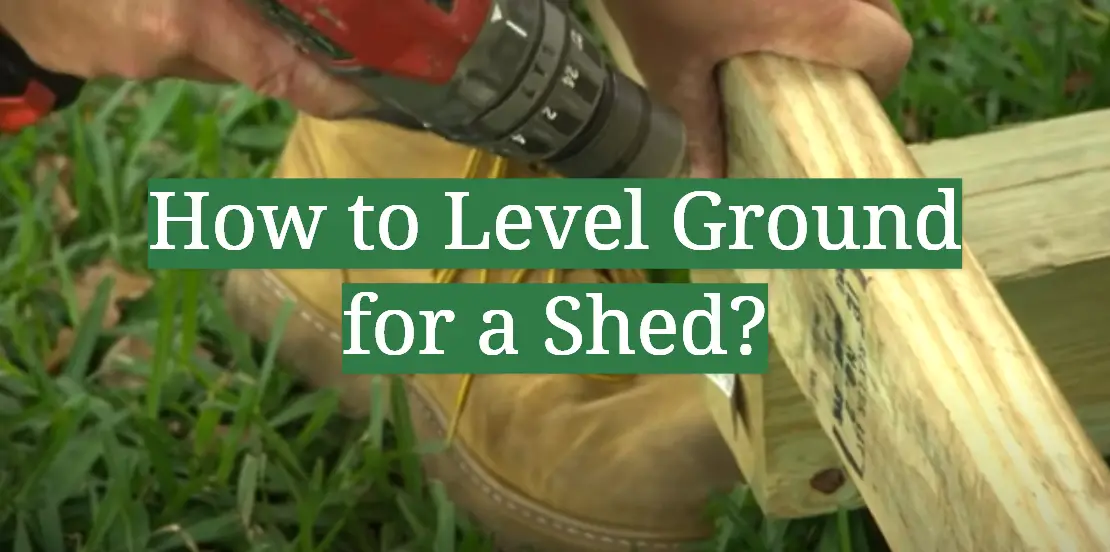
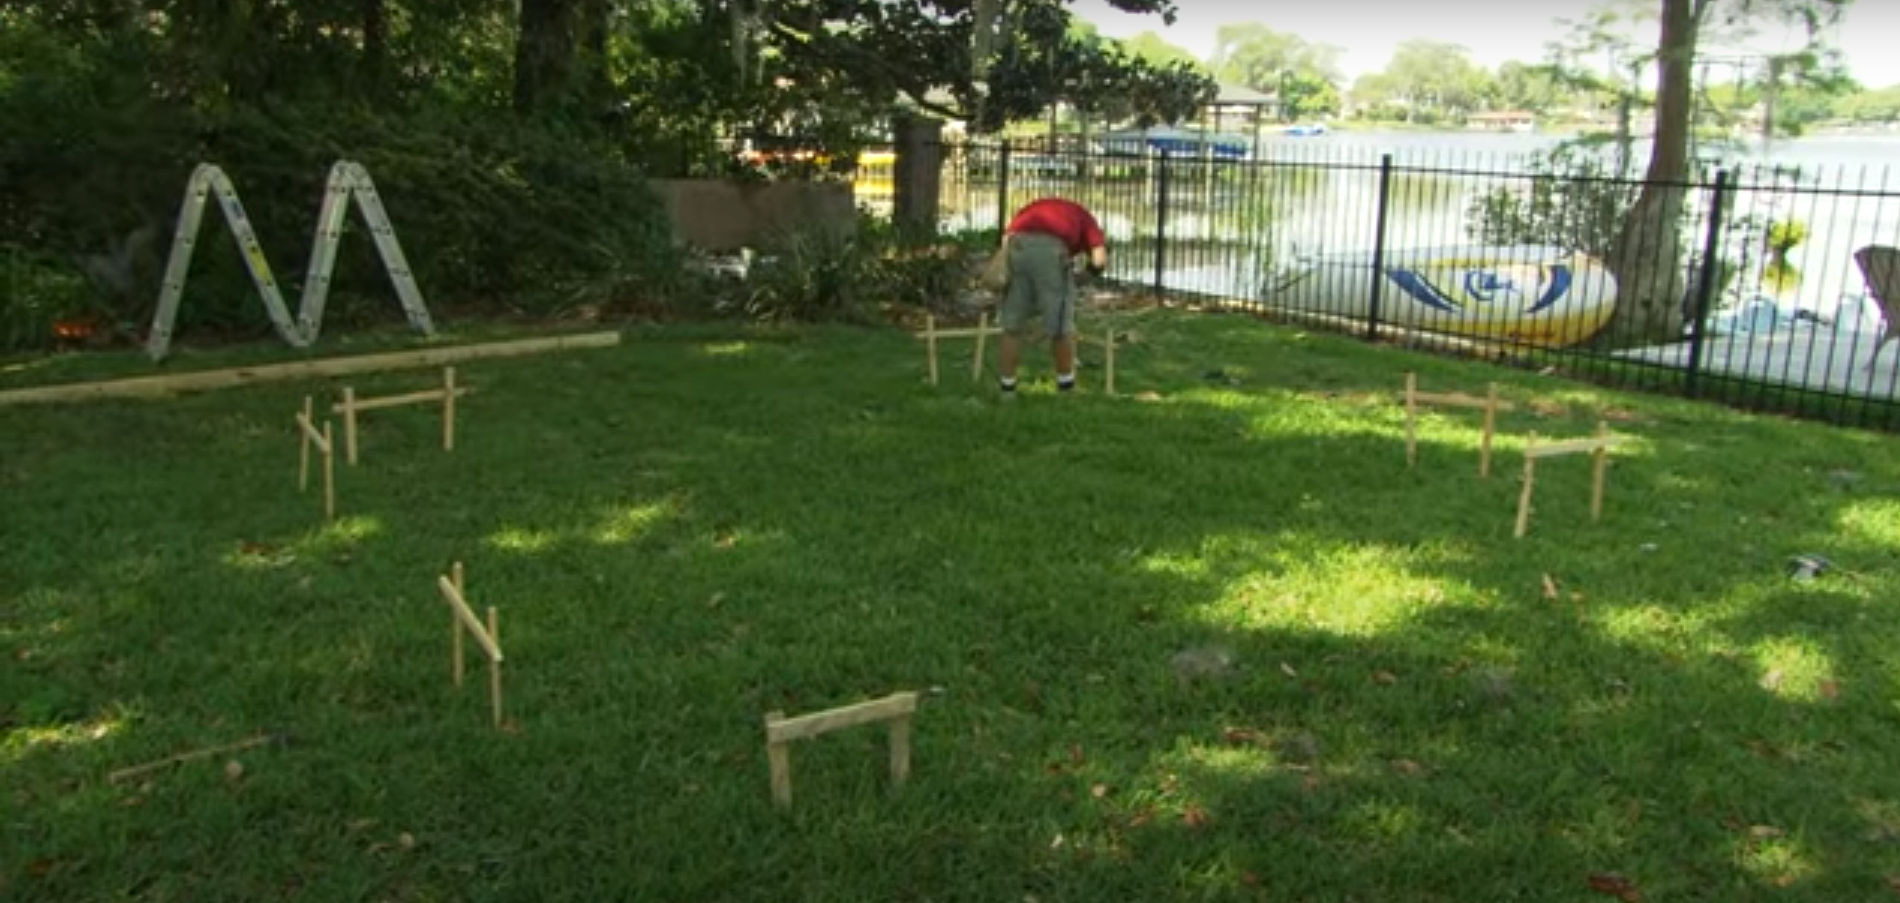
Step 2: Square and Stake the Corners
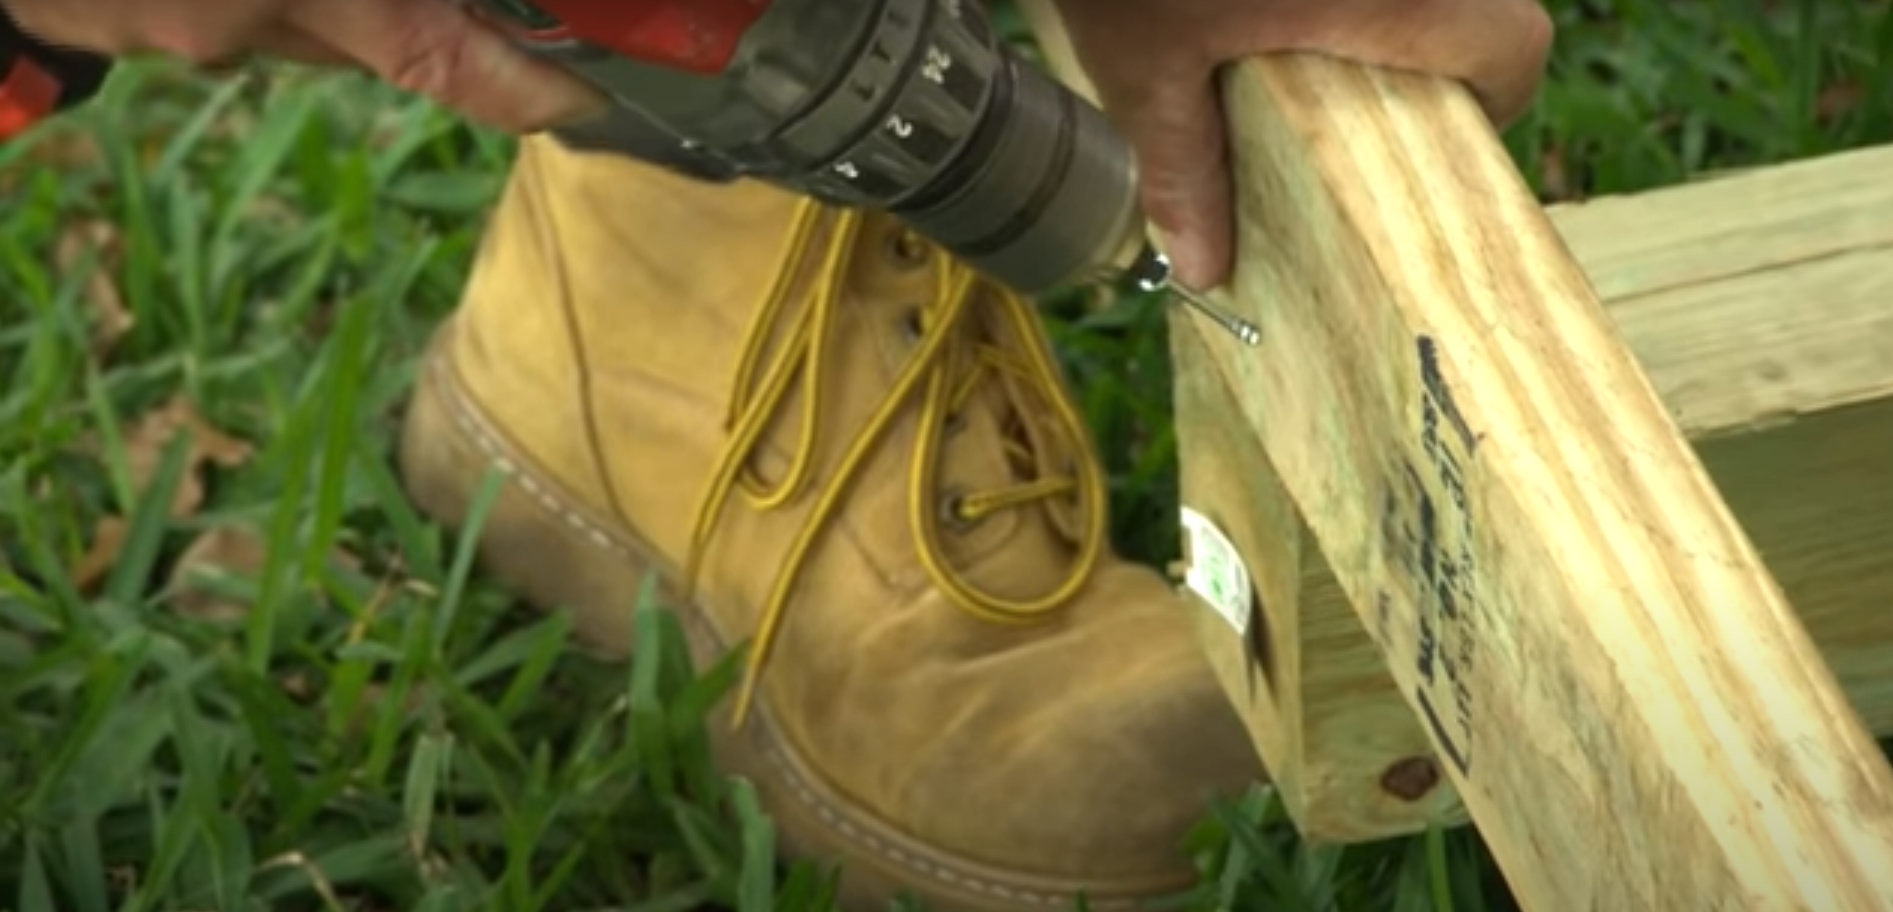
1. Stake the First and Second Corner
Measure 8 feet out from the corner of your house and drive a stake in at this point. This will be the first corner of your shed foundation.Measure 15 feet along each side from the first stake, and then measure 8 feet out from the corner again to create a second corner for the shed foundation. Drive another stake into the ground at that spot. [5]
2. Stake the Third Corner
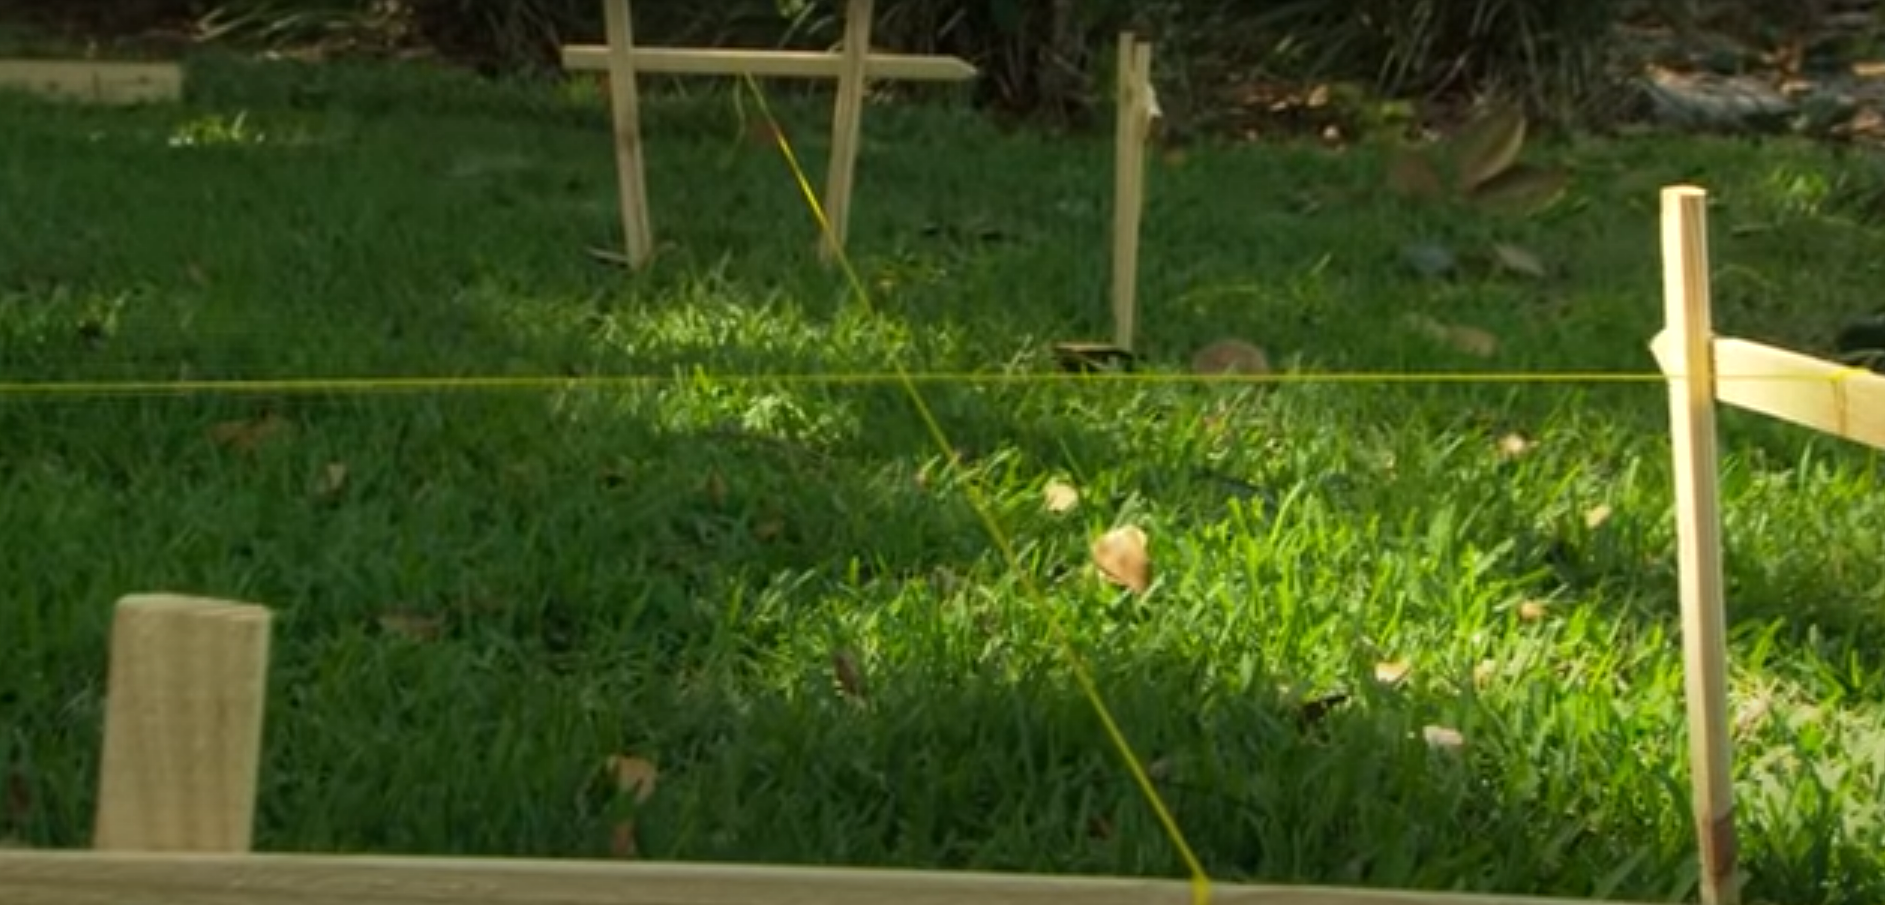
Extend a string line ( chord ) between the first and second stakes. Measure 8 feet in from the corner of your house again, and drive a third stake into the ground here to mark the location of the third corner of your shed foundation.
3. Add the Final Stakes
Find the midpoint between the second and third corner stakes, and then drive one more stake into the ground at this location. This will be the fourth corner of your shed foundation. Next, measure 8 feet from each corner of your house to create four additional stakes that will outline where you need to level the ground for your shed. Tie string lines ( chords ) between these additional stakes in order to outline the perimeter for your shed foundation.
4. Stretch the Final Lines
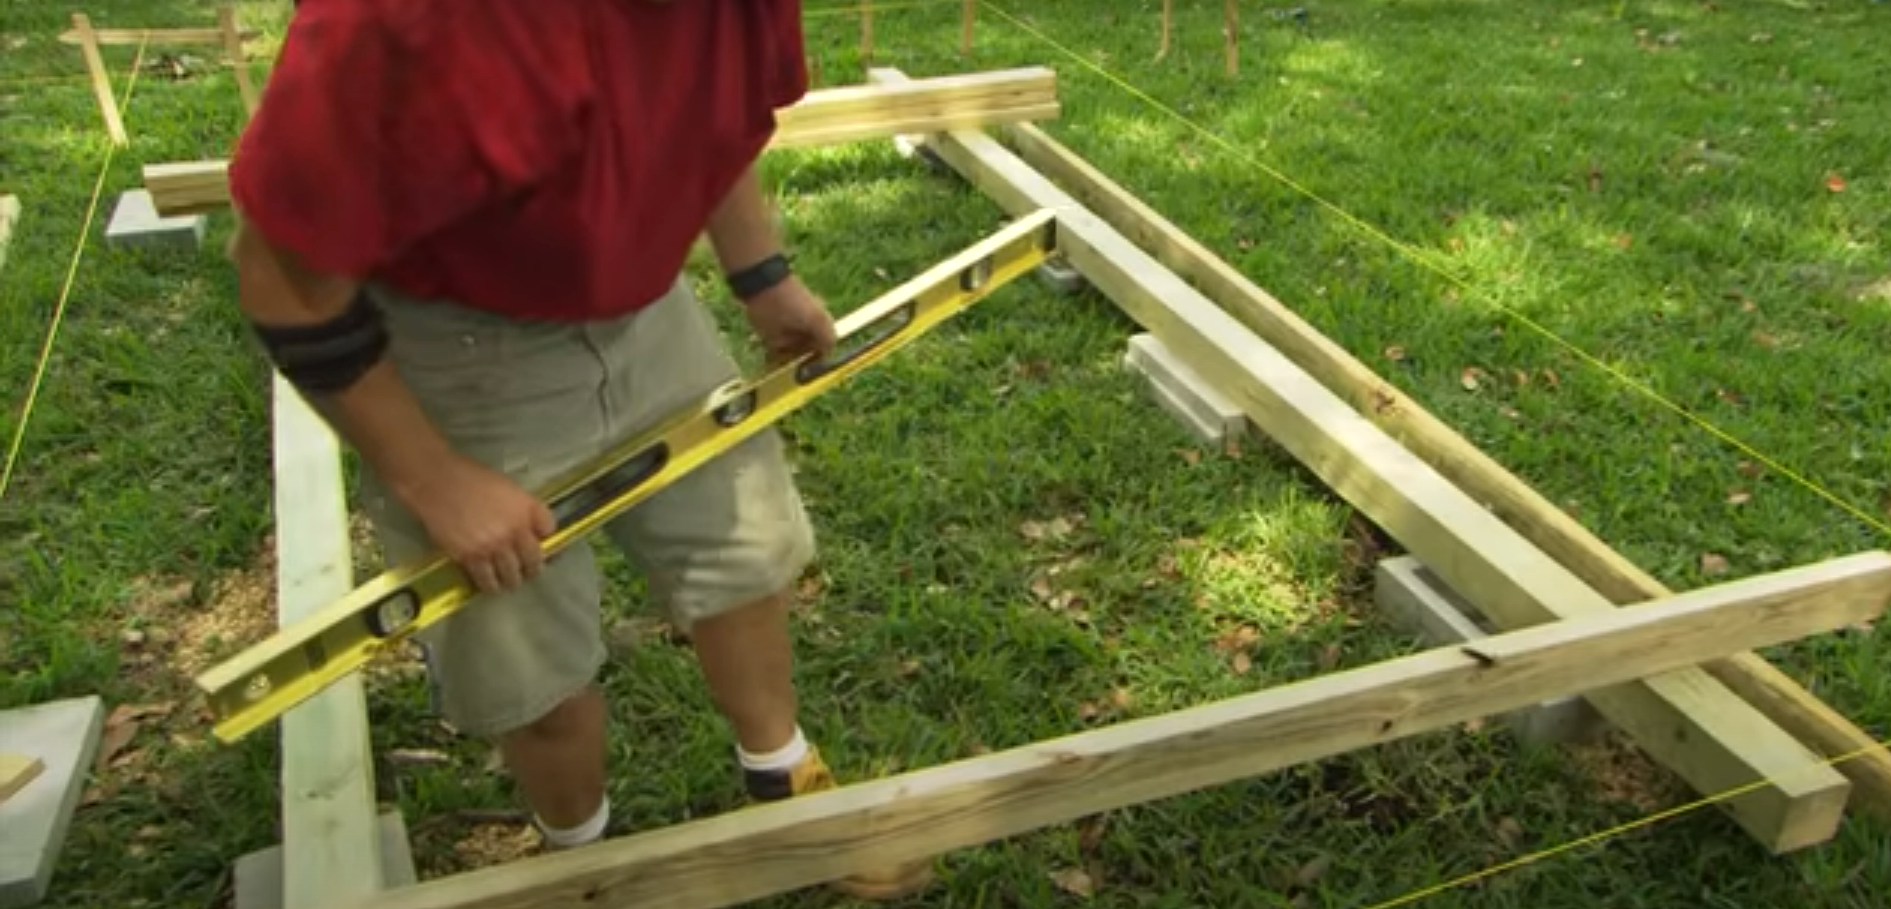
Stretch the string line from the corner of your house to the mid-point stake, and use a carpenter’s level to make sure that it is perfectly horizontal. Do this for all four sides of your shed foundation perimeter in order to ensure that your ground is as level as possible before you begin digging. You may need to adjust or add more stakes if the lines are not perfectly straight or parallel. Once you have created an outline with even and parallel sides, your ground should be ready for leveling!
5. Mark the Ground
Use chalk or spray paint to mark the outline of your shed foundation on the ground. This will help you keep track of where to dig and will also make sure that you don’t dig outside of the area that needs to be leveled. [6]
Step 3: Complete the Excavation
1. Stake the Corners
Using a longboard, measure the level and depth of your excavation from each corner stake. Mark the desired depth with a line on each side of the board before moving to different corners.
2. Mark the Area to be Excavated
Once you have determined the area for your shed, mark it with chalk and measure the area to be excavated. Make sure that the measurements are accurate before continuing.
3. Remove Surface Debris and Topsoil
Using a shovel, remove the top layer of soil and any surface debris that may be in the area. Get rid of objects like rocks and sticks as these will be obstacles later on when leveling the ground.
4. Remove Subsoil, Rocks, and Roots
Using a pickaxe, remove the rest of the soil and any rocks or roots that may be in the area. This is essential for making sure that your shed is level when you are done.
5. Clean the Corners
After you’ve finished leveling the area, use a shovel or hoe to remove any remaining high spots and fill up low areas. Use a rake to spread out the material evenly and tamp down the surface with a tamper or your feet. Do this until everything is level, making sure that all corners are at an even height. Finally, use a string line or combination square to check your work for accuracy. Make any necessary adjustments until everything is even from corner-to-corner. Once complete, you have successfully leveled ground for your shed!
6. Add Weather Protection Layers
To protect the shed from excessive weathering, consider adding layers of protection such as crushed gravel or sand underneath it for improved drainage and insulation against freeze-thaw cycles. You can also add a waterproofing membrane between the ground and shed as an extra layer of protection, as well as to keep out pests and weeds. Finally, consider adding a top layer or protective sealant to help protect it from weathering and UV damage.
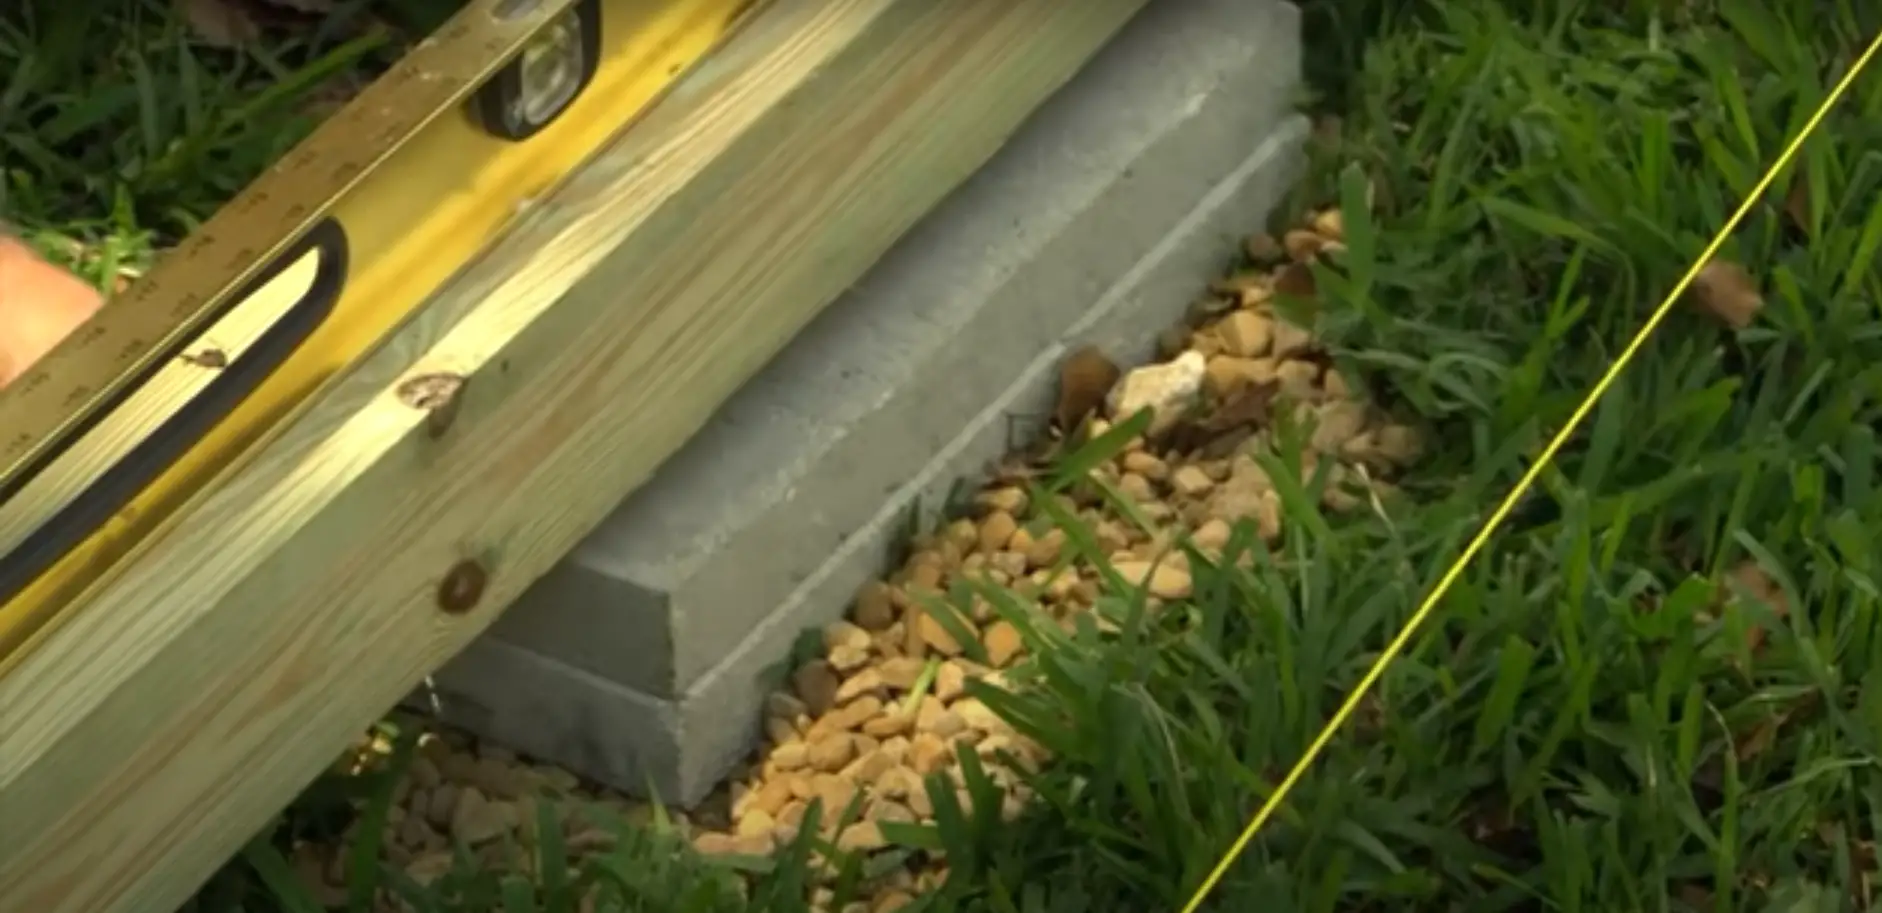
7. Check the Level Using a 2×4
Before you begin building the shed, check the level with a 2×4 by laying it across the ground. The board should be level from side to side and front to back, ensuring that you have properly leveled ground for your shed. If not, use a shovel or hoe to make any necessary adjustments until everything is even. [7]
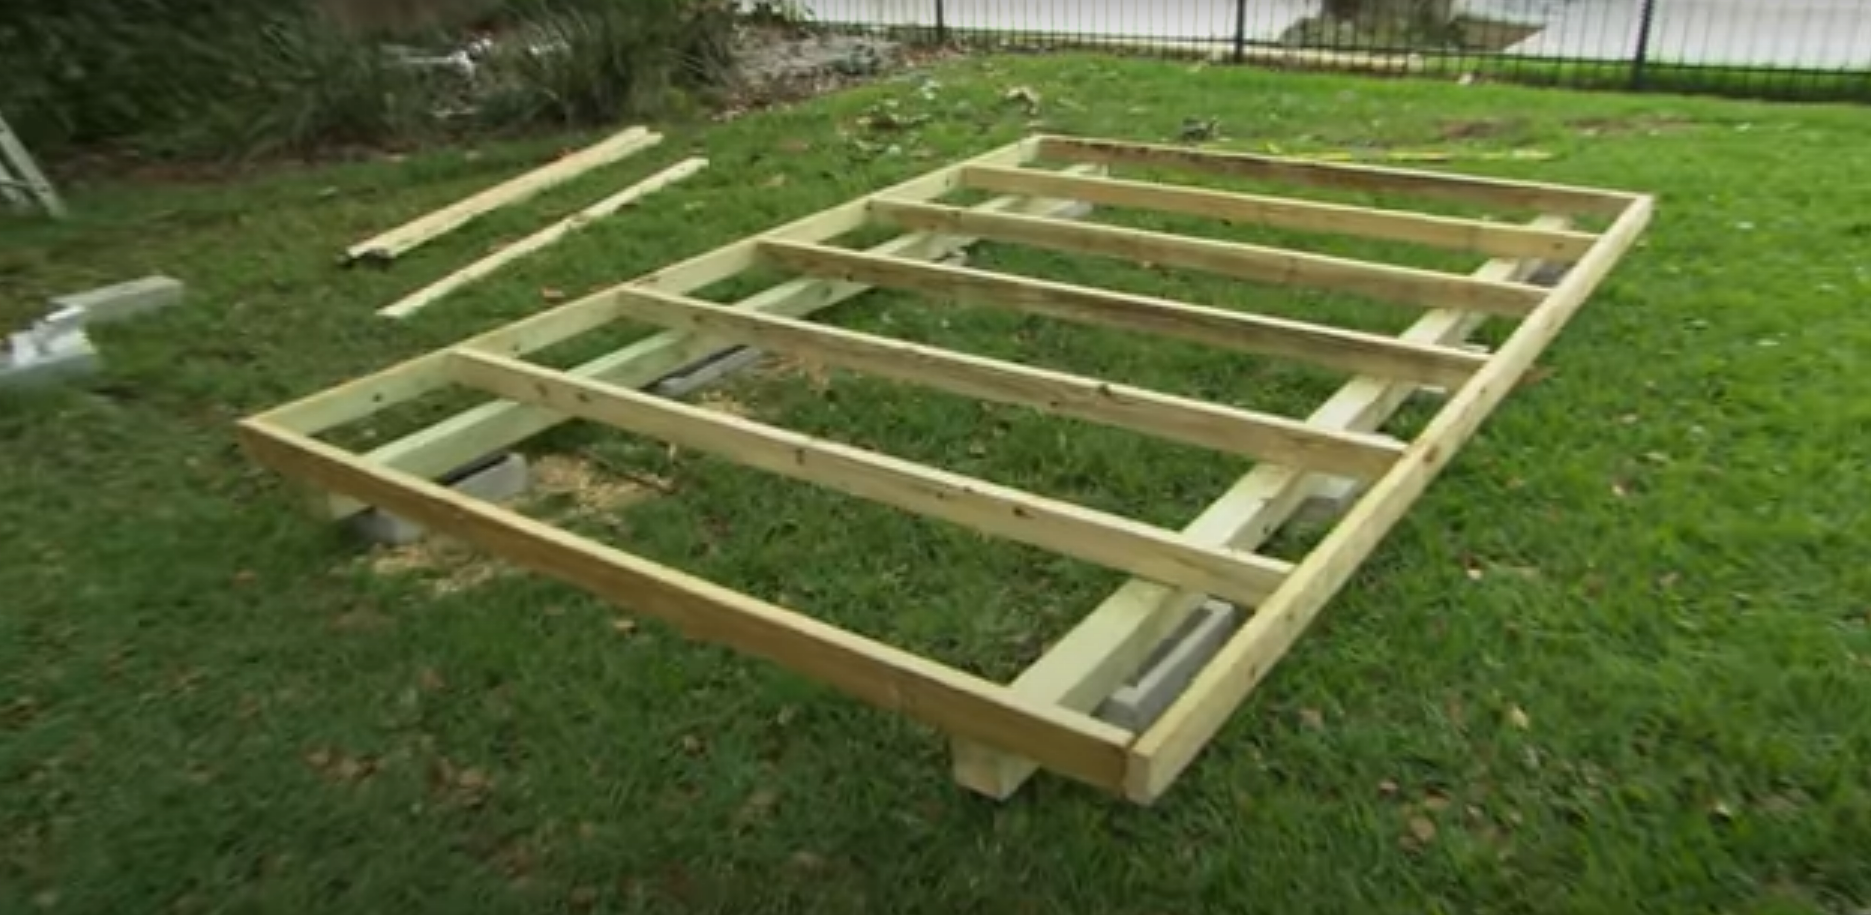
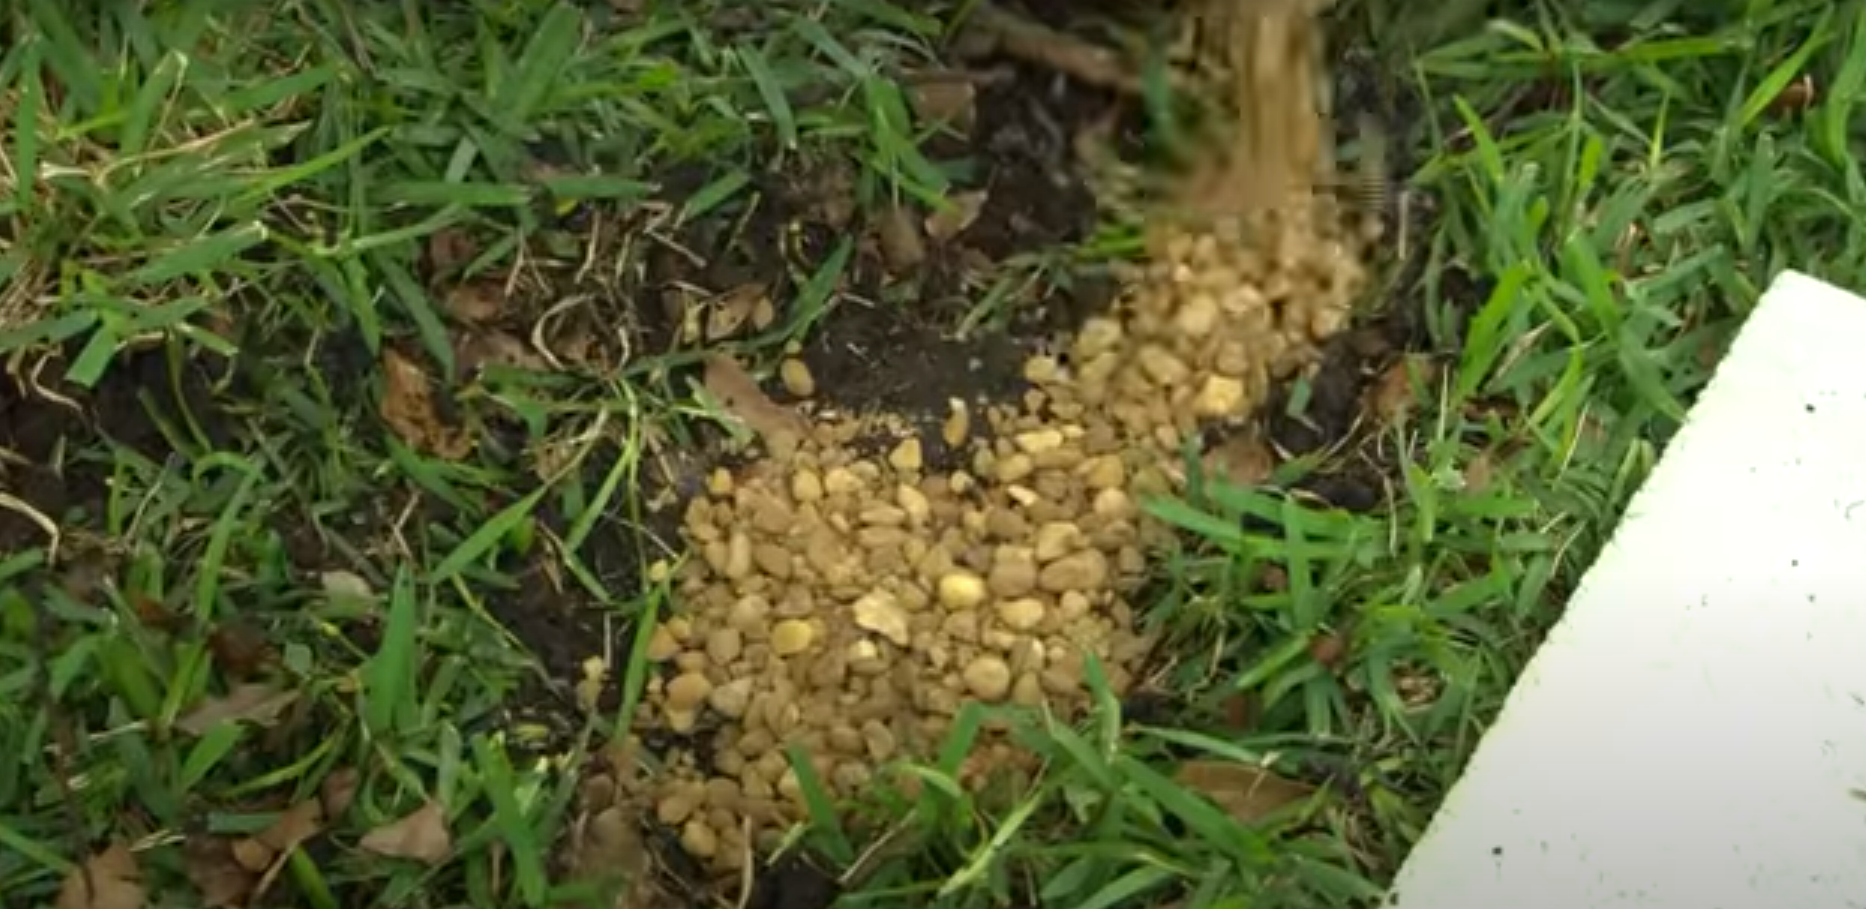
Step 4: Install a 5” Gravel Base
Once the area is prepped, it’s time to install a 5” gravel base. This involves spreading and smoothing out gravel over the leveled area. Make sure to use a rake or shovel to spread it evenly. It is important not to over compact the gravel since that can create air pockets which may interfere with the performance of your shed foundation. When everything is level, you are now ready for step 5: installing the shed foundation.
Step 5: Install Shed Foundation
When installing your shed foundation, you have two main options: either a concrete slab or piers. If you choose a concrete slab, mix enough concrete for 3”-4” coverage and have some 2×6 lumber on hand to make forms. Make sure your concrete is level and smooth, then wait at least 48 hours for it to dry before moving on to the next steps of building your shed. If you choose piers instead, be sure to follow manufacturer’s instructions when installing them into the ground. You also need some 2×6 lumber for this step as well. Once everything is in place, you can move onto step 6: assembling your shed kit.
Step 6: Assemble Shed Kit
Follow directions provided with the shed kit when assembling it onto the foundation you have just built. Depending on what type of shed you purchased, there may be additional components or instructions that go along with its assembly. Be sure to take your time and read through the instructions carefully. Once everything is assembled, you are now ready to enjoy your new shed!
Pros and Cons of a Shed
A shed can be a great addition to any outdoor space, providing extra storage and additional features to your home. However, it should not be taken lightly as there are many considerations to take into account before building one. To ensure that you have the best experience with your shed, consider both the pros and cons of putting one on your property.
Pros:
- A shed can provide much-needed extra storage for large items such as gardening equipment or even furniture that wouldn’t fit in a garage.
- It can also help create an extra living space, allowing you to store furniture outside of your house yet still feel comfortable when sitting inside it.
- Sheds come in many sizes and styles, allowing you to customize it to fit your exact needs.
- It can also be used as a workshop for small DIY projects for hobbyists.
Cons:
- Depending on the size and style of the shed, it can take up a significant amount of space in your yard, leaving less room for other activities like gardening or playing sports.
- Sheds require regular maintenance to ensure that they are structurally sound and safe for use. This includes ensuring that all hardware is secured properly and any possible water damage is dealt with quickly.
- A shed may not provide enough security from theft, vandalism, or weather elements if proper precautions are not taken. It is important to invest in adequate locks and weather-proofing options for your shed.
- Finally, it can be an expensive investment depending on the size and materials used to construct it.
Overall, a shed can be a great addition to any outdoor space. However, it is important to consider all of the pros and cons before taking on this project in order to ensure that you have the best experience possible with your new structure. Be sure to level ground carefully, as detailed above, when installing your shed in order to guarantee that it stands up strongly against weather elements and provides safe storage solutions. [8]
Tips for Building a Shed on Uneven Ground
Building a shed on uneven ground can be tricky, but with the right preparation it is possible. Here are some tips to help make the process easier and ensure your shed foundation is secure:
- Use Wooden Beams For Support – If you have large bumps or dips in your ground, you may want to consider using wooden beams for additional support. These beams should be placed underneath the floor joists before the concrete slab is poured. This will help distribute weight more evenly and provide extra stability to your shed.
- Tamp The Ground – Using a tamper (a tool used to compact soil) will help even out small bumps in the ground prior to installing your foundation. To use a tamper simply press it into the ground a circular or figure-eight motion level out any bumps.
- Install A Raised Floor – option for dealing with uneven ground is to install a raised floor on top of your foundation. This can be done by adding support beams underneath the floor joists and then pouring concrete on top. The beams should be placed close enough together so that they evenly distribute weight across the entire area.
- Fill In Low Areas – If you have low areas that need to be filled in prior to building your shed, sand or gravel are great options for this purpose. Make sure to tamp down the material after filling in order to ensure it is secure and stable before starting construction.
By following these tips and preparing the ground before building your shed, you can ensure a secure foundation and a successful project. With proper preparation, it is possible to build a shed on uneven ground with great results.
What Happens If Shed Base Is Not Level?
If the shed base is not level, it could lead to several problems. It can cause doors to jam or stick, as well as causing issues with windows that may be difficult to open or close. An unlevel surface can also put more stress on the walls of the shed and weaken them over time, making it more prone to damage from impacts or weathering. In extreme cases, an uneven base can even cause the entire structure of the shed to become unstable and collapse. Therefore, it is important to ensure that your shed base is completely level before beginning any construction work.
To avoid these potential problems, it is important to take the time to level the ground before beginning construction on your shed. This can be done manually with a spirit level and a shovel, or by using a laser level for more precision. Once you have created a level surface, you should then lay down some form of protection such as gravel or plastic sheeting before beginning construction on your shed. Doing so will ensure that any surfaces remain even after completing the project.
Above all else, it is essential to make sure that the base of your shed is completely flat and level in order to prevent any potential problems. If you are unsure how to level the ground, be sure to consult a professional for assistance or read up on the process. Taking the time and effort to properly level the ground before beginning construction will help ensure that your shed is sturdy, safe, and long-lasting. [9]
FAQ
How do you level ground fast for a shed?
The best way to level ground quickly for a shed is to use a base of compacted gravel. Make sure the gravel is spread evenly and leveled using a rake, and then cover it with a layer of soil. This creates an even surface that can support the weight of your shed. Is leveling ground for a shed difficult?It depends on the size and type of project you are tackling, but leveling ground for most sheds is relatively straightforward. With some basic tools like shovels, rakes, and a leveler, you should be able to get your shed’s foundation ready in no time.
What else do I need to know when preparing the ground for my shed?
You will also want to consider drainage when preparing the ground for your shed. Make sure to use gravel and create a slope away from the shed so that any rainwater or runoff is directed away from it. You may also want to look into adding a vapor barrier as an extra layer of protection against moisture. Finally, make sure to check local building codes for any specific requirements or recommendations related to how you prepare your site.
What is the best way to protect my shed from moisture?
Using a vapor barrier over your base layer of soil can help protect your shed from moisture. It’s important to make sure the barrier is properly installed, and you should always consult with a professional if you need help with this step. Additionally, be sure to build your shed on the highest point of your property and slope it away from your home to reduce the risk of water damage.
What should I do if my shed starts to sink?
If you find that your shed is starting to sink, there are a few steps you can take to try and fix it. First, check the soil around your shed for any signs of erosion or compaction. If there are any weak spots in the foundation, you may need to add additional gravel or sand underneath to help support it. Additionally, make sure that all of the supports on your shed are properly secured and reinforced with additional screws or brackets as needed. Finally, if these measures don’t work, you may need to consult a professional for further advice.
How do you level a shed on uneven ground?
The first step in leveling a shed on uneven ground is preparing the surface. This includes removing any existing vegetation, grading the site for water drainage, and creating a level base with gravel or crushed stone. Depending on the size of your shed and the extent of undulation, you may have to build up one end with more gravel or crushed stones until it is higher than the other end. Once you’ve prepared the site and reached an even foundation, you’re ready to begin laying down your shed’s floor frame.
Start by aligning two parallel foundation beams that span from one side of the base to another, then use wooden stakes to mark out corners and guide posts according to your intended space requirements. Next, level each beam individually to ensure that they are both even and secure. Place your shed walls on top of the beams, making sure to lag them into place so that the structure is stable.
Finally, check for level one last time before adding your floorboards or other flooring material. It’s important to remember that leveling a shed on uneven ground can be challenging because it requires precision and patience. But with careful preparation and attention to detail, you can ensure that your shed will remain level and safe for years to come.
What is the best shed base for uneven ground?
The best shed base for uneven ground is one that creates a level and secure foundation. The most effective way to do this is to use crushed stones or gravel, graded for water drainage, then fill in any low spots with more gravel or crushed stone until the entire area is even. Once your base is ready, you can add extra support by using wooden stakes and lag screws to securely attach your shed walls and floor frame. This will ensure a stable structure, even on uneven terrain. For added protection against moisture and pests like termites, it’s also a good idea to use treated wood when constructing your shed’s floor frame. This can help protect your investment from rotting or other forms of damage caused by environmental exposure.
How do you prepare the ground for a shed?
When preparing the ground for a shed, it is important to make sure that the area is level and properly compacted. This ensures that your shed will have an even foundation and be able to withstand various weather conditions. Here are some tips on how to prepare the ground for a shed:
- Clear away debris: Before beginning any work, clear away any debris such as rocks, sticks, roots or other materials which may interfere with leveling the ground.
- Mark out the perimeter of your shed: Once you’ve cleared away any debris, use stakes or paint to mark out where your shed will sit. This helps ensure that you’re able to level the ground in preparation for building your new shed.
- Remove any turf: Depending on the size of your shed, you may need to remove a section of turf and dig down about 6 inches (or deeper if necessary) so that the ground is level enough for your shed to sit on it.
- Level the area: Once you’ve dug down, use a spirit level or string line to make sure the ground is even and leveled out correctly. It may help to hire an expert to check this for you if needed!
Useful Video: How to Level the Ground for a Shed
Conclusion
Once the area has been leveled, your shed can be constructed on a solid foundation. Remember to check local building codes to ensure that you are following all necessary guidelines for construction. Also consider the size and type of shed you want before beginning the leveling process. It is important to take proper steps when leveling ground for a shed to ensure that it is done correctly and safely. With careful planning and precise execution, you will be able to level the ground accurately and build a sturdy structure that will last for years.
Good luck with your project!
References:
- https://www.tigersheds.com/blog/how-to-build-a-shed-base-on-uneven-ground/
- https://www.siteprep.com/how-to-level-ground-for-shed/
- https://www.urban-sheds.com/blog/how-to-level-ground-for-a-shed
- https://plasticinehouse.com/how-to-level-ground-for-a-shed/
- https://www.lowes.com/n/how-to/install-a-shed-foundation
- https://www.gardenguides.com/info_12147212_ways-level-ground-shed.html
- https://www.diy.com/ideas-advice/how-to-build-a-shed-base/PROD_npcart_100673.art
- https://www.shedstore.co.uk/installation-guides/prepare-your-garden-for-a-shed